How to Hand-cut Mortise & Tenons - A Free Video from the Center for Furniture Craftsmanship
A mortise and tenon joint is made up of two parts. The tenon of the joint works as a peg, and the mortise is the slot into which the tenon is inserted. Mortise and tenon joints and are most often used to join two pieces of wood at 90-degrees.
This video was produced for its free video library by The Center for Furniture Craftsmanship in Rockport, Maine. The Center is a nonprofit, international woodworking school dedicated to providing the best possible education in wood craftsmanship and design.
How to Hand-cut Mortise and Tenons with Tim Rousseau
In this video, Tim Rousseau, an instructor at the Center for Furniture Craftsmanship, demonstrates how to hand cut a mortise and tenon joint. Mortise and tenon joints are among the strongest joints in woodworking and commonly used for woodworking projects that have frame construction such as furniture or cabinetry.
#3 How to Hand-cut Mortise and Tenons from Woodschool Maine on Vimeo.
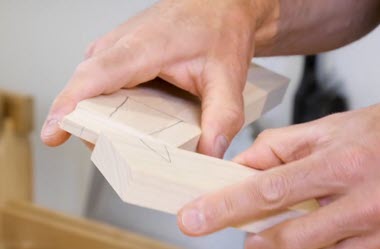
When cutting a mortise and tenon joint, 90% of the time, the mortise is cut first and the tenon is sized to fit the mortise. There are a lot of different ways to cut a mortise using machinery but, learning how to cut this joint by hand is essential and a handy skill to have in your arsenal. Cutting a mortise and tenon joint begins with the layout. The layout starts by marking up your wood pieces indicating how each piece will go together.
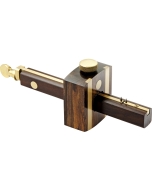
Laying Out the MortiseThe first tool you’ll need when laying out a mortise cut by hand is a mortise gage. A mortise gage has two pins that you can open and close their relationship to one another and a fence that will set the position of the pins.
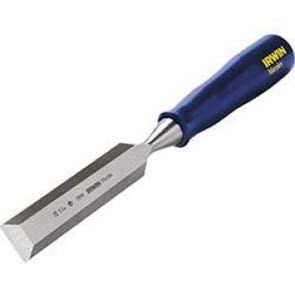
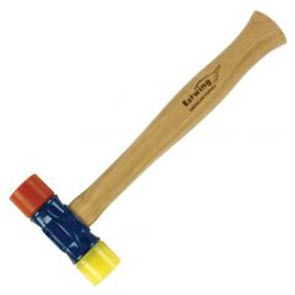
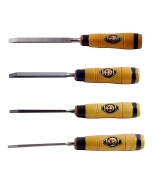
Cutting the MortiseA drill press is used to bore out the bulk of the waste. A Brad point drill bit works nicely for this. A Forstner bit could also be used. You’ll use a mortise chisel and mallet to remove additional waste and pairing chisel for defining the mortise walls.
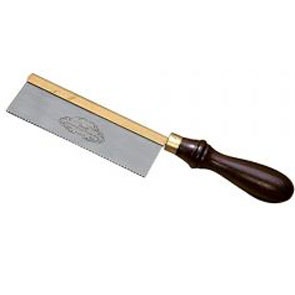
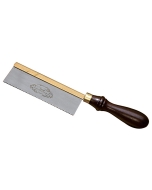
Cutting the TenonThe tenon has a shoulder that will need to be chiseled clean. That shoulder needs to be knifed/gaged out. You could use a cutting gage to scribe the shoulder out but today we’ll be using a woodworking square to mark the shoulders of the tenon on all four sides. Cut the tenon shoulders using a tenon saw. The chiseled groove provides a square reference surface to guide the saw. You’ll pair the remainder of the surface down with a sharp wide chisel. A shoulder plane could also be used.
Check out the video above for a step-by-step walk through of how to cut a mortise and tenon joint by hand.
Related Product Categories

Keep the inspiration coming!
Subscribe to our newsletter for more woodworking tips and tricks