How to Fill Cracks in Wood without Wood Putty
Filling cracked or knotty wood without using wood putty may seem a difficult task, but there are a few options. Sometimes the perfect piece of wood is not all there. I’m not saying it’s crazy; just missing some parts. There can be cracks in a knot, voids in a burl or other anomalies. Being able to fill them means you can still use that special plank.
Filling Choices
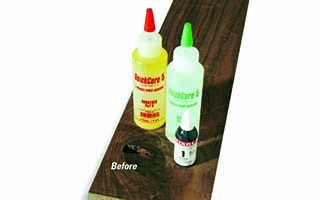
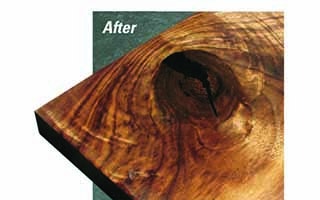
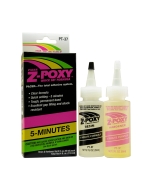
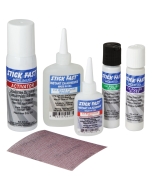
Besides wood putty, there are several glue-based fill options. For very small cracks, add drops of cyanoacrylate into the crack while sanding the area. The sanding dust, called “swarf,” combines with the still-wet glue to fill the crack as you sand, making an instant patch quite close to the color of the wood. Another glue and swarf option is hide glue mixed with sanding dust. It works for larger voids and also matches the wood color. However, the most versatile is epoxy mixed with some type of coloring agent. The color can come from wood dust, pigments that either match or contrast with the surrounding wood, or decorative additives, like metallic flake or pearlescent powders. Wood cracks filled with epoxy can allow you to create an even finish that wouldn't otherwise be possible.
Mixing Limits
Both West System® and System Three offer an ideal option: epoxy tinting pastes in several colors. Add them to the resin part, usually part A, before mixing in the hardener. The next best option is any dry pigment powder, wood swarf, metal flake or pearl powder. In a pinch, you can also use pigmented artist’s oils and Japan colors. You can add epoxy pastes or pigments up to 10 percent by weight, or about four teaspoons per cup of mixed epoxy. Small amounts of universal colorants or liquid dye concentrates, up to two percent by weight, will also work, provided you leave a week before sanding and finishing to allow the solvents to escape from the cured epoxy. Two percent by weight equals about three quarters of a teaspoon per cup of mixed epoxy. With powders, pastes and concentrates, first mix the two parts of the epoxy together thoroughly, then stir in the colorant. Avoid water-based materials, like artist’s acrylics and mixed water-based dyes. I’d also avoid dry dye powders, as they may not show their true color even when mixed thoroughly. As always, test all mixtures and finishes on scrap before you try them on your project.
Under Finish
Fill the void just slightly proud of the surrounding surface so you can sand the cured epoxy flush. If the crack goes all the way through the wood, put masking tape on the bottom so the epoxy doesn’t drip out before it cures. Sometimes, cured epoxy will develop a waxy surface film called “amine blush” that can clog sandpaper and inhibit the cure of some finishes. Prevent problems by scrubbing the cured epoxy with water on a Scotch-Brite® pad prior to final sanding, especially if you plan to use oil-based varnish. Very thin finishes, like a single coat of Watco Danish oil wiped on and off, may appear shinier over the epoxy. Adding more coats will generally blend the sheen. Otherwise, any film forming finish will do just fine over sanded epoxy.

Keep the inspiration coming!
Subscribe to our newsletter for more woodworking tips and tricks