Video: Building a Walnut Dining Table Top
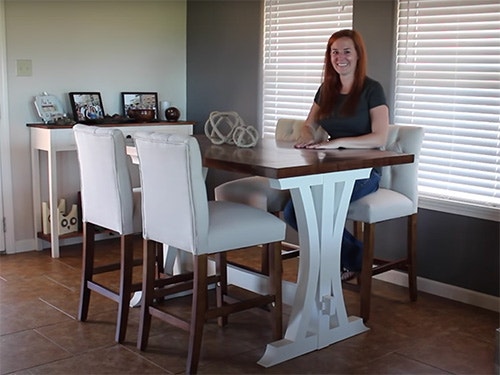
In this video, April Wilkerson completes her kitchen table project, adding a tabletop with walnut breadboard ends.
April Wilkerson's dining table continues to take shape in this video. This time, she'll build out the tabletop from slabs of eight quarter walnut lumber.
You can find more great projects and techniques from April Wilkerson at her website.
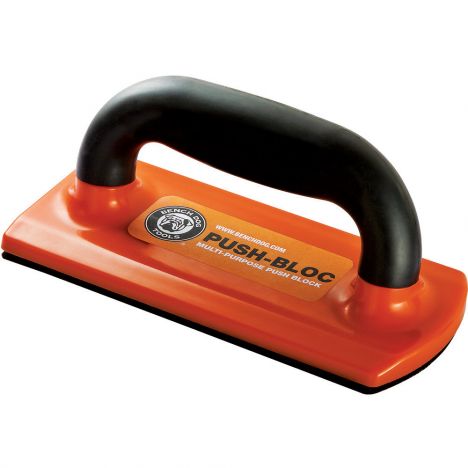
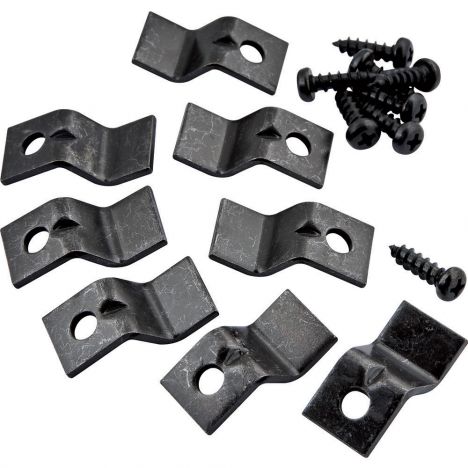
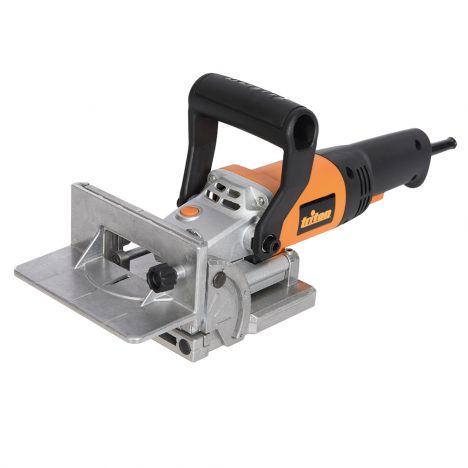
Featured Tools:


April Wilkerson: In my previous video, I made a kitchen table base from two by fours. In this video, I'll be taking these eight-quarter Walnut slabs and turning them into a breadboard and tabletop for it. I started the project off by taking the slabs over to my super jaws and using my track saw to cut the boards to rough length. Now, of course, I'm using Walnut for my tabletop, but you could use any lumber of your choice.
I do have a set of plans available for this table on my website. There is a link for you in the description down below. The plans include a full cut list as well as a full material shopping list. This board is of course, very curved, and since I don't have a joint here, what I'm going to do is place this level, which is a straight edge up against the fence, and then put this board up against the level and run it through my blade in order to get a nice straight cut on this side.
Then with this straight edge being established, then I can flip it over, run that straight edge against the fence, and then make a parallel cut on this side. It was brought up on Instagram when I was showing this step that it's unsafe because the top and bottom of the boards are not exactly flat, which could result in some pretty nasty kickback. If you are going to replicate this trick, then I recommend jointing the top and bottom of the board first so that you have a nice flat surface on the boards as you run them through the saw, which reduces the chance of kickback.
I was so pleased with this method. After getting a straight cut on both of the edges, I moved on to flattening out the top and bottom. While I am happy about how flat most of these boards are. Some of them have this slight twist in it. This sled is going to allow me to flatten one side. There is a link for you down below to the video I use to make this sled. After setting the board on the sled, I would use some shims found at the big-box store to wedge the uneven portion of the board, which stabilizes it.
After completely taking out the rock, I would then use a hot glue gun to attach everything to the sled before passing it through the planer. Since the boards are so long, I'm using my multi stand here, as an N feed support. I would run the board through the planer, however many passes it took to get the top surface completely flattened out. Of course, that vary board to board, but after it was flattened, it was very easy to remove from the board with just one of the crap chisels that I keep around.
After one face on every single board was, I could then flip the boards over and run them through the planer to get them to the thickness that I wanted. What I did was take the thickest board, use that to set the depth of the planer starting off with then run every single board through before changing the depth of the planer. By doing it this way, the thickest board of the group dictated how thick all of my boards ended up being. I spent some time arranging the boards in the orientation that I wanted, the final tabletop to have.
Next, I started marking off the locations for all of the biscuits. I didn't have any chalk in my shop. That's hard to say, so I used my soapstone instead. Now, instead of trying to glue all six boards together in one glue-up, instead, I separated them out in groups of two first. I would first use my biscuit joiner to cut in all of the biscuit slots. Apply glue to the inside faces, put the biscuits in their slots, and then set the boards in clamps until dry.
After applying the pressure on the clamps, but before setting it aside to dry, I used a framing square to make sure that the boards were nice and flat. It's very easy to create a cup from applying uneven pressure with your clamps. Woo, boom, done. After letting the three groups of two boards dry, I then combined all three together using the same process, glued to the inside edges, putting in the biscuit, and then setting it in clamps to dry.
Once again, double and even triple-checking with the framing square that it wasn't creating a cup by applying the clamping pressure. Now that I have a giant slab I turned it over and applied some painter tape to the underside so that I could then start filling in the knots on the top side with two-part epoxy. Once they were filled, I used my random orbital sander to sand them down flat and smooth so that I would have a nice flat surface to set down my track saw and cut the ends nice and square.
Moving along to making the breadboard ends. I first used a marking to mark off the location of where the mortise needed to be, which is as centered as possible. I cut in this mortise using my router with the edge guide, making multiple passes. Since the mortise is quite deep. I then made one pass buting the edge guide on the opposite face, just to make sure that this mortise was center, and darn it. I really should have done this before cutting in the mortise, so learn from my mistake.
The next thing I did was use an awl and a mallet to mark the location on where I needed to drill the dowel holes, which will be used later on to pin the breadboard ins to the tabletop.
Then used a Forstner bit and my drill press to actually drill it through. Okay, here comes the very time-consuming part, cutting a matching tenon in the tabletop to match this mortise.
I set the breadboard end in place, then used a marking knife to mark the exact location and thickness. Then used my marking gauge to mark the depth that it needed to be. I set the depth of my router once again, using the edge guide, then started making multiple passes. I personally would keep the depth of the bit as well as the fence setting on the edge guide the same and make one pass on all four sides before adjusting it.
This meant a lot of moving around and flipping of the tabletop, but the goal is to take off an equal amount of material from the top and bottom of the tabletop so that that tongue comes out nice and centered to match your mortise. Nice. After spending a lot of time sneaking up on this fit, I finally got the ends to go on the way I wanted them. Wow. Now, what's to transfer those dowel locations from the breadboard ends to that tenon that I just cut in.
I used the Forstner bit inside of the hole and just lightly tapped it so that the center of it would leave a mark for me so that whenever I removed the breadboard end, I could see where it needed to go. However, instead of drilling a hole exactly where it was, I used my awl to create a new center hole, 1/16 of an inch, closer to the shoulder of the tenon. This is called draw boarding. What it will do is draw in the breadboard in closer to the tabletop when you pin it in place.
To allow for the wood movement that this tabletop will have, I used a drill bit to elongate the two outside dowel holes. Next, I grabbed my maple dowels, used my belt sander to put a slight bevel on the tip of all of the dowels. This slight bevel will allow the dowel to pass through the offset holes. Now this entire joint cannot be glued because you have to allow for the wood movement that will happen through the seasons.
Only a small middle portion actually has glue on it, and the rest of the joint is just floating. After getting the ends in place, I applied glue to the center dowel location and then drove it in. Ah, this is so cool. This is so cool guys. [laughs] This is really cool. No glue. As I said, the outside slots do not get glue on the tenon, but I did apply a little bit of glue to the top of the dowel where it only touches the breadboard.
It was very nerve-wracking but exciting. Once dried, I used a Japanese pool saw to cut the bulk of it down before moving on to the sanding stage. I used my Palm belt sander to clean up the edge of the table, making sure to remove all of the burn marks. Then I use is my random orbital sander to run through the grits and clean up the top. I must say it was an amazing feeling, just absolutely an amazing feeling getting to this point.
One of the last things to do was to apply a finish. I went with Minwax wipe-on poly. After being told it's a durable finish that is extremely easy to put on. Oh my goodness. After this project, I completely agree. It was very simple. I used an old t-shirt in order to apply it. Overall I applied six coats to the top. Now I don't show attaching the base because I do want to finish the underside, but that's a two-day process, and I've run out of time for this video.
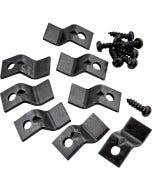
However, when I do attach them, I'll be using these clips made by Rockler. Don't forget if you want to build your own, then I do have a set of plans available on my website. There is a horrible echo in this room, so I will be brief. I hope that you enjoyed this project and I will see you next time. This is a party. Oh my. Oh my.
Keep the inspiration coming!
Subscribe to our newsletter for more woodworking tips and tricks