Video: Building a Kitchen Utensil Holder
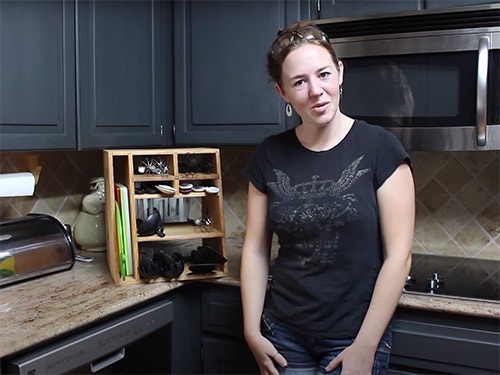
In this video, April Wilkerson builds a utensil holder for her kitchen.
April Wilkerson felt like her previous kitchen utensil holder was a bit too small, so she redesigns it to be a better fit for her needs. She used cedar as she had some available, but any 1×12 board will work.
You can find more great projects and techniques from April Wilkerson at her website.
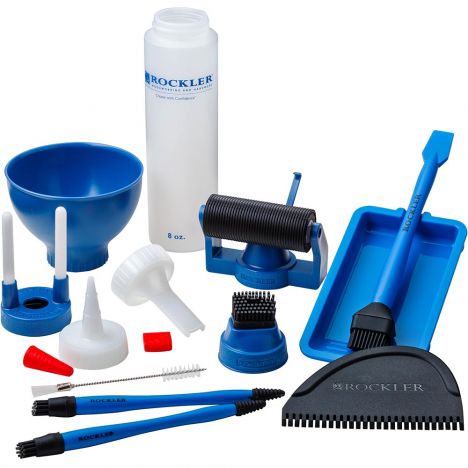
Featured Tools:


April Wilkerson: About a year ago, I built this utensil holder. It works great, but I built it a little bit too small. Today I'm going to be rebuilding it, making a few changes and definitely making it a little bit larger.
I looked around my shop and noticed that I already had a board and a half of Cedar one by twelves, so I decided to use that for this project. I started off by taking my boards over to the motor saw and cutting them to length. I did go ahead and put together a simple set of plans on my website if you're interested in building your own.
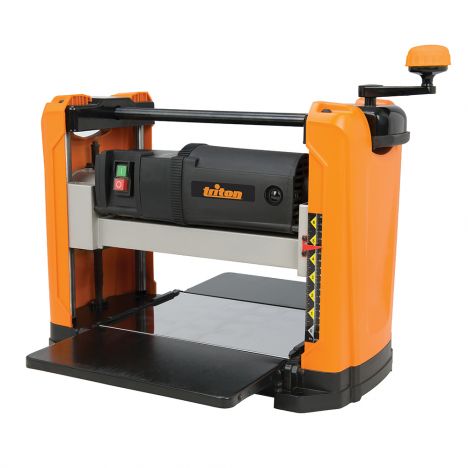
Next, I went over to the thickness planer and planed all of my boards down to half an inch. I'm going to be using dados and rabbets for the joinery on this project, so I swapped out my table saw blade for my dado stack. I set the level of the blade to a quarter inch.
Now, since a lot of these cuts are repetitive, I attached a temporary fence to my miter gauge so that I could use a stop block. This allowed me to run my board through, flip around and run it through again to make the matching cut. I repeated this with the sides, just moving the stop block where it needed to be. Since the two sides have the same cuts, I would make the first cut, switch it out for the second board, and then make an identical cut on it.
Once all the dados and rabbets were cut, I used glue and started attaching things together, first grabbing the three vertical pieces and attaching them to the top and bottom boards. With things in their place, I used my Rockler Sure-Foot clamps to hold everything down until the glue dried.
While that was setting up, I cut the shelf boards. I first dry fitted these without any glue, just to make sure that I was happy with the fit. Once I was satisfied, I took them back out and cut in the dados, again using a stop block just to make sure that the placement was identical. I used glue and then, once again, set them in clamps to dry in place.
If you notice, the second board of cedar that I used is just slightly narrower than the first, so the shelves didn't exactly line up flush with the sides. I could have just made the side the back, but instead I thought about cutting in an angle on the utensil holder so that it would not only cut off the uneven surfaces, but it would also allow the top cubbies to be shallower than the bottom, which would be really handy. After everything was completely dried, I grabbed a tape measure and measured off where I wanted this angle to be. Then I used a straight edge board just to make a straight line.
Then it was the fun part. Not really. [chuckles] I clamped the whole utensil holder in my super jaws to hold. I also clamped two straight edge boards into place, one on the top where I was cutting and one along the back edge. I use these as guides to help me keep my saw cutting straight as I was making this cut. Eventually I made my way all the way through the utensil holder. It would have been far easier to run it through my bandsaw or table saw, but unfortunately the unit was just too tall for either to work.
Now, I don't know much about hand saws yet because it's not what I typically use, but I ended up getting through the utensil holder. The cut came out pretty well, but it did need a little bit of cleaning up, so I grabbed my palm sander and went over the front face just to make it look nice and even. Then I came back with the block sander with a finer grit on it.
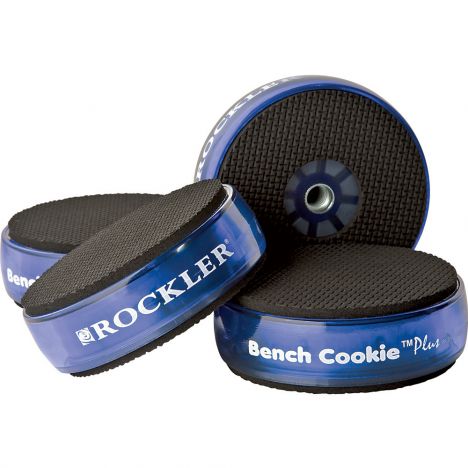
Now, since it's a cedar and a dense wood, I'm going with teak oil for a finish. Now, a lot of people asked whenever I made the bench cookie dispenser, "What the heck is a bench cookie?" Well, it's just a small little puck that has rubber on both the top and the bottom, and they come with attachments where you can actually lift your project up off the surface so that whenever you're finishing it, you can get to all the edges. They're small things, but extremely useful.
Once it was dry, it was done. I set it in place and started transferring all my utensils. Even though using that hand saw was a kind of a pain in the butt, I'm really happy that I included the angle. It makes the shorter utensils still stick out far enough for me to be able to see and grab what I'm needing, but then I also have places for the longer utensils to tuck in without sticking out way too far. Then, of course, the cutting boards are over here where I can either grab multiple or a single one.
Okay, that is a simple project. Now, of course, it would have been more simple if I could have anticipated wanting this angle before actually cutting my boards. That way I could cut them to this shape before gluing them up, but I ended up making it work the way I wanted it. That's it for the video. I hope that you were able to get something out of it. Big thank you to Rockler for supporting my channel, and I will see everybody next time.
Keep the inspiration coming!
Subscribe to our newsletter for more woodworking tips and tricks