Video: How to Make a Letterboard
This DIY message board is a fun weekend project that is simple to make and a good exercise in your frame making skills. Plus it's great for leaving messages in the house!
This fun weekend project is simple to make and a good exercise in your frame making skills. Plus it's great for leaving messages in the house!
You can find more great projects and techniques from David Picciuto at his website.
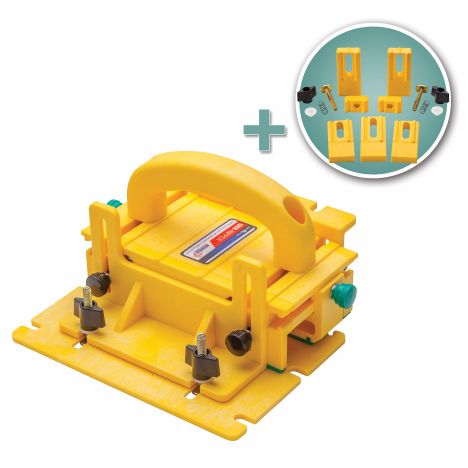
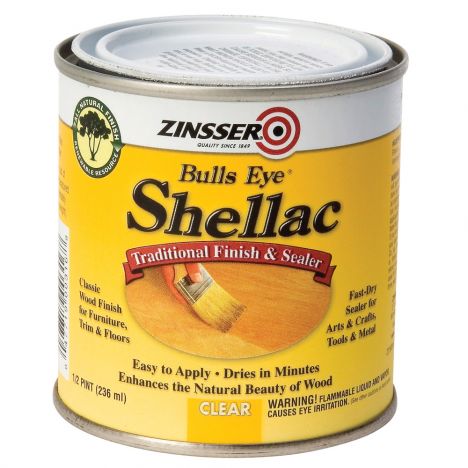
Featured Tools:
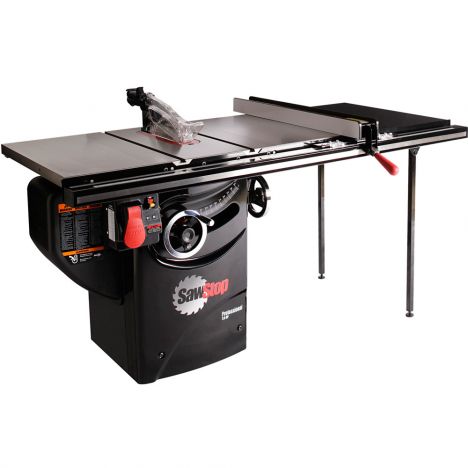
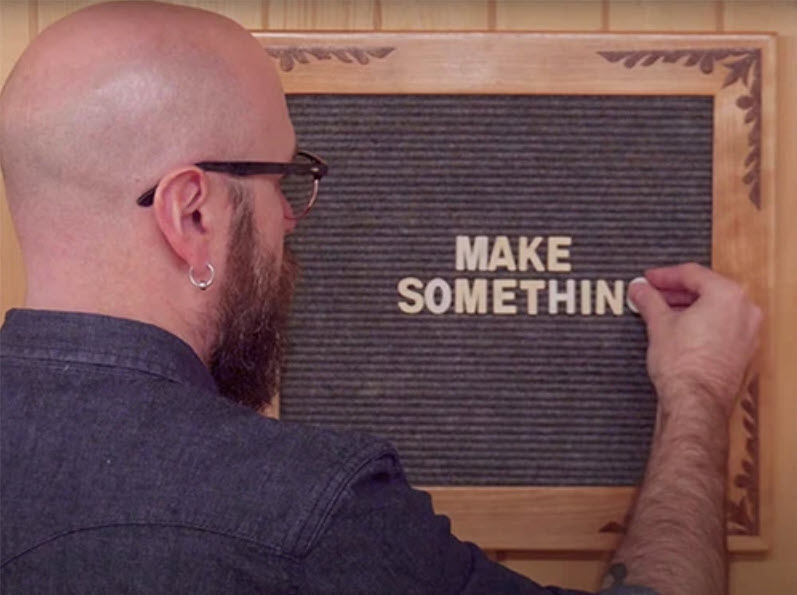
David Picciuto: Welcome to Make Something with me, David Picciuto and today we're going to make this super fun and easy felt board sign. Stick around to see how we do it. Today's video is sponsored by GraphicStock. If you subscribe to my second channel, Make Something 2, you may have seen the vlog where Eric and I go to the antique store and while at the antique store we came across this menu board. I'm going to use this as inspiration for today's project. I made a test piece here on my table saw, ran a few grooves, I thought this would be the way to go and then insert some felt in there. Turns out that that groove made by the tables saw blade is still too wide and it doesn't hold the piece.
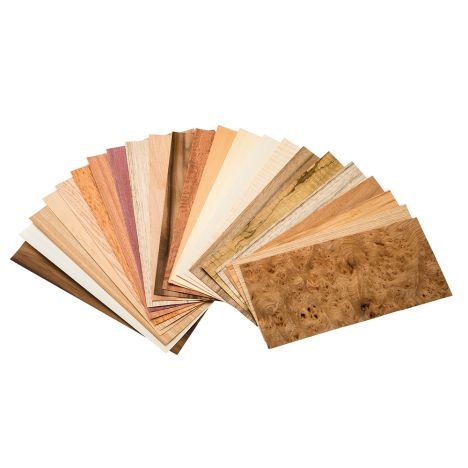
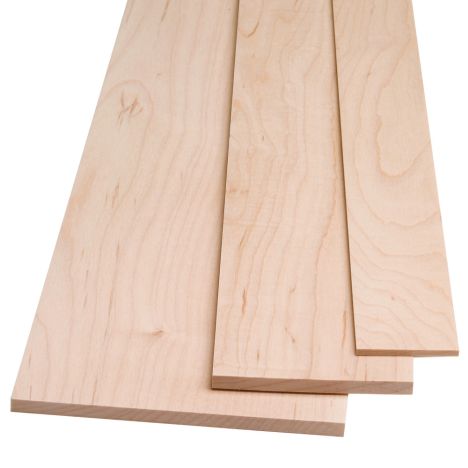
Instead what we're going to do is we're going to cut a whole bunch of little thin strips so then we can make that groove any size that we want to fit our little pieces. I have this one eighth inch piece of maple here that I'm going to cut into 16 inch wide pieces and then turn them around and then rip them into small little pieces for the board.
Looks like each piece is about three sixteenths of an inch. Got this piece of Masonite here. I'm going to use this as the backing board. I'm going to cut it to the rough size here in a table saw. After a couple of failed attempts, I think I found the way to actually glue these up. I'm going to do them in gangs of five.I have my pieces here with spacers in between them and I'm just going to run beads of glue in here and glue it down.
I can take these spacers out. All the spaces are, it's just these guys doubled up so I can grab them out of there. Eric and I are developing a faster way of gluing this up so we're putting our spacers in. Whatever we're doing is just dumping the glue in there like this and blow it into the cracks. All right, last set here. Where all the spaces were, I'm just going to run some glue in there. Just let it seep into the cracks. All right, we'll let that dry. Then we'll clean up these edges and we'll start sticking the felt in there.
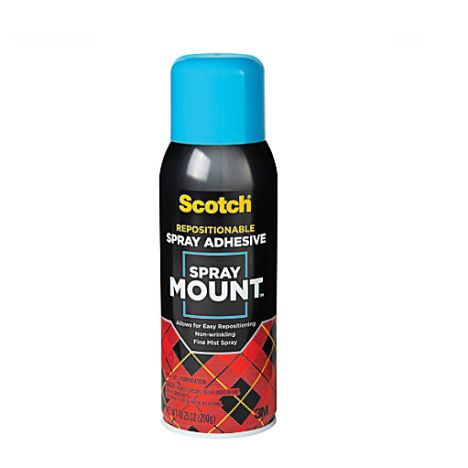
We're going to cut a piece of felt that's oversized and we're just going to pinch it in there. I'll probably do one row at a time. Throw a little bit of glue in there. Dude, I don't know, I think it'll be easier to cut it to the exact width than try to cut it down to width after it's inserted in there. I don't know, somebody will let me know in the comments down below that I'm doing this wrong. What do you think? Spray adhesive or super glue?
Eric: Sprayed adhesive.
David: All right, let's give it a shot. I had the brilliant idea of using a butter knife instead. Eric had the brilliant idea of using a butter knife. Here we go, look at that. It's time to build a frame for this guy and finish this up. Here we go.
All right. There it is. That was super fun and awesome. The letters in here are from the board that came from the antique store they fit in there just fine. I also got some of these letters here from Amazon. They're smaller. You can get a lot more in there. As you can see, they don't fit in there as well, but they will work, super cool. These letters there's definitely a tighter fit. They also work in this board here. The plan is this board is going to get permanently hung up top here.


Keep the inspiration coming!
Subscribe to our newsletter for more woodworking tips and tricks