Video: Making a Folding Outfeed Table For Your Table Saw
In this video, April Wilkerson upgrades her table saw with a custom-made outfeed table.
The table saw is one of the most used and useful tools in all the workshop, and an outfeed table is a significant upgrade. April Wilkerson has been putting off making one in her workshop, but tackles the process in this video.
You can find more great projects and techniques from April Wilkerson at her website.
Featured Tools:


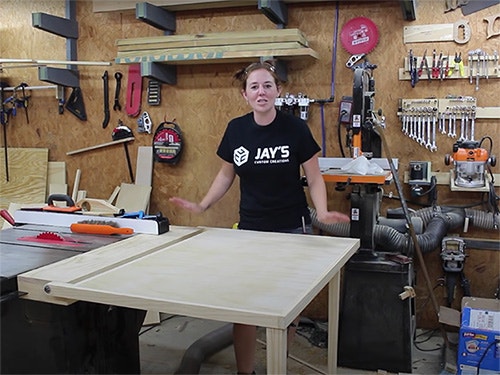
April Wilkerson: Let's see. I think it's been two years that you, guys, have been pushing me to build an outfeed table, but I've been resisting. Well, I'm finally caving in, and I'm building one this week. I'm going to go ahead and jump to the end to show you what it turns out to look like so that you can have a visual as I'm moving along through the video. Basically, I took a mounting block and mounted it to the back of my table saw, and then hinged the outfeed table portion to that mounting block. Now that you're seeing what I'm going for, let's jump in to how I got it done.
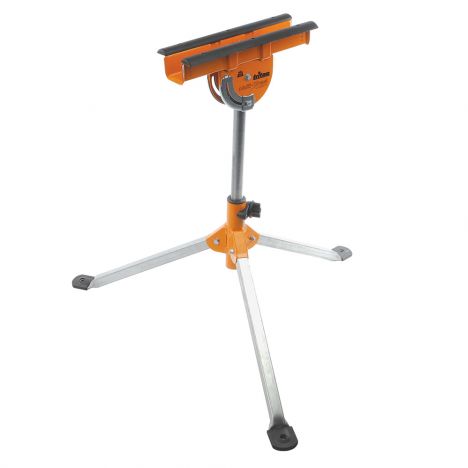
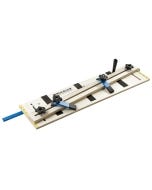
I started off by making the mounting block that will mount to the back of the table saw, and just to cut down on price, I bought one piece of slat pine that will be for the top layer, the visible portion, and then use regular standard pine boards for the bottom layers. The reason I've been able to go so long without building an outfeed table is because I've been utilizing this multi-stand, and it's done a great job for me. However, I do think it's time that I upgrade to just more surface area.
After getting all the boards cut to size, I started glueing them together. Then I brought out every single clamp I own, attach them, and then set that to the side to dry, so that I can get started on the table portion. I found a piece of cabinet-grade plywood to use for the top and a piece of construction-grade plywood that I'll use for the bottom. I brought out the glue once again and stuck the two pieces together. Since all the clamps were tied up, I used my brad nailer. When I'm making two pieces like this that need to be identical, I cut one slightly oversized and then use a router with a flush-trim bit to get it exact.
Moving on to making, I guess, what you can call the arms of the table, these are the pieces that will connect the table to the mounting block and allow it to pivot. Now, it's pretty important that these all be identical just to make things easier later on. I tape them together before I round it over the top and also before drilling the hole that the lag bolt will later go into. It's pretty important to get a very straight hole, so I definitely recommend using a drill press if you have one available. Then I can un-tape the pieces and glue and start attaching them. I started with the longer arms on both the left and right, then came back with a top and bottom trim piece. Then glued and clamped this additional inside arm piece.
The next day I took the mounting block out of the clamps, and then had to plane down one of the surfaces. Oop, a good song came on. I planed down one of the surfaces to give a nice flat, straight edge, so that I can run it through the table saw and get the other edge nice and straight. Then it was on to mounting it.
Now, I'm really worried about getting this mounted on here and then wanting to tilt forward. To try counteract some of that, I'm going to be cutting in a slit along the side and then actually sandwiching it on to this angle iron. First, I cut a regular scrap of wood, and this is going to be the height of my table. This is about a good solid 16th of an inch under flush. Then what I did is, I cut a second spacer, and this is just what the depth is. This one will determine how deep I go in, and then this determines where I need to start that cut.
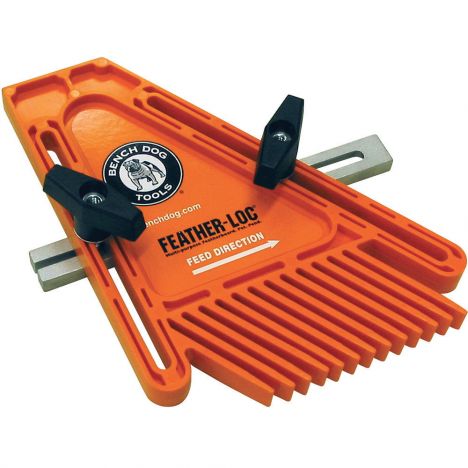
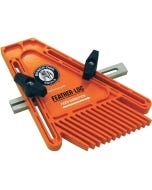
I really took my time lining out this cut because I did not want to mess up and have to make a new block. Using a featherboard here really came in handy. It did take two passes since the thickness of that bar is 3/16th, but I was really pleased with how snug of a fit it came out to be.
Sweet. Pretty happy with that. I was pretty choosy about the hardware. It took me a second to find what I needed, because I needed a lag bolt that's short enough to not pop through top, but also has a shoulder at the bottom that is tall enough to go up to the bottom of this angle iron. What I need to do is drill a though hole for the bottom of the shoulder, and then pilot hole where the threads will be going into.
To transfer the existing holes in the angle iron to the mounting block, I clamped a scrap piece of board to the underside, and drilled the holes. Then I could reposition the mounting block, clamp that board underneath it, and then drill up and transfer those holes, paying speciall attention to try and keep my drill as straight as possible so that these holes come out nice and straight. I first came through with a smaller bit as a pre-drill, then used a piece of tape as a depth gauge to come back and do that through hole.
Then I actually attached it using lag bolts and washers. Feels pretty good. Now I can attach the table to this mounting block. I use my multi-stand to just position it into place so that I can figure out where I needed to drill these holes, so that whenever it flips up, it's nice and level. I pre-drill the holes, again, taking my time in trying to get these holes as straight as possible. Then I move the table in place and then attached it using another washer and lag bolt, not making it too tight because I do want this to pivot freely.
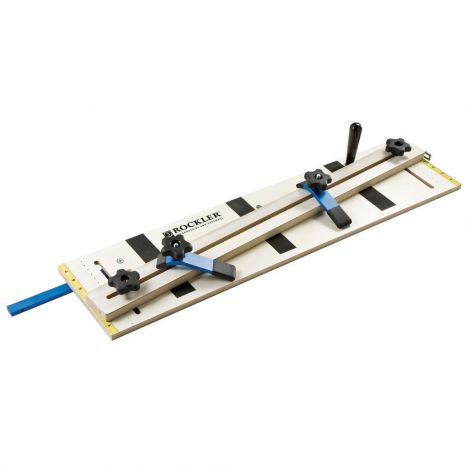
Awesome. Okay, so now just to make some legs. I let them glue up the night before and then decided to put a taper on them using my taper jig. It's my first time doing a taper, but I really just love the added look that it gives the legs. Then I could just attach the folding hardware to make the legs collapsable, and also some leveling legs at the base, because, of course, my shop floor is not perfectly level. Now, I still need to cut the miter gauge slots in the outfeed table, but I've decided to wait until I build the crosscut sled to do that.

Keep the inspiration coming!
Subscribe to our newsletter for more woodworking tips and tricks