Measurement Advice: Calibrating Your Tools
Imagine what the world would be like if it lacked a system of standardized measurements: Every hinge, screw or nail sold at your local hardware store would be a bit different in size, and working with them would be a nightmare.
Thank goodness that's not the case. Regardless of whether you work with the metric system (meters, centimeters and millimeters) or the Imperial system (feet and inches), we have a variety of measuring tools at our disposal — rules, tape measures, yardsticks, calipers, etc. to use throughout the building process. They help create scale drawings, lay out joinery and cut and machine parts to accurate dimensions — all steps necessary for the successful completion of any project.
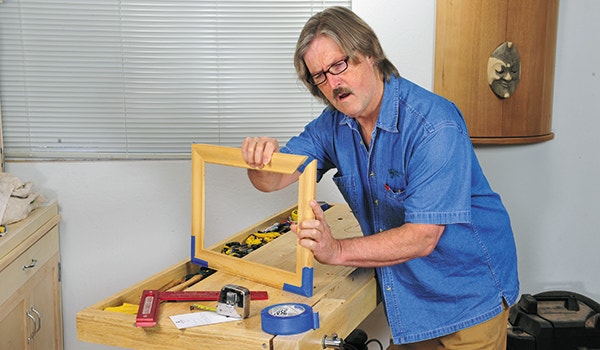
But, despite the importance of achieving accurate measurements, about the only advice most of us receive is to "measure twice and cut once." Yes, being doubly sure of all dimensions before cutting parts is important, especially when you're about to cut up a $150 sheet of plywood! But there are other lessons one can learn for handling everyday measurement and layout tasks that can help prevent mistakes and make these tasks easier and even more precise. While there's enough to say on this subject to fill up an entire book, in this series of articles, I'll share with you some of my favorite measuring and layout tips and techniques — some of which I learned the hard way — that I've gained during my 45+ years of professional woodworking. Let's begin with a very important step: making sure all your measuring tools agree with each other.
Calibrate Your Tools
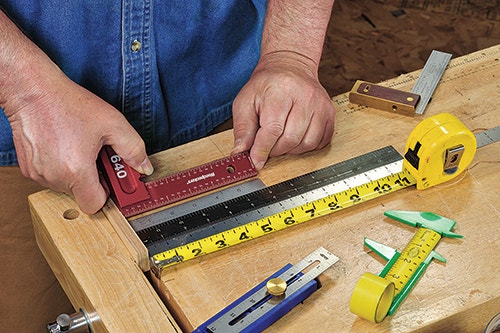
One sure way to fail at taking precise measurements is by using tools with scales that don’t match. Believe it or not, there's often an amazing amount of disparity in the scales on various rulers, tape measures, yardsticks, try squares, etc. So, before you start your next project, do this simple test: Lay all your scaled tools side by side and compare them. The first time I did this, I was shocked to see that the spacing of graduations on some of my rules — even some high quality ones — were subtly different! The solution was simple: I kept only the rules, tapes and squares with scales that matched perfectly.
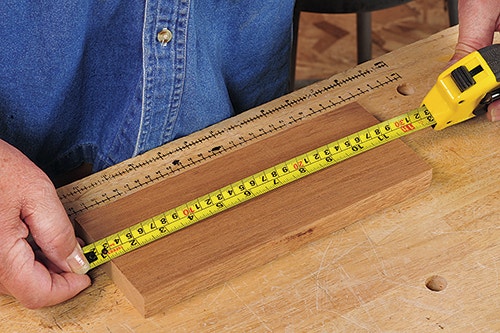
When checking tape measures, make sure the tape's end hook is fully pulled out, for outside measures, and fully pushed in, for inside measures. Don't be too surprised if even your best tape measure won't take both inside and outside measurements accurately; most tape's end stops are notoriously prone to error. In my shop, I purposely calibrated a pair of tapes, one for only taking outside measurements, the other for inside measurements; I did this by crimping the rivets that hold their end stops in place. I also labeled the tapes, so I don't mix them up. Having two tapes not only makes for more accurate measurements, it also does away with a classic mistake that most woodworkers have made: To circumvent any inaccuracy stemming from the sliding end stop, you measure by aligning the 1" mark with one end/edge of the workpiece, read the measurement, then add one inch to it. Only thing is, it's all too easy to forget that last step and end up with parts cut exactly one inch short!
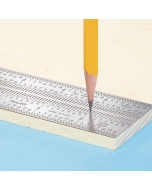
Another step towards assuring measuring consistency in your workshop is to check and calibrate the scales all on your machines so that they match your rules and tapes. This includes rip fences on table saws, end stops on cutoff saws, thickness scales on planers, etc. Start by comparing one of your "vetted" tapes to the machine’s scale, and make sure the graduations match along their entire length. Now set the cursor (on a rip fence) or position of the scale relative to the blade or cutterhead (on a cutoff saw fence or planer) so that when you set the machine for, say, a 5" cut, you get a part that measures exactly 5 inches long, wide or thick.


Keep the inspiration coming!
Subscribe to our newsletter for more woodworking tips and tricks