Napkin Holder Project
With only four parts total, this is a small project you can make in just a few hours.
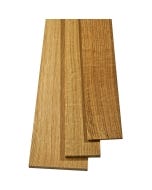
This version is 1/2" thick quartersawn white oak, but any sturdy hardwood, such as birch, cherry or ash would do just as well.
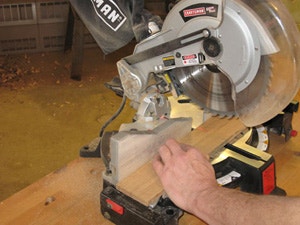
Kick off this fun and practical project by cutting your pieces to size using the Cutting List below as your guide. All the parts are listed at their exact finished dimension.
When you have cut the sides to width and length, you can move on to laying out the angled openings which will hold the sliding rail. The diagram below shows the details — the opening is set at 30 degrees to the bottom edge.

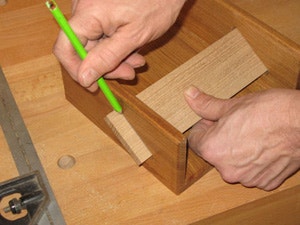
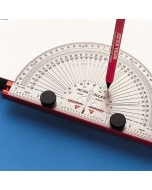
Use a square-head protractor to put the layout lines for the slot on one side only. If you don't have a protractor, the measurements in the diagram will orient the slot properly (Download the Napkin Holder Diagram.)
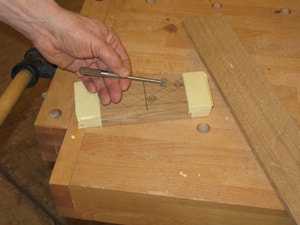
Next, tape the sides together with masking tape and drill 1/2"-diameter holes at the ends of the slot markings. By drilling these holes with the sides taped together, you effectively locate the angled slot perfectly on both pieces. When the holes are bored into the sides, remove the masking tape. On the side without any layout lines, draw pencil lines that connect the two 1/2"-diameter holes.
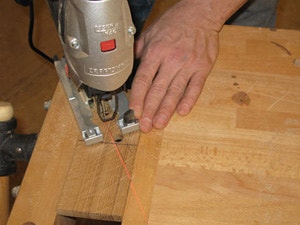
Put one side piece into the tail vise on a workbench, or clamp it in such a way that you can use a handheld jigsaw to form the rest of the slot. Cut the slot on the layout lines, taking care to cut straight and true. Form the slots on both side pieces. You may need to use a rasp or file to get the slots looking nice.
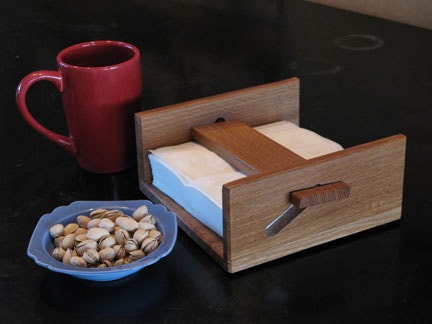
Sand the sides and base. Glue and clamp them together in the configuration shown in the lead photo. (Check that the sides are square to the base as you do this.) Make sure that the grain in the side pieces is running in the same direction as in the base. When the glue has cured, use a piece of sandpaper wrapped around a block of wood and chamfer the edges of the subassembly. With that done, sand the entire subassembly up through the grits, and apply two coats of shellac and allow it to dry. It cures very quickly.
Now grab the rail and test fit it into the slots. If it does not fit, adjust either its width or thickness until it slides smoothly in place.
With equal amounts of the rail extending past both sides, use a pencil to mark all the way around the ends of the rail. Mark both outside of the side panels and on the inside.

Take the rail out of the slot and mark two lines, 5/16" apart, centered in between the two lines you just marked onto each end of the rail. These lines will mark the end of the cuts you will make.

Put the rail back into the slots and check to see if the rail will rotate to be horizontal to the base. It should also move smoothly up and down within the slots. In use, the rail rests on a stack of napkins, securing them in the holder until they are needed.
When the rail fits freely in the slots, take it out, sand it smooth, and apply two coats of shellac. Apply a thin coat of wax inside the slots and fill the holder with napkins ... then get out the chips and salsa!
Napkin Holder Cutting List
Base (1) - 1/2" x 7-3/4" x 7-3/4"
Sides (2) - 1/2" x 3" x 7-3/4"
Rail (1) - 1/2" x 2-1/2" x 8-7/8"
When the tiles are cut out, the CNC leaves small tabs connecting the tiles to the larger blank. Carefully break the tiles free and then sand the tabs flush to the edges of the tile. I used a benchtop belt sander and actually sanded all four edges of each tile smooth.
Click here to download the Napkin Holder Diagram as a PDF file.

Keep the inspiration coming!
Subscribe to our newsletter for more woodworking tips and tricks