Video: Building a Walnut Dining Table Base
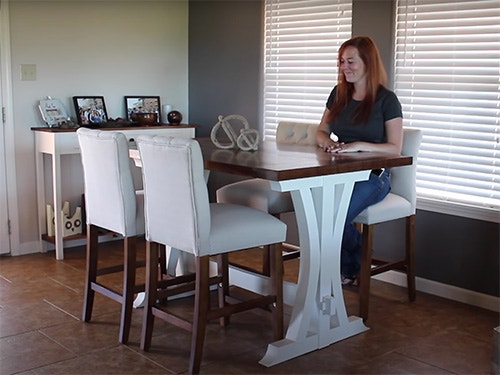
In this video, April Wilkerson constructs the base for a walnut dining table.
April Wilkerson tackles her first dining table with this ambitious walnut project. Here she builds the base for the full piece.
You can find more great projects and techniques from April Wilkerson at her website.
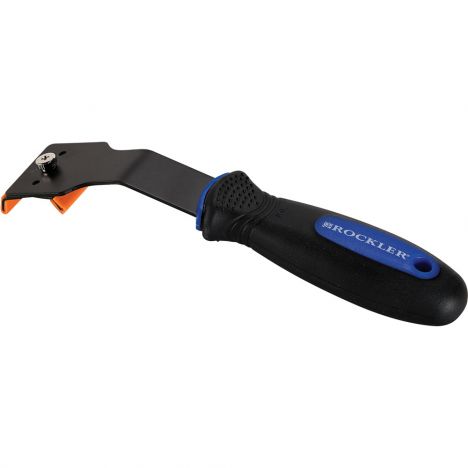
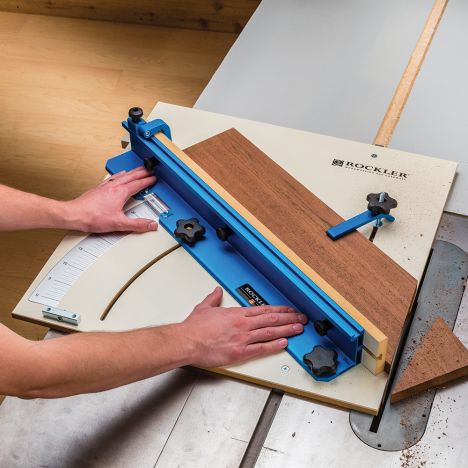
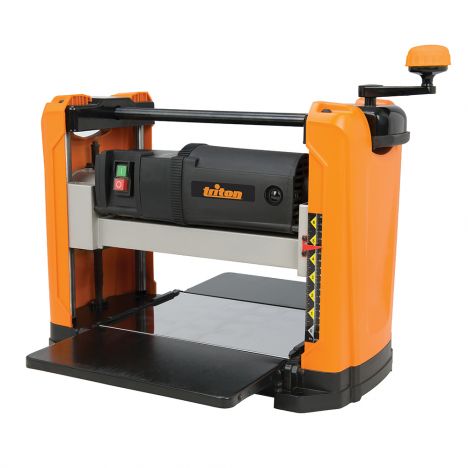
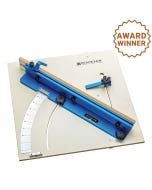
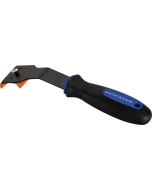
Featured Tools:


April Wilkerson: A kitchen table has been on my to-do list since I started building. It's just one of those projects where I kept pushing it off to build something else, but this week, I finally tackled it. I designed four different bases before settling on this one. If you're interested in seeing how this came together, well, then stay tuned.
As you saw, the entire base is painted white, so I made the entire base using pine 2X4s. I do have a set of plans available on my website, and they include a full material shopping list, as well as a full cut list. The first thing I did was use my motor saw and cut down all of the 2X4s and then the pieces that I'll need. Because all of the components of the base are thicker than just one 2X4, so therefore, I'm going to be taking multiple 2X4s and gluing them together to get bulkier material.
With all of the pieces cut, I started on the glue ups. It's my first time using these clamps, and I was very impressed with the design of the handle. It's very functional. After letting everything set up for the day, I took everything out of the clamps and used my glue scraper to scrape one side flat and clean, so that I could then pull up my planer and start planing the boards down to the thickness needed. Moving the planter so that all of the sawdust was being thrown out of the garage. Although, I did come back and sweep it up later.
With all of the pieces now at their needed thickness, I started working on what will be the bridle joint, and this is just a notch cut in on both of the horizontal pieces that the vertical piece later connects to. I used my brass gauge blocks to help me set the depth of my saw blade. Then I set up a stop on my crosscut sled and made the very first, as well as the very last cut for these notch on all of the different pieces. Once those were cut in, I came back and carved away all of the material in between. This would go much quicker if you put in your dado stack, but I can't find mine since the move, so a single blade will definitely still work.
With the joints cut in, then I moved over to start making the curves on the end. I first used a protractor to get my curve, then cut it out using the bandsaw. In total, I made four of these pieces because the top and the bottom are identical to one another.
Next, was to start working on the vertical piece that will join the two horizontal pieces. I used a marking gauge to first mark off where the mortise will be that makes up the other portion of the bridle joint. I used the bandsaw with a clamp on the fence to act as a stop block in order to cut this out. The clamp just acts as a stop so that the depth is the same on every single cut. I really took my time trying to make this a nice snug fit onto that horizontal piece. Cool. Once I was happy with it, I moved it to the ground to give it a dry test fit. Cool.
At this point, I left the bridle joint a little long, so I used a piece of 2X4 to get the horizontal piece seated all the way. With being happy with the dry test fit, I removed both of the horizontal pieces and started marking off where the mortise needs to be for the stretcher. I used a Forstner bit in the drill press to hog away the majority of the material, then came back with a chisel and mallet to square up the corners and clean up the cut.
After getting the mortises cut on both of the vertical pieces, I then set everything in clamps to glue up overnight. The following day, I put the entire assembly in my SuperJaws and used my Palm Belt Sander to flush up those bridal joints. Then I moved on to working on the curves. Right now, it's still just a big block of glued up 2X4s. I first pre-drilled a few holes and then threw in a few screws. I used these as holding points for a metal ruler. With it held in place, I traced it out, then moved the screws down to the thickness I wanted the piece, and made the same exact curve.
At this point, all of the blocks are still long, so I decided which block was going to go where in the table, and then used my crosscut sled to cut them to the exact size needed. With that done, I next used the Duo Dowler in order to put a dowel joint at the peak of every single curve in order to connect it to the vertical member. Even though this is a Duo Dowler, I just took out one of the bits in order to make it a single doer.
Now that all of the joints are cut in, I took my block pieces over to the bandsaw and started cutting out the curves. Once all of the curves were cut, I gave everything a good sanding before moving on to the assembly process. Even though I didn't show it, I definitely did a dry test run, just to make sure everything fit before applying glue. While that was drying, I moved to the top to counterbore a hole using a Forstner bit so that I could sink a screw in each one of these joints. Since I'm using pine, there are a lot of knots, so to prevent them from bleeding through over time, I used a knot-ceiling primer to go over every single knot I could see.
Next, it was on to making the stretcher that will connect the two leg assemblies. I first ripped it down to size at the table saw, then lined out where the tenon needed to be cut to go through the leg assembly, as well as the mortise that will later receive a wedge. While I was at it, I also lined out the top and bottom curves so that it would fit the design of the legs slightly more.
Once I cut everything out, I moved on to assembling it. Holy Moly, I know there's a lot of steps, but stay with me folks. The last thing I did was the finishing step. Now, of course, I'm going with the paint, and I went with an antique white latex paint. Since I had planned on using my Fuji HVLP sprayer, I did thin it down, as well as add in an additive called Floetrol. Now I've used HVLPs a little bit before in the past, but definitely nothing as quality as this Fuji is. This is the Q4 model, which is a four-stage system that can spray a variety of different materials.
The turbine is designed to spray fine finishes for like cabinets and furniture, as well as medium to heavy painting projects. Now you don't need a compressor for this system, it actually has a built-in compressor. All you need is a 110 outlet. Since I don't have much room in my shop to finish, I set up a spray shelter right outside of the garage. Set up a test piece to get familiar with the gun, and then started painting the actual project.
All in all, I probably applied five or maybe even six coats of paint. With an HVLP of course, it's very simple to apply a coat of finish. Since it is a kitchen table and probably going to be receiving some abuse, I just thought, the more, the better.
Then to top it off with a little bit more protection, I came back with the Minwax Polycrylic, which is a water-based polyurethane. Again, with it being a kitchen table, I didn't even count how many clear coats I put on, I just continued to spray on coats until the gun ran out of finish. With the Minwax Polycrylic, it's very simple to do that, just because it's so quick to dry.
It wasn't my intention to turn this into a two-part video, but this is a very time-consuming build. In the next video, I'm going to be taking these Walnut boards and turning it into the tabletops. Stay tuned if you're interested. Also, if you're interested in building your own, I do have a set of plans for the table. There is a link for you in the description down below. I hope that you'll like it, I hope that you learn something, and I will see you next time.

Keep the inspiration coming!
Subscribe to our newsletter for more woodworking tips and tricks