Video: Lift Top Tool Table
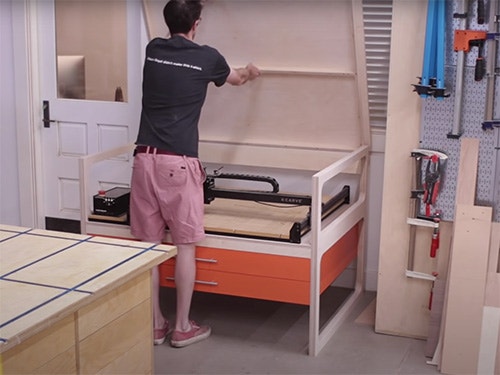
In this video, Shaun Boyd and Chris Salomone are building a new shop table to hold his CNC machine, while still maintaining a useful table top when the machine isn't in use
The top shelf is hinged, so it can easily be lifted out of the way when using the CNC, and there are two drawers for extra storage below.This build utilized plenty of interesting techniques including CNC cutting, template routing, orange painting, drawer building, and hinge installing madness.
You can find more great projects and techniques from Chris Salomone at his website.
Featured Tools:


Chris Salomone: This project started out as a lot of shop projects due by befriending a CNC router and cutting down sheets of plywood into manageable chunks and these manageable chunks eventually became the legs to the CNC table. Before we get further into cutting up these rough parts, let's talk about the design for a minute. With Chris and I combining shops recently, we've been doing a lot of reorganizing, and it's become apparent there's a need for some new shop furniture, which is something neither of us have ever really enjoyed making. We decided to make shop furniture that we actually enjoy making if that makes sense.
For this one, I wanted to do three things. I wanted to give the piece some interesting design. I wanted to add a bit of color. I wanted the table to be useful when we weren't using the CNC machine, which is honestly how we'll be probably 90% of the time.
Once I had all my leg parts cut to rough dimension, I could then employ Craig to help a bit with making his new home. This is Craig by the way, our Inventables X-CARVE. He does good work. He cut a couple templates to help me get the shape of the legs right. The nice part about this process is that I'm able to pull SVG files from my Fusion 360 model, then import them directly into Easel and I can have a template cut in minutes.
For this one, instead of cutting large templates for the whole leg sections, I cut a couple of smaller templates that I could just move around my leg blanks to get the final shape. Once I had everything marked out, I could cut in some dominoes for the joinery, which I did before cutting the carves just to be sure I had plenty of material to reference.
With those finished, I took everything to the bandsaw to rough cut the carves just outside of my pencil line. From there, I can glue up the leg assemblies which consisted of the rough cut carved vertical parts and the straight horizontal sections which had been cut to size on the table saw.
With the four rough-cut leg assemblies glued up and I did four because I wanted to double up the thicknesses or as we in the biz say the thickni of each leg. I could then flush trim all the carved sections using my template and a router which I did on only two of the leg assemblies.
With two of the leg assemblies to their finish shape, I can then glue them to the two remaining and still oversize leg assemblies then flush trim using the first leg assembly as my template.
With the legs done, it was time to start making the two shelves, one that would hold the CNC machine and one that would be the hinged upper tabletop. I wanted the tables to be fairly sturdy and to stay as flat as possible. I reinforced each one with some two-inch-wide strips of plywood.
I made the two shelves identical except for the upper top which needed to have the sides inset by the thickness of the leg assemblies so that when closed the top could rest on the tops of the legs. With both of these finished, I could then attach the lower shelf to the leg assemblies then make a couple of backing boards to add a bit more rigidity to the whole piece.
With the table pretty much done. The last thing to work on was the drawer storage underneath the bottom shelf. I started by attaching two side panels to the legs to mount the juror slides too. Oh, and I also painted everything orange.
From there I could build the actual drawer boxes which I kept very simple for this build. I made them out of plywood and assembled them with screws. You can see here that I added in some spacers between the drawer slides and the side panels. This was to compensate for the material limitations I had when making the drawer boxes which ended up being not quite wide enough to span the entire width of the opening or I accidentally made them too small. I'll let you decide.
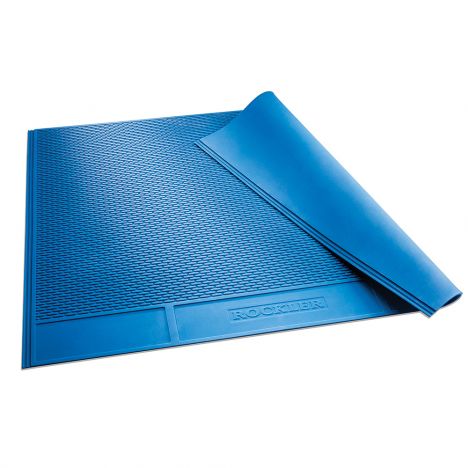
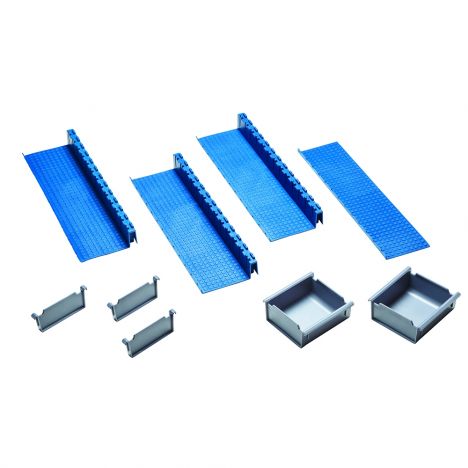
With the drawers done and installed, I could install the drawer pulls and a long piano hinge on the back of the top table. Finally, we wanted to add some organization since there are plenty of small CNC parts to keep track of and these Rockler lock align drawer organizers did the trick.
All right, there it is. This should end up being a super useful piece for us to have in the shop. Having the usable space above the CNC will be great and having extra drawer storage is always helpful. Thank you as always for watching. I really appreciate it, hope you enjoyed this one, and of course, until next time, if you're ever looking to make some cool shop furniture and you want to paint it orange, just remember that you can-- nothing rhymes with orange.


Keep the inspiration coming!
Subscribe to our newsletter for more woodworking tips and tricks