Video: Making a Plaque from Wood and Brass
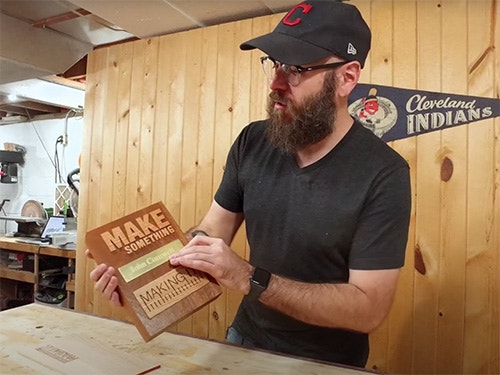
In this video, David Picciuto uses a CNC and laser engraver to make a plaque out of wood and brass.
David Picciuto participates in a little Q&A with his viewers while he creates a custom, laser-engraved plaque made on his CNC machine.
You can find more great projects and techniques from David Picciuto at his website.
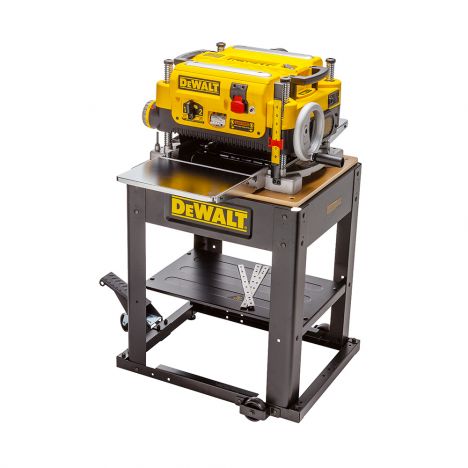
Featured Tools:


David Picciuto: Let's get started. I'm going to use this leftover piece of rope from a previous project. I'm just going to rip it to width here on the bandsaw and then I'm going to flip it up and resaw here in the bandsaw so I have a nice...
Now I have my thin piece of wood here, and I'm going to secure it to the waste board. My favorite way to do this is with double-sided tape. I'll have a link down below in the description on where you can get this massive roll. A lot of people ask me what the rails are for here on my CNC, I put these on here so I will always have a zero point, I can always have the bit come down to this point, and then make my cut and I can make it repeatable by putting in the next piece, and it'll cut from the exact same spot.
The reason I have my image reversed here in Easel is I'm going to measure the board and then cut this out but not go all the way through, we're going to call this onion skinning and then that'll leave like a thin little layer of wood holding everything together. We'll glue this on the board, and then we'll sand this down and it will reveal our image. The thickness of my board is .22. I think I want a depth of 19.
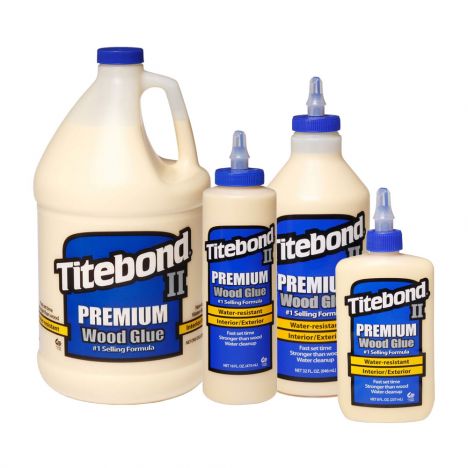
I have this piece of walnut here and now I'm going to glue this right on top and we'll clamp it down. Then we'll sand this away. I took some scissors and made my brush a little more fine so I can be a little bit more precise with my brushing here because I really don't want to get glue on any of the parts that we don't want glue.
You know what? I'm not going to clamp it. I'm just going to use this concrete weight. Now that this has had time to dry, I'm going to run it through my drum sander. If you don't have a drum sander, you could definitely use a random orbit sander to sand away the top skin here.
Here's a little trick that I use for my CNC where I don't have zero clearance for the Z-axis. I'm not sure what that is called, but this machine does not have it. I know the new X-Carve coming out does have that, mine does not. I have my material fastened down to the board here, I'm just going to take a piece of paper and I'm going to move my bit down just tiny little bits at a time until it catches the paper and there, it caught the paper, the paper doesn't move. I'm going to move it up. One, remove the paper and move back down. Now, we're at zero.
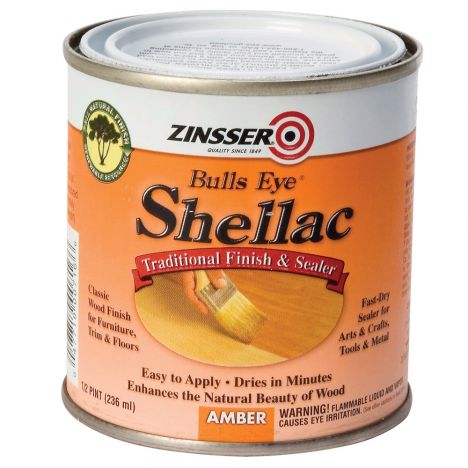
For the "Making It" part of the plaque, I'm going to use a laser engraver. I tried to do it on the CNC but the parts are too small and they were breaking so I thought, "Hey." I have the brass piece here that's going to go somewhere about right here. I'm not going to glue that on there until I get a coat of finish on here, but I do want to get everything aligned. Figured out where I want to go. Just going to use some CA glue for this piece. Looking good about right there. Cool. Now I'm going to throw a coat of shellac on here and then I will epoxy the nameplate on here. Shellac dries really, really fast. I can get a couple of coats on here within an hour. Once again, I suggest you check out our podcast Making It with Jimmy DiResta and Bob Clagett.


Keep the inspiration coming!
Subscribe to our newsletter for more woodworking tips and tricks