Acrylic Safety Screen Plan
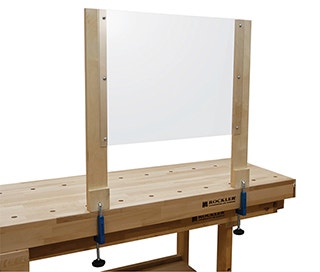
How to make a simple acrylic screen that is easy to attach to a counter, desk or tabletop, creating a barrier to help reduce the chance of spreading viruses. This screen will attach to countertops up to 5"-thick. This version will yield four screens from a 24"x30" piece of plywood, but the part dimensions can be modified to make different size screen to suit most applications.
Download the Acrylic Safety Screen Project Plan
Project Materials:
- 31373 - Rockler Universal Fence Clamps (1 pair)
- 63453 - 3/4" x 24" x 30" – Baltic Birch Plywood (1) *
- 42342 - Hingemaster Truss Head Screws, #8 x 3/4''
- 53428 - 3/16"-dia. drill bit
- 53473 - 3/8"-dia. drill bit
- 0.09" x 18” x 24” x Acrylic (1) - Available at most home centers and hardware stores.
- * Can be substituted with other 3/4" thick stock.
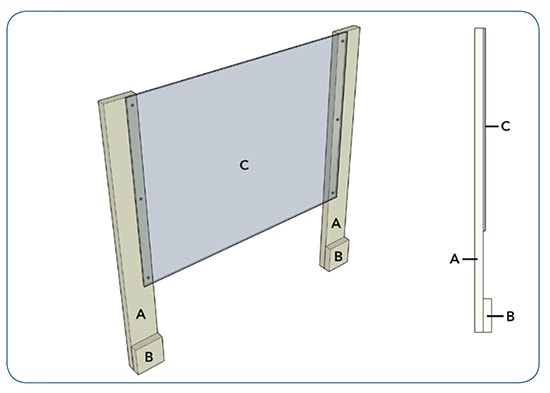

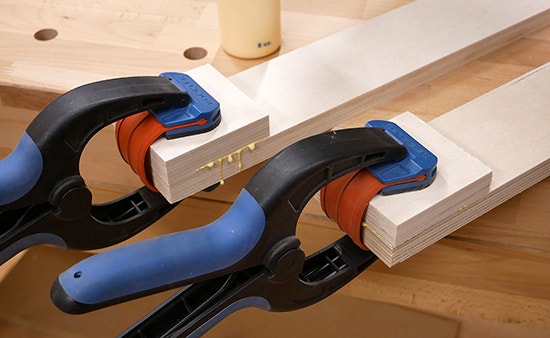
1. Cut your Posts and Support Blocks to length and width. Glue and clamp a Support Block to the end of each Post. After the glue has cured, sand all surfaces and apply the topcoat finish of your choice.
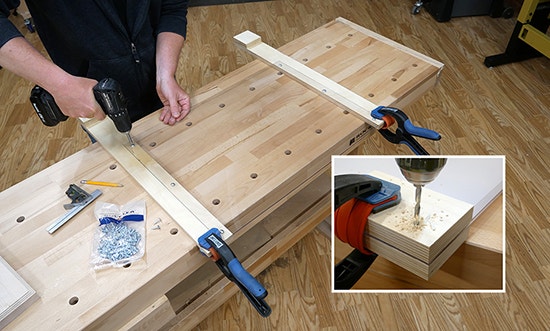
2. Drill 3/16"-dia. pilot holes through the acrylic sheet. Evenly space three holes 3/4" in from the side edge of the acrylic. Clamp the acrylic between two pieces of scrap wood to prevent chipping or cracking when drilling the holes (inset). Position the acrylic to overlap the inside edge of the Posts by 1-1/4". Attach the acrylic sheet to the posts with #8 x 3/4" truss head, pan head or washer head screws.
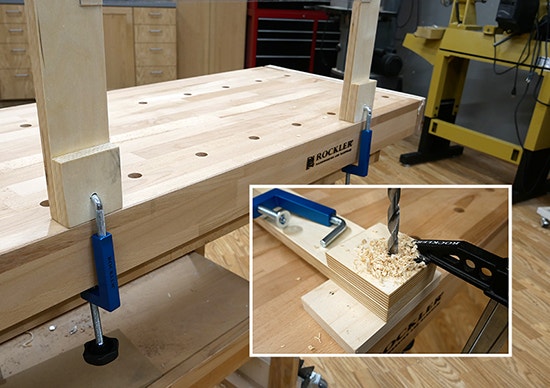
3. The final step is to drill a 3/8”-dia. hole located 1" up from the end of each Post (inset). Install a Rockler Universal Fence Clamp in each hole and secure the guard to a countertop or table. This guard will clamp to countertops up to 5" thick.

Keep the inspiration coming!
Subscribe to our newsletter for more woodworking tips and tricks