How To Apply A Painted Finish On Wood
Learn how to add a painted finish to your woodworking project.
How to apply this finish:
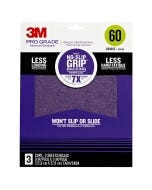
1. Sand the project up through the grits to 150-grit. It is a good idea to sand pieces that will be hard to reach before assembly.
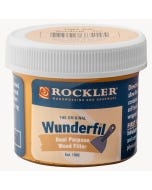
2. If you have any nail holes, cracks or defects in the wood, fill them now with a wood filler — sand smooth.
3. Brush on a coat of latex primer — sand smooth when it dries.
4. Brush on a coat of Chalk or Milk-Paint. A second coat may be required.
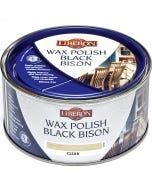
5. Rub on a coat of colored wax as an accent.
Supply Checklist:
How To Apply A Painted Finish On Wood
Rob Johnstone: Today, we're going to demonstrate how to successfully apply a painted finish to raw wood, be at softwood or hardwood. As you likely know, the key to any successful finish is properly preparing the surface and in most cases, that means sanding. Here, we're going to start with 80 grit sandpaper and work up all the way to 150 grit, and I'm going to show you a little tip as to how to most effectively sand.
Move the sanders slowly across the surface at about one inch per second. Most people move the sander far too fast. Neither moving the sander faster, pressing harder, nor skipping grits will save you time on this task. Remember, as you advance to each finer grit, your goal is simply to remove the last grit's scratches, and sanding marks. With the sanding done, you're about ready to apply your first coat of primer, but here's a tip. If your project has doors or a drawer front like this, take them off and paint them separately. It'll be much easier and you'll get much better results.
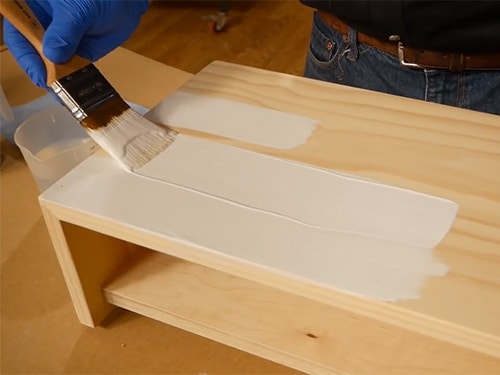
Now we're getting ready to put the first coat of primer onto the raw wood. Now some folks skip the primer step, but if you're finishing something like this pine, stain-blocking primer can really save your life because it will keep sap pockets and things like knots from bleeding through. I'm in favor of using a primer coat in any case because I think it makes for a better bond with your topcoat. Now, I'm going to show you a couple of tips of how to get best results using a paintbrush.
First, soak the brush in the finishes solvent. In this case, it's water. Then dip the brush into the primer about one-third of the way. Tip off any drips and then apply the primer or paint.
Flex the brush on the surface of the wood and stroke smoothly away. If the primer or paint does not flow well, you can add a small amount of the solvent water here to make that happen. Apply a nice even coat of the primer across the whole project, including the front and back of your drawer front. An even coat will make your work a lot easier later on. As the paint is drying, go clean your paintbrush.
With the first coat of primer down and dry, now's the time to fill any nail holes or cracks that your project might have. I prefer Spackle, but you can use just a regular wood filler, works fine, put it in the holes and the cracks, let it dry. Sand it smooth. Water-based primer tends to raise the grain of raw wood and so the solution for that is to get yourself some two 20 grit sandpaper and gently sand it smooth and you're ready for your next coat of primer.
We're almost there. We filled the holes, we've sanded it again and put a second coat of primer on and now we're going to get ready to put our topcoat on. We're going to be using a milk paint for that. We're going to use the brush and we're going to use basically the same techniques that we did with the primer. Here, I'm using the same techniques of prepping and loading the brush. I soak it in water and then when I dip it in paint, I go about one-third of the way up and then tip off the drips. Then I flow on an even coat of paint. Even with this preparation, you may need a second coat of paint to be satisfied.
So that's it. We've successfully applied a painted finish to a raw wood and it looks great. I've got another tip for you. A lot of folks, especially those who are now using milk paint and chalk paint, are adding a final layer of wax, a coat of wax over the top. Clear wax just to add a nice texture and to protect the finish a little bit, and then some folks are using a dark wax to highlight corners and an antique look. I hope you picked up a couple of tips. Thank you for watching.

Keep the inspiration coming!
Subscribe to our newsletter for more woodworking tips and tricks