Building with Miter Joints
Hide end grain elegantly when you join the angled ends and edges of parts together.
The corners of nearly every typical picture frame exemplify what a basic miter joint looks like: two members crosscut at matching 45-degree angles to form a corner. In addition to being a popular joint for picture frames, shadow boxes, chair seats and such, miters are commonly used to join trim pieces, such as decorative ogee moldings framing the drawer faces of a fancy dresser as well as shoe, chair rail and crown moldings used to add style to a kitchen's or dining room's decor.
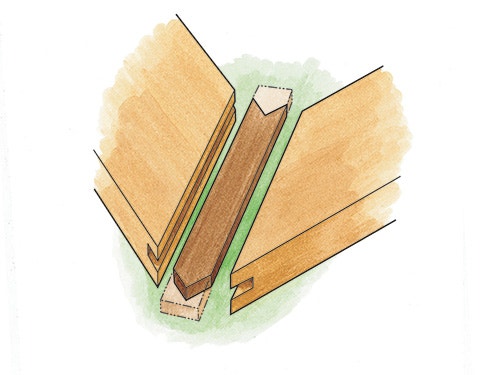
Miters are also great for joining corners when building carcasses — jewelry boxes, blanket chests and the like. They're ideal when the grain pattern of workpieces is intended to wrap around a corner in a continuously flowing fashion, almost as though the joint isn't there at all. You'll see this often these days in natural-edge slab designs where a tabletop "folds" down into a support.
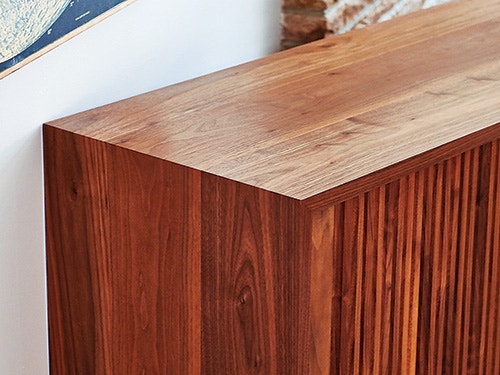
Regardless of the application, mitered assemblies have a clean look, because the end grain of solid-wood frames and the plywood edges of carcass panels are hidden inside the angled interface of the parts when the joint is assembled.
Technically, when two workpieces are crosscut at an angle other than 90 degrees with the blade un-tilted, their union is a miter joint. Alternately, when the blade is tilted off of 90 degrees to cut angled joint parts, the joint being made is actually a bevel instead. But bevel joints are commonly called miters anyway.
Cutting Miters

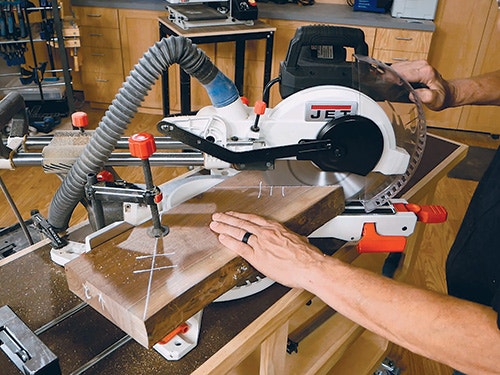
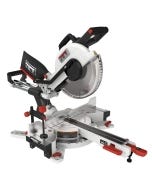
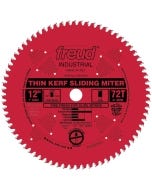
The first challenge to creating well-fitting miter or bevel joints is cutting the parts accurately. Once their edges or ends are brought together, any deviation from an accurate angle setting on the saw will create a joint that is more acute or obtuse than the desired. For instance, crosscutting each workpiece at 44 degrees instead of 45 will produce a mitered corner that's two degrees shy of a right angle and out of square. And when those joints bring together a closed framework, such as a box, picture frame or multi-sided polygon, the error of each mitered or beveled corner compounds around the form. The final joint either won't be able to close because the parts are shy of touching, or the parts will actually cross past one another instead.
The remedy, as you might guess, is to set the blade angle accurately and make test cuts first, to see how the parts will fit. It's also important that each mitered frame member is cut to the precise length or width required; if you can use a stop block to register the end of the part off of a fence, be sure to do it. The tiniest error in length can lead to an open joint.
Assembly Challenges
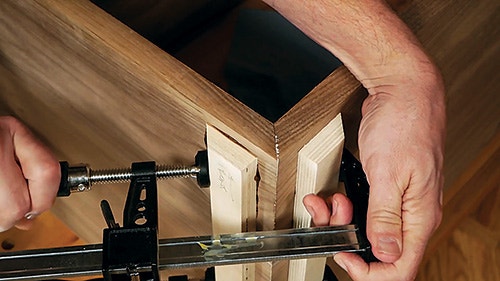
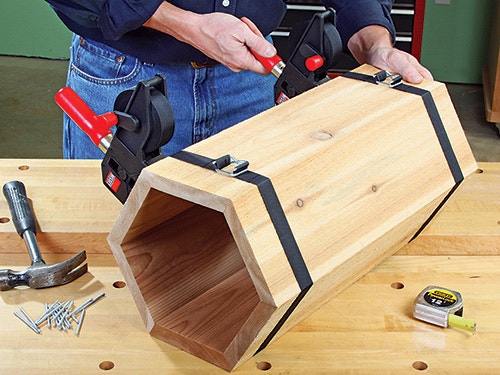
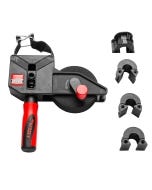
Even when miter or bevel joints are cut carefully, a second challenge is assembling them. It's difficult to clamp angled part ends or edges with bar clamps, since applying clamping pressure across the joint often shifts the parts out of alignment. Here's where strap clamps, temporary glue blocks or even strips of masking tape can come to your aid to keep things registered properly.
Reinforce When Possible

Strength is a third miter joint bugaboo. When end grain surfaces are glued together, glue soaks into the open wood fibers and can starve the joint of adhesive. So add splines, biscuits, dowels, loose tenons, nails or screws to bolster joint strength. Most of these reinforcements will also keep the joint aligned during clamping.
|
Strength: Weak Difficulty: Moderate Versatility: Moderate |

Keep the inspiration coming!
Subscribe to our newsletter for more woodworking tips and tricks