Video: Finishing Walnut with Dye Stain
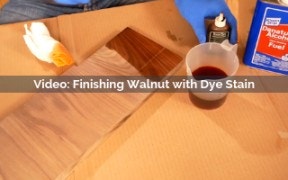
One of the best ways to warm up the color of walnut wood that looks a little too grey is to apply orange dye stain. Learn how to mix dye stain, make test samples, and then apply the stain to your project.
Skill Builder Video
Finishing Walnut with Dye Stain - Video Transcript
Rob Johnstone: Kiln-dried walnut can be kind of gray and bland even when you put a finish on it, but fortunately, we've got a trick that will pop the color and make it look like old-fashioned air dried walnut. Let me show you how it's done. Woodworker's journal finishing expert, Michael Dresner turn me on to this trick where you use an orange dye of all things to pop the color in walnut, but how much dye do you dissolve into the alcohol to get what is the desired effects? That's where testing comes in. This time, I'm going to dissolve the dye into alcohol. I could use water if I chose, but I'm going to use alcohol this time and I put 200 cc's into this container.
I'm going to start my first test coloration with a few drops of the orange dye, see how I like it, I can intensify it later if I wish. The reason why I want to be careful about this is I want to be able to replicate the formula, not exactly, but close enough than an entire project will look the same if I stain it. You really want to wear protective gloves when you're doing this, something that will keep your skin from being discolored because dye just doesn't go away, it takes a long time to wear off. I'm going to try this, see what I think of the coloration.
One important thing to know is that dye will look like it has a finish on it when you get make it wet. That's the color it would be if it was finished. I want more orange, so one, two. Now, the cool thing about dye is that if you tried to put one color on and it's not intense enough, you can just go right over the top of it. That's the formula I want, I'm going to get ready and put it on my bigger project.
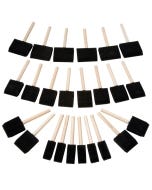
Now, we're moving on to applying the dye to a real project. Now, I'm building a tambour console. Tambour is a flexible door, in this case, and you can see that there's lots of pieces to get your dye applied to, which is why I thought it'd be a great example for how to use Annalen dye. I like these staining sponges that have a cloth exterior to it, it allows me to apply stain. I thought it's dripping too much but still get the surface nice and wet. You can see that I'm trying to get into all of these grooves. If there's any excess and you'll wipe it off, I'll spread it around.
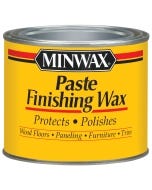
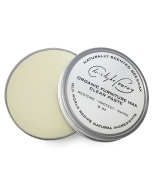
One of the benefits of dye is that it dries quickly, but also, once it is dry and you go back and you see that there's a spot you've missed, you can just touch it right up. It's really nice in that regard. Now, I've applied the dye to the entire surface of the door, I've got a nice uniform even coloring. It's going to be beautiful when I put my next finish on, which in this case, I'm going to apply some shellac and then follow that with wax, but you could put any clear finish over it that you would like.
I hope that if you're going to be working with walnut in the future and you want to maybe step up your finish just a little bit, you'll consider the orange dye technique. I'm Rob Johnstone for Woodworker's Journal, keep on making sawdust.
Keep the inspiration coming!
Subscribe to our newsletter for more woodworking tips and tricks