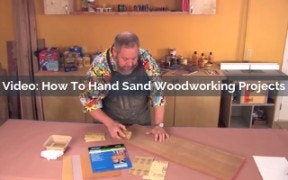
Video: How To Hand Sand Woodworking Projects
Hand sanding is one of the best ways to smooth the surface of woodworking projects. Learn everything you need to know about how to finish your woodworking projects.
Skill Builder Video
Video: How To Hand Sand Woodworking Projects - Video Transcript
Speaker 1: Now, a good way to illustrate this whole thing is through the hand-sanding process and that's you.
Speaker 2: I'm going to start sanding this board with 80 or 100-grit paper. I'm going to sand diagonally across the grain. Now the objective for this sanding is to remove any machine marks from the planer, the table saw or what have you and to leave myself with a level surface with a consistent grit scratch pattern in it. Though some people suggest sanding with the grain that's only wise during the final sanding step. Prior to that step, sand diagonally. It removes material quickly and does a better job of flattening the surface. The objective of the second sanding is strictly to remove the scratches from the first sanding.
I'm going to use either 120 or 150 paper to take out the 80-grit scratches. Once again, I'm going to sand diagonally, but this time in the opposite direction. That way, as soon as any of the scratches in the wrong direction have gone. I know that my sanding step is done. Now, I'm going to go back to my original diagonal and I'm going to go up another step in sandpaper. Now, I'll be using either 180 or 220. Once again, this is a quick sanding step. All I need to do is remove the 120 scratches. There's one more final sanding pads worth doing. This time, I'm going to sand by hand with the grain using the same grit paper I ended up with before.


Keep the inspiration coming!
Subscribe to our newsletter for more woodworking tips and tricks