How to Install Floating Shelf Hardware
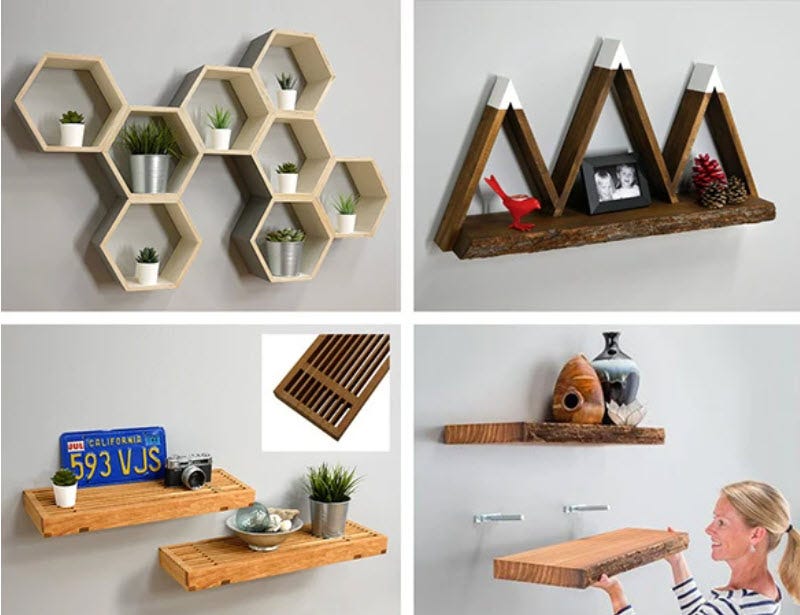
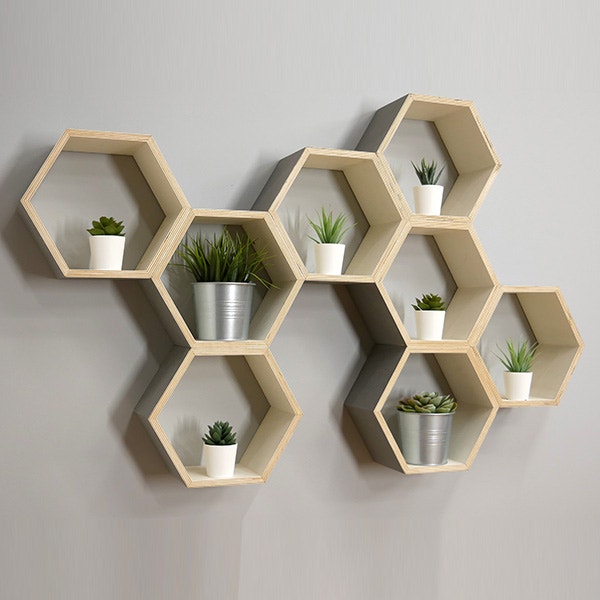
Floating shelves add a clean, modern look to any room—and their seemingly invisible mounting hardware is always a conversation starter! Even better, installing them is easy for a woodworker or DIYer with moderate power tool skills and some experience with cutting basic mortises.
Free Floating Shelf Plans
VIDEO: Learn More About The I-Semble Heavy-Duty Floating Shelf Supports
A pair of these I-Semble Heavy-Duty Floating Shelf Supports can mount a shelf up to 14" wide x 48" long x 1-1/4" thick, with an overall combined weight (shelf plus load) of 125 lbs. If you want to install an even longer shelf, just install additional brackets.
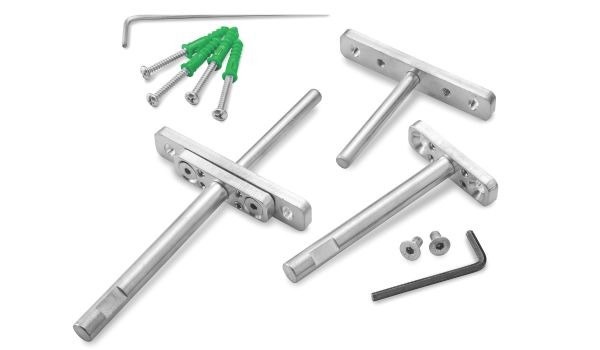
Each shelf support consists of two opposite-facing metal posts: a thinner wall post and a thicker shelf post. Flat baseplates on their ends connect the posts with screws. One end of this post assembly fits into a 3/8" diameter hole drilled into a wooden wall stud, and the other post end slides into a 1/2" diameter hole drilled into the shelf back. A chiseled, drilled or routed mortise in the shelf back hides the mated baseplates.
Follow These 6 Steps To Install Your Floating Shelves
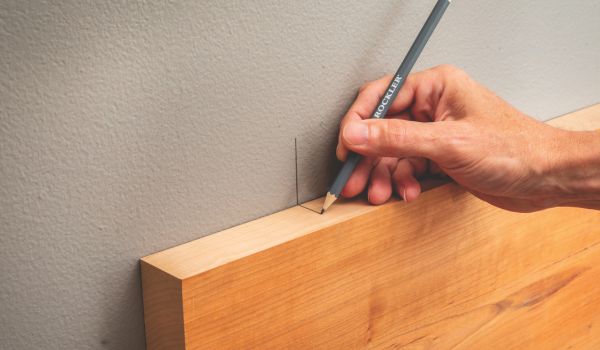
#1 - Get the installation started by using a level to draw a horizontal line along the wall that marks the midpoint of the shelf's thickness at the height you want the shelf to be. The layout line should be long enough to cross two wall studs that will receive the I-Semble Shelf Support Hardware. Use a stud finder to carefully find and mark the center points of those studs. Then hold the shelf

#2 - You're now ready to drill holes in the back of the shelf. Our I-Semble Floating Shelf Support Drill Guide (#74463, sold separately) can make this easy, while also ensuring that the holes are straight and square. Chuck a 1/2"-diameter bit in your drill and bore a 5-1/4"-deep hole at each of the two drilling locations you marked on the shelf. The Drill Guide has helpful centerlines for easy positioning and a clearly marked 1/2"-diameter guide hole. You can even temporarily fasten it to the shelf with short flathead screws, if you prefer, so it can't shift while drilling.

#3 - Now switch to a 3/8"-diameter bit and drill a 3-1/4"-deep hole into the wall at each stud location. Here again, the Drill Guide has a 3/8" guide hole with a steel bushing inside to help you drill straight, square holes into the wall.

#4 - At each wall stud location, fit a wall post into the hole you just drilled and use a level to fine-tune the baseplate's position. Mark the centers of the slots at the outer edge of the baseplate so you can drill 1/4" holes through the wall at these locations. Install the included wall anchors in these smaller holes, two per post baseplate.
It's time to cut those mortises you've marked on the shelf back. Your goal is to end up with 7/8"-wide x 4"-long x 5/8"-deep mortises. Create these with whatever tooling method you are comfortable with — chisel and mallet, a drill press and 7/8"-diameter Forstner bit or a router table and straight bit. As you are creating the mortises, test fit the shelf brackets in the mortises. (If you haven't already done so, now is a good time to loosely attach each wall post to a shelf post with two of the included hex-drive flathead screws. It will help you verify that the final depth of the mortises is deep enough to fully seat the combined thickness of the baseplates.)

#5 - Go ahead and install the wall posts on the wall, securing the hardware with the included #10 X 1-1/2" screws, driven most of the way into the anchors. (Make sure the baseplates are level before tightening these screws.) Then test-fit the shelf on the Shelf Supports. Don't be surprised if the posts bind a little. Just take note of where the binding seems to be occurring.

#6 - Our I-Semble Heavy-Duty Floating Shelf Supports have additional helpful adjustment screws that let you fine-tune the shelf for level—both front-to-back and side-to-side. If there's binding, remove the shelf and use the included hex wrench to adjust the appropriate set screws on the Shelf Supports to move the posts in the direction needed (the instructions that come with the Shelf Supports will provide more guidance here). Test fit the shelf and make adjustments until it slides easy onto the hardware and is level from left to right and front to back.

Shop All Floating Shelf Hardware


Keep the inspiration coming!
Subscribe to our newsletter for more woodworking tips and tricks