How to Repair Cracked Wood
It’s enough to break your heart. As you near completion on a project, you find a small split or crack. This recently happened to me on a raised panel door that was nearly done. Try this simple and effective repair tip using CA (cyanoacrylate) glue.
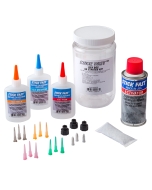
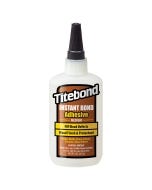
Instead of trying to pack the crack with wood dough to hide it, try fixing it with CA (cyanoacrylate) glue. It worked great for me.
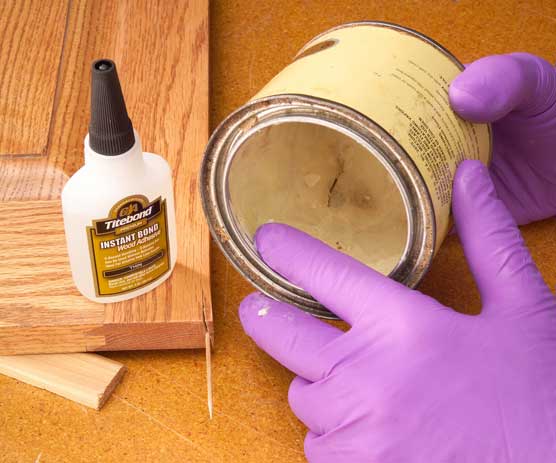
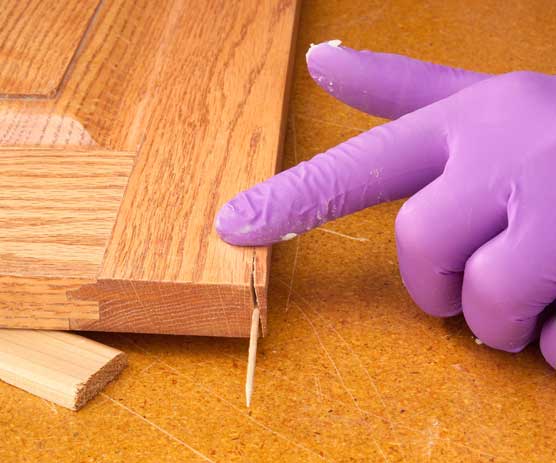
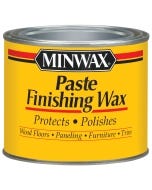
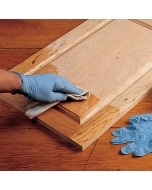
STEP 1 - Insert a toothpick into the crack to hold it open. Wearing rubber gloves, coat the tips of your fingers with paste wax. This prevents glue from sticking to the gloves.
STEP 2 - Apply wax to the area surrounding the crack to protect it from excess glue. Don’t allow any wax to get inside the crack.
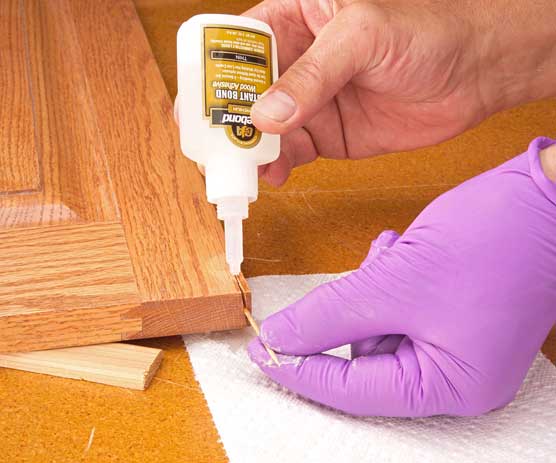
STEP 3 - Dribble thin CA glue into the crack. Work the toothpick back and forth to lever the split open and closed, which will help the glue work its way completely through the split.
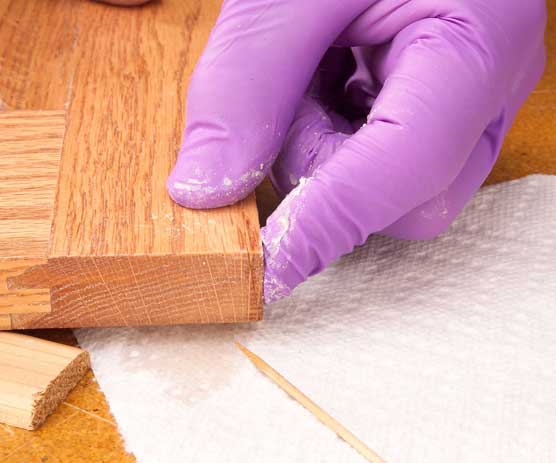
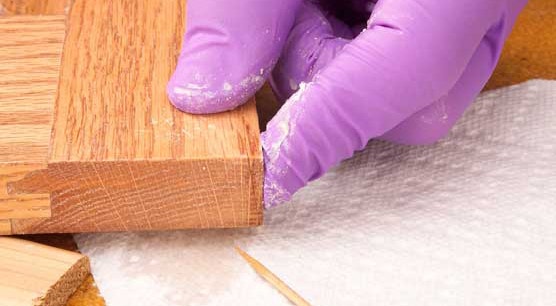
STEP 4 - Squeeze the crack closed with finger pressure. CA glues dry so quickly, you’ll only have to apply pressure for a short period. Once the glue is dry, wipe the excess wax from your project, and you’re done.
Keep the inspiration coming!
Subscribe to our newsletter for more woodworking tips and tricks