Understanding European-Style Hinges & How to Install Them

Many woodworkers don't like using European-style hinges on their furniture. One reason may be that they don’t look anything like “real” hinges — at all! And while that is true, I have found European-style hinges to be not only easy to use, but also forgiving in their nature.
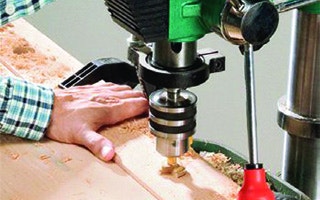
Use your drill press to cut the cup holes for fitting your hinges. Simply stated, their designers have built a superior amount of adjustability into their function. The first thing you need to know about these hinges is that the cup part goes in the door and the mounting plate goes on the cabinet wall. (When I first saw this hinge system, my brain told me it should be the other way around.)
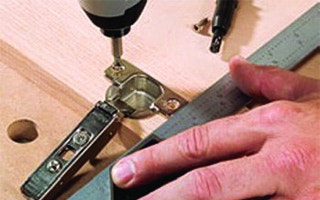
Before and as you're drilling the holes for the hinge, use a square to make sure you stay properly aligned. With full-overlay doors like these, the easiest way to locate the hinges is to use a story stick to transfer exact location to both door and carcass. Check the directions for your hinges; for the ones I selected, the cup holes were located 7/8" in from the edge of the door.
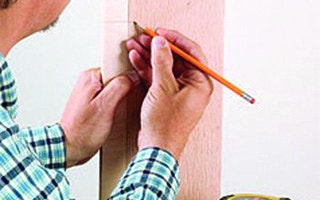
Mark out where you're going to place the mounting plates by using a story stick. It’s very important to be sure that the cup hinge section is mounted squarely in the door, so I use a square while drilling the screw holes to keep everything properly aligned.
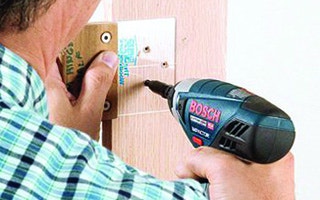
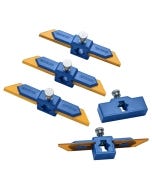
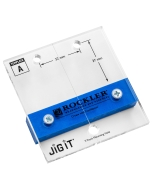
Rockler's Jig-It system will help you line up the holes you will be drilling. I always reach for Rockler’s Jig-It® system to drill the holes for the mounting plate — it makes the task easy as pie. Once the plate and hinge are mounted, you just clip the two together, and the door is hung. Not quite right? Not to worry: you can adjust the position of the door on the cabinet by screwing the adjustment screws (see hinge packaging). Using those screws, the door can be moved right and left or up and down (and in and out to boot!). Not confusing at all!

Keep the inspiration coming!
Subscribe to our newsletter for more woodworking tips and tricks