Video: Building a Modern Coffee Table
In this video Chris Salomone builds a mid century modern coffee table that looks delicate, but isn't.
Chris Salomone rethinks the first project he ever designed and built. This project covers several woodworking topics such as wood selection, milling, panel making, creating custom jigs, cutting steep angles, making miter splines and much more.
You can find more great projects and techniques from Chris Salomone at his website.
Featured Tools:

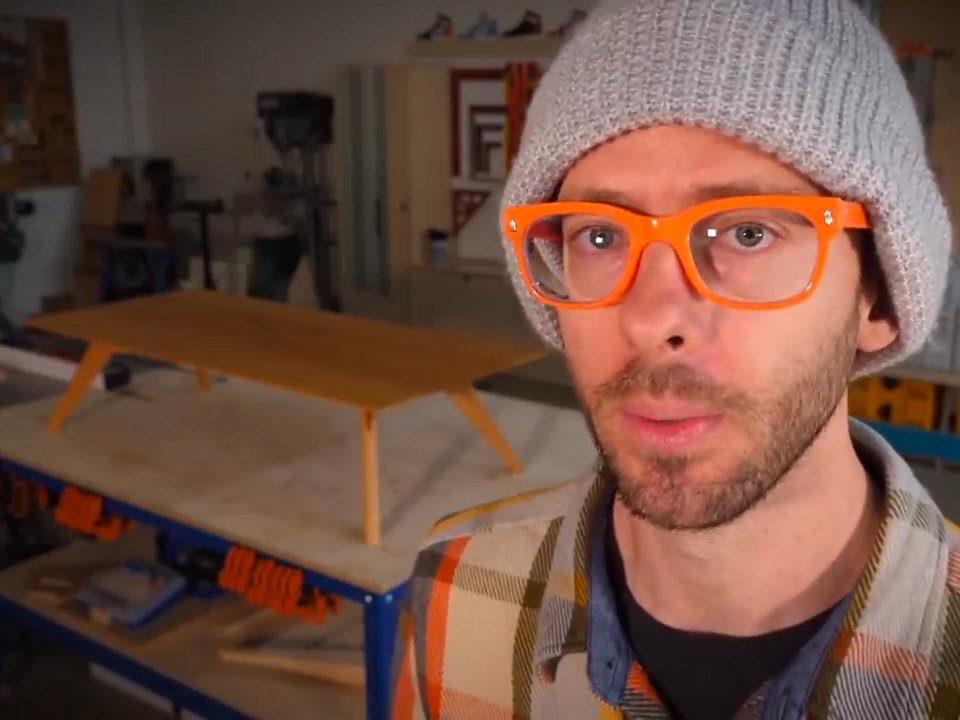
Chris Salomone: When you're making videos for YouTube, it's all about doing something new, so when we started designing, building, and making plans for pieces a few months back, our focus was completely on doing just that: making something new. New dresser, new rocking chair, new desk, new dining table, new dining chairs. New, new, new, and that's great. That's the reason that I started making videos in the first place. Coming up with new things is literally my favorite aspect of everything that I do, but sometimes it's nice to go back to something old.
Couple that with the fact that we get a lot of requests for plans on pieces from our back catalog, and this seemed like the perfect excuse to try something new, which is making something old. Anyway, that's what we're going to do today. Update and improve upon an old design, and not just any old design but literally the first thing that I ever designed and built. This was way back when I was taking a night class at a local community college, way before I had any tools. When basically I knew that I liked to draw furniture and I wanted to find out if I liked building it and if woodworking was for me. It was.
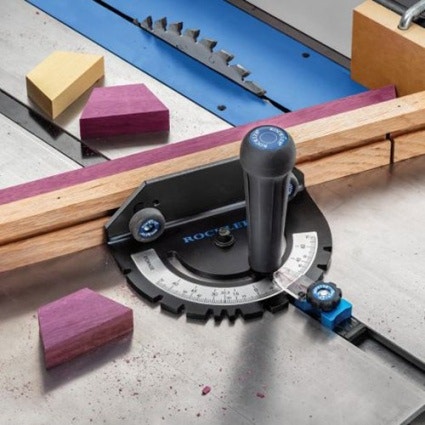
The great thing about having these angle brackets mounted to the bed of the CNC is that they act as clamps, but also registration points. Paired with these hold-down clamps, this work-piece is not going to go anywhere and with these corner brackets, that's going to maintain the setup for every single one of these work-pieces. That means I only have to set the zero point on the first work-piece, and then I can repeat the same exact setup for all 24 of them. Makes things pretty easy for mass production. Never freehand on a table saw.
Anyhow, if you want to build this too, we're going to have links to the plans in the description along with all of our other pieces, so check that out if you're interested.
We've got all of our lumber rough cut into oversized chunks and now we're ready to start building. I guess if you're familiar with the old piece, one of the most common questions is probably going to be, "In what way is this piece any different, or more importantly, better than the old one?" There's a few. That said, let's start putting this thing together, and then we'll circle back to that. I don't want to get too into the weeds this early.
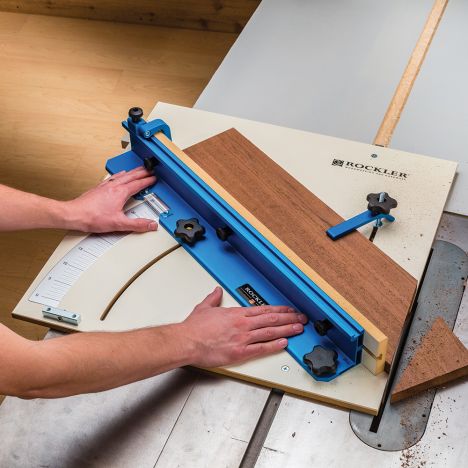
All right, we're going to start off by making our four legs. I always like to do this by cutting out a parallelogram that'll yield two legs. That means we need two parallelograms. You can see here that I’m using my Rockler crosscut sled, which I happen to think is perfect for this kind of cut. That said, it's not the only way to achieve this and you can certainly do it with any regular miter gauge, a miter saw or just a piece of plywood and a few screws, which I'll demonstrate later in the video.
With our two parallelograms looking identical, next, we can mark out the finished shape of our legs, and then we can cut those out. For this, you could use a tapering jig, if you happen to have one, but to circle back on what I just mentioned, here's how I can do it with a simple sled. Basically, you'll get a piece of plywood, lock your fence in position and establish a cut edge. Then we're going to set up some temporary fences using plywood scraps on the sled so that we can repeat this cut as many times as we'd like. We'd like to do it four times.
At this point, we have four tapered legs and four still rectangle-shaped stretchers that we need to turn into leg sub-assemblies, so the next step is going to be cutting miters on all eight of these pieces. Again, I'm going to use a sled to get this done, actually, the same sled, but this time even though to make this cut you could still use a miter gauge or a miter saw, I actually think that the sled is a superior method.
We get deep into the reason and theory for this in chapter four of 14 of our plans, Cutting the Miter Joints, and actually, since we get a lot of questions about what our plans include and how they're structured, we decided to upload this chapter as an example chapter. We talk a little bit more about it there.
All right, those pieces are looking good, so now we can go ahead and assemble them. We can use dowels or dominoes alone to do this and it'll be plenty strong, but if you want to make them extra strong or if you like the look of it, we're also going to cover how to make and install some splines using a simple table saw jig. We'll cover how to make the jig as well.
I'm going to let mine dry overnight and then the next day, I can trim and/or sand everything flush so that we can finish off the leg sub-assemblies by cutting the taper on the top edge and because I love them so much, I'm going to use another sled to get this done. Here, I'm marking out the taper that I want to cut and getting my sled all set up. You might notice that when I actually go to cut them, you can see some domino mortises have already been cut in and that's because with just about any project, it's usually not best to completely finish off a piece and then move onto the next one and so on and so forth.
Shaun: Thickni.
Chris: What?
Shaun: It's thickni.
Chris: Oh, sorry. Thickni.
Okay, so we're jumping back in time here to before we had cut our tapers, and we're going to cut the joinery for attaching our legs to the stretcher. For this joint, you could use dominoes, dowels, or pocket screws, and if done properly, all should be serviceable. I know to some of you, using a pocket hole might be sacrilegious but, honestly, it's going to be so inconspicuous within the project that I think it's a perfectly fine method. All that said, before we did anything, actually, before we even started this project, we made a test for this joint to make sure that it was going to be strong enough. Should we test it?
Shaun: I don't know. I would wait till tomorrow. Let the glue cure.
Chris: All right, fine. I really want to stand on it though, man.
Shaun: We'll test it tomorrow.
Chris: Okay.
Back to reality. If you're worried about the pocket hole version, don't be. Let's turn our attention to the top for a minute. If I'm being honest, this was kind of grunt work, so I'm going to go ahead and have my shop assistant take care of it.
So, at this point, if you used pocket holes, then obviously you've already assembled everything but if not, that's going to be the next step. Since this is pretty straight forward-- Actually, real quick before we do that. Let's test how strong this joint really is.
It doesn't it do anything. What if we both stand on it? I feel like that is not going to break it. Okay, that did nothing. Maybe jumping a little bit more on it. ]I heard something.
Shaun: Yes, we got a little crack.
Chris: We got a little crack. It's not even the joint. It's actually the peace of wood split, the joint is still fine. All right, if you're wondering how strong the joint is, it's stronger than the wood.
Now's probably a good time to circle back to that question that I posted early on in the video and that was, "In what way is this piece any different or more importantly better than the old one?" As I said then, I think there's a few. Subjectively, the geometry is just better. When I first started designing, I had this mindset that all angles needed to be whole numbers and usually in increments of five but as I've progressed. I realized that often times cutting arbitrary and unknown angles isn't really any more difficult than cutting known and whole number angles.
Take this portion of the table for example. What's more important to my eye now, is the convergence of points. See how the angle of the top changes right where the continuation of this line would intersect, I like that. Whereas in the past the angle changed kind of arbitrarily, all because I wanted this angle to be a whole number. I also happen to think that the splined miter is a nicer looking joint and probably stronger for this application than the half-laps that I've used in the past.
I also like the fact that they look the same when viewed from either the long or short end of the table. Whereas with the half-laps, from one view, the leg is elongated, and from the other the stretcher's elongated, so you had to choose. Another and arguably the biggest change is the overall dimensions of the table. My original design is for a pretty low table. Now, I happen to like really low and long furniture but I also know that I might be in the minority. In the plans, we have dimensions for this table. As well as a taller version that's more on par with standard dimensions that you might find.
Now, there's a lot more differences that I don't have the time to get into here but the biggest improvement in my eye from a production point of view. This was really important to me because the whole point of making plans is that, it's relatively easy for anybody to replicate is this intersection here. In the past, the way that I cut this left almost no room for error. Not only did the thickness of the stretcher have to perfectly match the thin of your taper, but the width of the stretcher also had to come out perfect so that 45-degree cuts along either edge would perfectly match the thickness of your leg pieces.
In the new design, the only necessary match is the thickness of the stretcher in relation to the end of your taper. Meanwhile, the thickness of your leg pieces and the width of your stretcher can be anything reasonably close and we make it easy to refine everything after the fact. It's basically the difference between trying to nail one thing versus trying to perfectly nail two things simultaneously, which contrary to intuition is more than twice as hard.
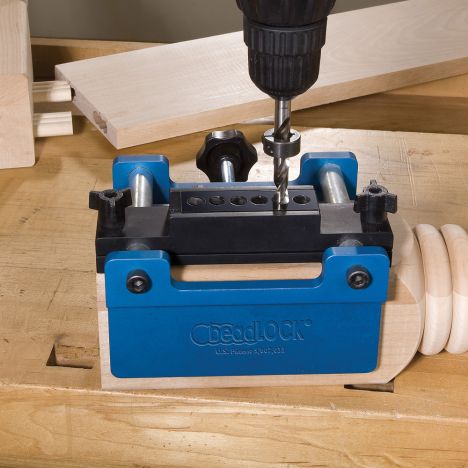
The way that we're going to attach the two together is using these exposed floating tenons. This is the detail that requires a fair amount of work, and that you really only notice from low angles. If you want to simplify things, you could definitely skip this, but I happen to think that it's a pretty nice detail, so here's how we're going to do it. Well, I guess, first, you could certainly do this with a drill press and a chisel or even a domino if you have one.
We're going to cover making a simple jig that kind of turns our router into a domino, and then use that to cut mortises in both the base and the tabletop, which will be the same size, and then we can make ourselves some floating tenons to attach everything.
Now, before we make these attachments permanent, we're going to cut an edge detail on the underside of the tabletop and this is another place where I think the design has improved. To make this cut, we're going to use the same jig that we used to cut our splines. If making this cut scares you, there are other albeit slower ways to make this cut or you could just go for a regular 45-degree chamfer instead.
Another optional "improvement" that we're going to make is the addition of this thumbnail profile of the backside of our legs. Shaun and I have been using this detail a lot. I think because it's a great combination of rounded but still crisps, and it just really helps the piece to feel complete.

Keep the inspiration coming!
Subscribe to our newsletter for more woodworking tips and tricks