Video: Building a Double Sink Bathroom Vanity - Part 1
In this video, April Wilkerson starts the construction process on her parents' double sink bathroom vanity.
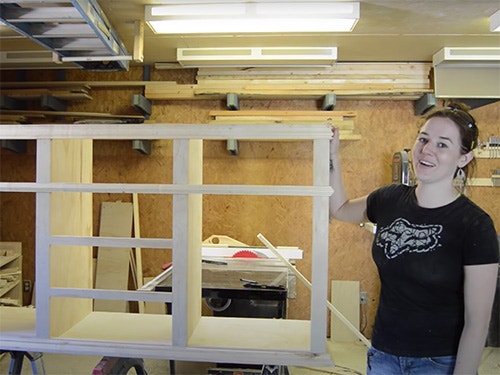
When April Wilkerson's parents asked her to build this double sink bathroom vanity, she was somewhat daunted by the process. This video goes through the initial design and building the casework for the project.
You can find more great projects and techniques from April Wilkerson at her website.
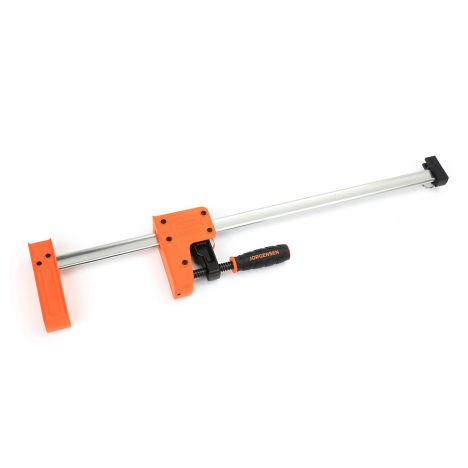
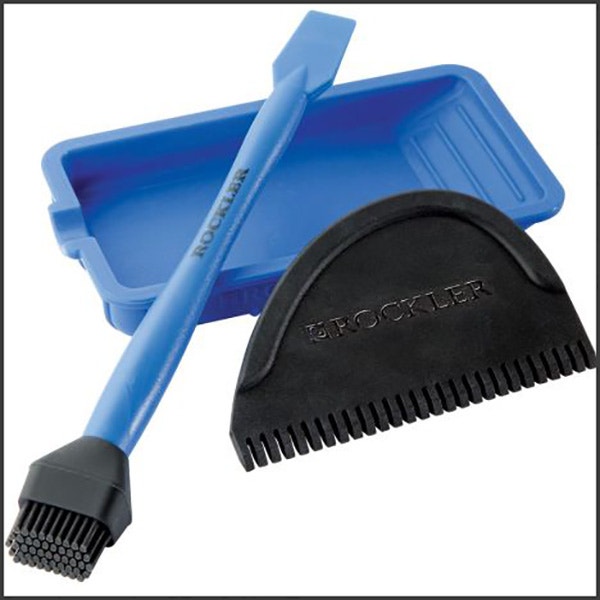
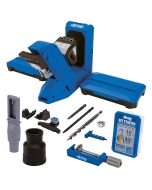
Featured Tools:


April Wilkerson: My dad asked if I would build him and my mom a bathroom vanity, a double sink bathroom vanity. I don't know what it is about this project, but I'm just very intimidated by it. I think because cabin making is a specialty in itself and, of course, I don't know anything about it. I'm just going to do what I always do. I'm going to drive in, take it step by step, and just see how it turns out. Wish me luck. Oh, boy.
I started by preparing myself to make that first nerve-wracking cut. Okay, let's go. I use the help of a temporary fence and first cut my sides. Then I reset the temporary fence and cut a bottom as well. I took the bottom over to my table saw and use my dado stack in order to cut in two dados. Then I grabbed each side and cut a rabbet on one end. To join things together, I laid down some glue, stuck it in place and then used clamps until it dried.
While that was drying, I went ahead and cut the pieces that will make up the inside walls. I attached it the same way, first laying down some glue and then using clamps to hold it in place. To make sure I was attaching these as straight up and down as possible, I use the help of a square, both on the front and the back. Next, I started making the face frame, first by ripping strips at the table saw, then using the miter saw to cut it into pieces. I drilled a pocket hole on each end of the stiles, then I started attaching it all together.
Now, I'm only using the body as support to make attaching these easier, not as an actual reference. I used a tape measure for the spacing and then a level to make sure that they were nice and plum. With the face frame assembled, I put glue all over the front edges then started attaching it permanently. I started by tacking on the corners, first using a countersink bit and then coming back with a screw.
Before attaching these inside walls, I made sure that they were plum and square. I only use screws on the top and bottom rails because I knew I'd be adding molding later, but on the Stiles I used Brad nails to hold it in place while that glue dried. Next, I started cutting the horizontal pieces that will divide out the drawers. I used a tape measure to make sure that the left and right were spaced evenly, then I attached it by using pocket holes that I drilled in on the back.
Next, I went through and started adding the edge banding, first ironing it on, then coming back and trimming it up. This time I used a viewers tip and used a chisel, and it really made quick work of the step. All right. Next, was to make the molding. I didn't like any of the molding right off the shelf, so I decided to order a few bits and make my own.
I decided to use a few two by sixes and I've never made molding before, but I must say I'm pretty happy with the way that it came out. To cut it to size, I just ran it through my table saw, then I cut in a miter, applied some glue and then nailed it in place. Then, I repeated the steps and made a different molding for the center section.
I repeated, yet again, for the top molding. This one is a little bit taller, so I turned the two by six on its end and also placed it on my table saw to give it more support while I was cutting. Since I made the molding from two-by-sixes, there are a lot of flaws in it. However, my mom personally likes to have knots in her projects. She looks at something like this and sees character and not a flaw.
I was fine going with this route because it was not only cheaper since two by sixes are cheap, but it's also geared towards my mom's personal preference. However, another option if you don't like the character in the molding, is you can buy a few number-two pine boards and then just glue them together. That way you have a thickness needed in order to cut your own molding.
Or, you don't have to cut your own molding, you can very well just go buy something you like right off the shelf. Keep in mind, as you're building things there is never only just one option for how to do something. Don't be afraid to build towards your personal preference, even if it goes against the norm.
I actually have to get out of town, which unfortunately means I'm not going to be able to finish this. Instead of not putting out a video at all, I'm just going to split it into two. Next time I will be making the doors, the drawers, as well as making a countertop, so stay tuned.


Keep the inspiration coming!
Subscribe to our newsletter for more woodworking tips and tricks