Video: Make Your Own Puzzle From a Photograph
In this video, David Picciuto makes a puzzle from a photograph using a laser cutter.
David Picciuto takes a photo he took in Alaska and turns it into a custom jigsaw puzzle using a high definition photo and a laser cutter along with a wood frame.
You can find more great projects and techniques from David Picciuto at his website.
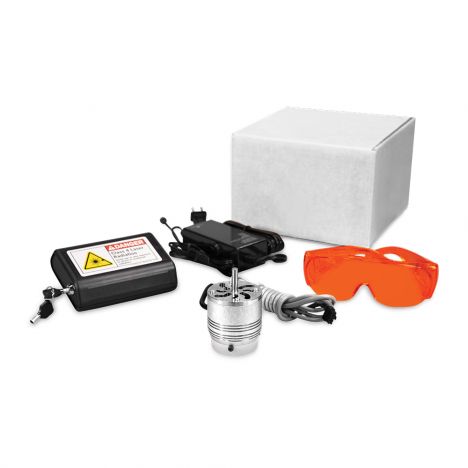
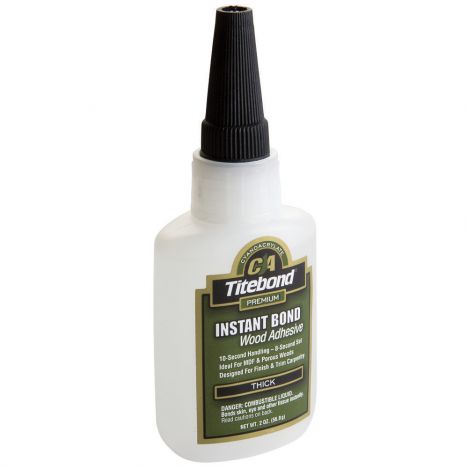
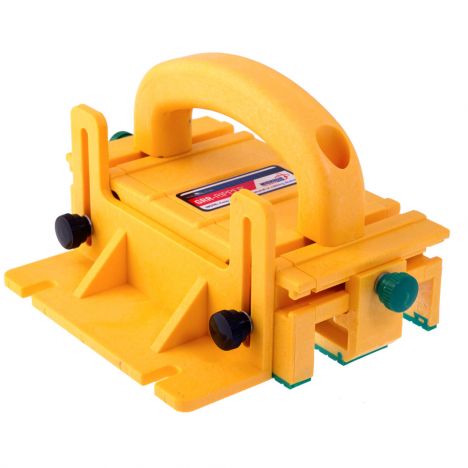
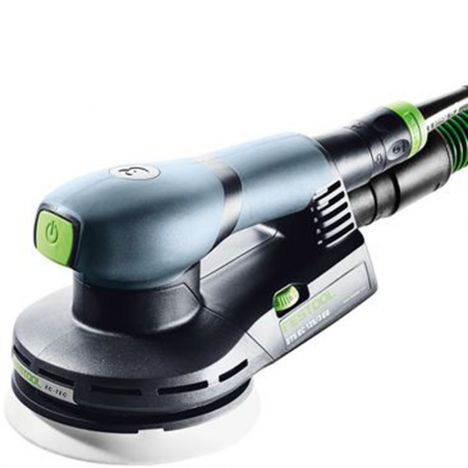
Featured Tools:

David Picciuto: Today, I'm going to show you how to cut a puzzle on the laser cutter using a photograph I took while in Alaska. Also, we're going to make a handy little storage box to store it in
A few years ago, Kelly and I went to Alaska. In one of our walks, I saw the perfect composition of the road intersecting with the mountains here. I took a bracketed shot, which is three shots of overexposed, a correctly exposed and an underexposed shot. What I did was, I combine those for what it's called HDR or high dynamic range photographs. What I'm doing is, I'm taking the different elements of the underexposed and the overexposed shots, and combining them into this like super hyper realistic photograph.
Here is what I came up with. We're going to send this photo off to Costco for printing. Then we're going to take that photo back. We're going to glue it onto some cardboard, take it over to the laser engraver and cut out a puzzle. We will have a puzzle of this photograph that I took. I just uploaded my photos to Costco. We're going to head on over there in a little bit and pick them up. We're also going to stop by a Michaels craft center and pick up some cardboard where we can glue the photo down before laser cutting on the laser engravers. Let's go do that.
We've got our print from Costco. We got the card stock from Michaels. I'm just going to spray adhesive on the back of the print here. We'll trim it up later. I'm going to leave a little bit of overhang here on the edges, put the board on there. We should be good. Instant bond. Now that we got that glue on there, we're just going to cut this out without cutting our fingers off, hopefully.
What we're doing here is, we're just covering the surface of the photo with some masking tape. That will prevent burning on the surface. I did a couple of tests with and without the tape. It definitely looked better with the tape on there. I have my illustrator file here. It is a vector file of the puzzle, and this is one line right here. Then this is one line, and then this is one line, and then every repeats going this way.
Now we have our artwork. We've got some tape on there to protect the surface from burning. We're going to throw it in the machine. Then we're going to run our job parameter. That'll let us know if our cutting will remain on the surface of the artwork, and it is now. It's now ready to start cutting. I did run a series of tests earlier to determine my best power and speed.
I found that a speed of 25 and the power of 36 gave me the best results. A nice clean cut and very little burning on the back. Over here in the computer, we'll punch in those numbers, speed of 25, power of 36. We should be good to go. Oh, look at that. Oh. Nice, clean cut. Now, we have to go through and remove all the masking tape. Tearing off the tape on the last piece right here.
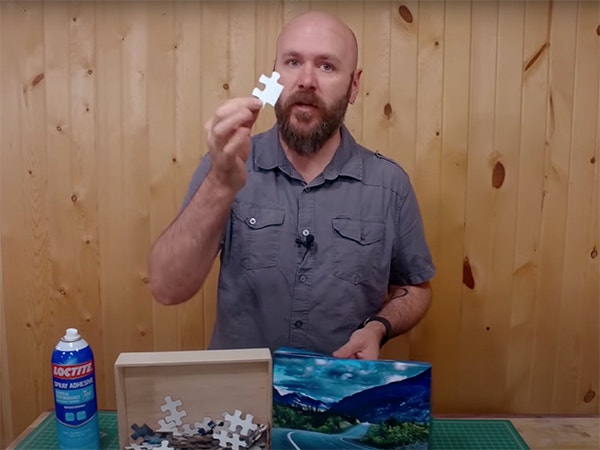
This is a tedious, fun job. There it is. Look at that. Very happy with it. Nice, thick pieces. Now that the puzzle was done, move that to the side. I still have an extra 11 by 14 photo and this piece of thin cardboard. I'm going to use this to make a box to hold the puzzle, and this will be the cover of the box. We'll do some cutting and folding. Then we'll see what we come up with. Fold this up here, put my ruler on the line, gets a fold started, and then use the woodblock.
I'm just going to use some super glue here and glue these corners up. Eric had the brilliant idea. Take some pieces of wood, throw it on there. Clamp that up. There's our lid. Now we just need to make a base. Looking good. For the base I'm going to make out of this 8-inch plywood that I have laying around, it's going to take this over to the table. I'll cut it up. We're just going to use some superglue and some activator and a glue this box up. Hopefully, it'll hold. It's got some CA glue on that piece. Squirt some activator on the other piece. Get that all glued up. Let's test the fit. A little tight. We'll just sand that down.
I am very pleased with the way this came out. Very happy with the cardboard that we use for the back of the puzzle. It feels like a puzzle piece. It has the same thickness and all. I glued the photograph on with the light version of the spray adhesive. I would actually go with the heavier version, because as we were pulling off some of the masking tape, some parts of the photograph would want to come off the cardboard, but other than that it came up great. I really love the cardboard box that we made for it. It repeats the photograph on the box. It's got a nice snug fit.


Keep the inspiration coming!
Subscribe to our newsletter for more woodworking tips and tricks