Video: Quick and Easy Clamp Storage
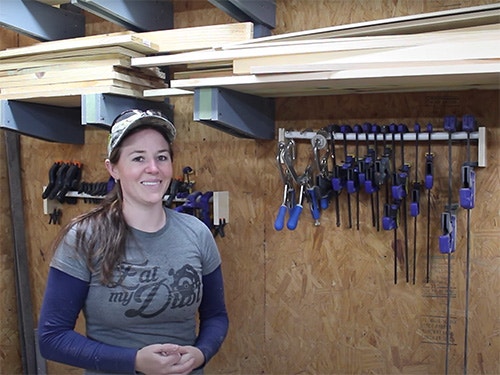
In this video, April Wilkerson shows how she built a clamp rack to organize her bar clamps, pipe clamps, and quick clamps.
April Wilkerson's simple DIY shop storage solution will help you organize your area a bit more. She makes two different styles to suit her needs and both were made from scrap wood.
You can find more great projects and techniques from April Wilkerson at her website.
Featured Tools:


April Wilkerson: All right. This week I'm going to be tackling my clamps. They're currently laying all over my shop, so no more putting it off. I'm building something to organize these guys. I started off by looking at my scrap bin. I have a ton of three-quarter-inch cut-offs, so I went ahead and pulled a few out that I thought I could use. For the dimensions of these, I was just shooting from the hip. I use nine and a half inches for the top and four inches for the bottom to create the sort of triangle looking shape. I used the miter saw to cut down the first one and then used it to trace out the second. Since I have OSB walls, I'm not going to bother with a bag. Instead, I'm just going to use pocket holes to attach these holders directly to my wall. I used two pocket holes per side piece, and I drilled them in on opposite sides.
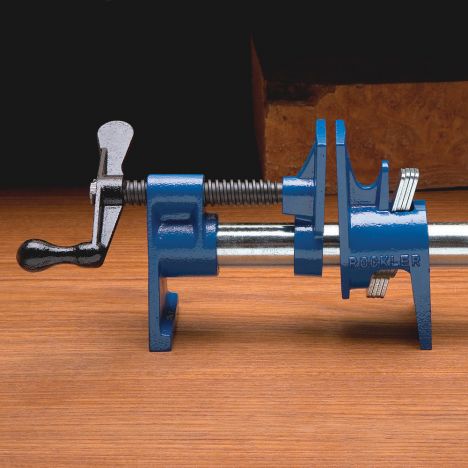
To figure out the placement, I test fitted it with a clamp on one of the side pieces. I just didn't want it interfering with the ceiling, but I wanted it as close to the top of the wall that I could get it. Then when it came time to attach the second side, I just sandwiched it up against the bar of the clamp and also attached it using a level to make sure that it was in line with the first. Also using a level to make sure it was plumb before attaching the second screw. I gave it a try and the clamp slid in and out just fine, so I stuck with the design and made a few more. However, instead of using the miter saw, I went ahead and taped a few boards together and then cut it out at the same time on the bandsaw. To determine how far apart I needed the spaces, I would hold one of the side pieces on the wall and hang a clamp from it.
Now these pipe clamps were at an angle to the left just slightly. I compensated for that in the spacing, but you could also sandwich the two pieces closer together around the pipe of the clamp so that it keeps it more straight up and down. Now I intentionally placed the longest clients on the outside of the wall so that I'll be able to utilize the inside of the wall in the future. I know the arrangement looks a little funny, but I think it'll be the best for the sake of function.
Now, I originally wanted to keep all of my clamps together, so I was thinking this would be a great spot for the quick clamps. However, I just didn't like how far away from the main work area they were, so I decided to split them up. I grabbed a few more scraps and counter bored a hole near the top on both of them. Again, I'm not going to be attaching a back, so I drilled a few pocket holes so I could attach it directly to the wall.
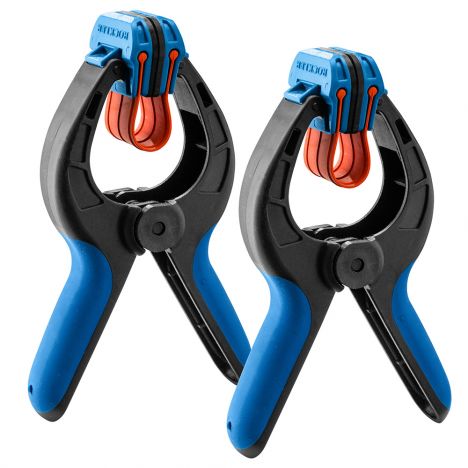
However, when I went to test fit it with the bar, the clamp kept falling off because I drilled that hole too close to the center and the clamp was hitting the wall. I cut some new scraps and drilled the hole off-center just slightly, and it worked great. To install it I first attached the one side, slid in the pipe and then sandwiched on the second side. I was going to make an identical holder for the spring clamps, but I don't want to have to open the clamp every time I wanted to put it on the holder. Instead, I used the scraps that I already made with the hole in the center and attached it. This moved the bar closer to the wall, to where I would be able to slide the leg of the spring clamp in between the wall and the bar to hold it in place.
Then these strap clamps they could just be hooked around the bar. Even though there's only two pocket holes in each, you can see that it will hold my weight just fine. Now I love this space in between them so that if I want to put a tool here on the ground in the future, like if I want to move my router table or a drill press, I have this space open. Then what I'll do for this space is maybe put a shelf or we'll just see what I need to in order to utilize that later on. The way that this is going to work is I can reach up and grab the clamp and slide it out and then just slide it back in whenever I'm done. Then as for these, I used PVC just because it's what I had, but you could very easily use dowels or conduit as well. I bet it would take out some of this flex, but, I mean, for clamp storage, I think that this is going to be just fine.
The other thing is I don't have much stored underneath the table so I can pass the track saw back and forth underneath. I've got my sandpaper here along with my sanding rolls.
However, of course, if it does get too saggy, then I can take off one of these sides, replace it with some conduit, and then put this slide right back on. Makes all my clamps quick and accessible right here with the main work area. I hope that this project is helpful to somebody. Just a very quick project to help organize the shop just a little bit more.

Keep the inspiration coming!
Subscribe to our newsletter for more woodworking tips and tricks