Video: Ultimate Nintendo Set Up Display Stand

In this video, Chris Salomone creates a display to show off his collection of Nintendo video game consoles.
Nintendo games hold a special place in Chris Salomone's heart, so he wanted to build a display to show off his NES and SNES Classic systems along with his Nintendo Switch alongside his TV.
You can find more great projects and techniques from Chris Salomone at his website.
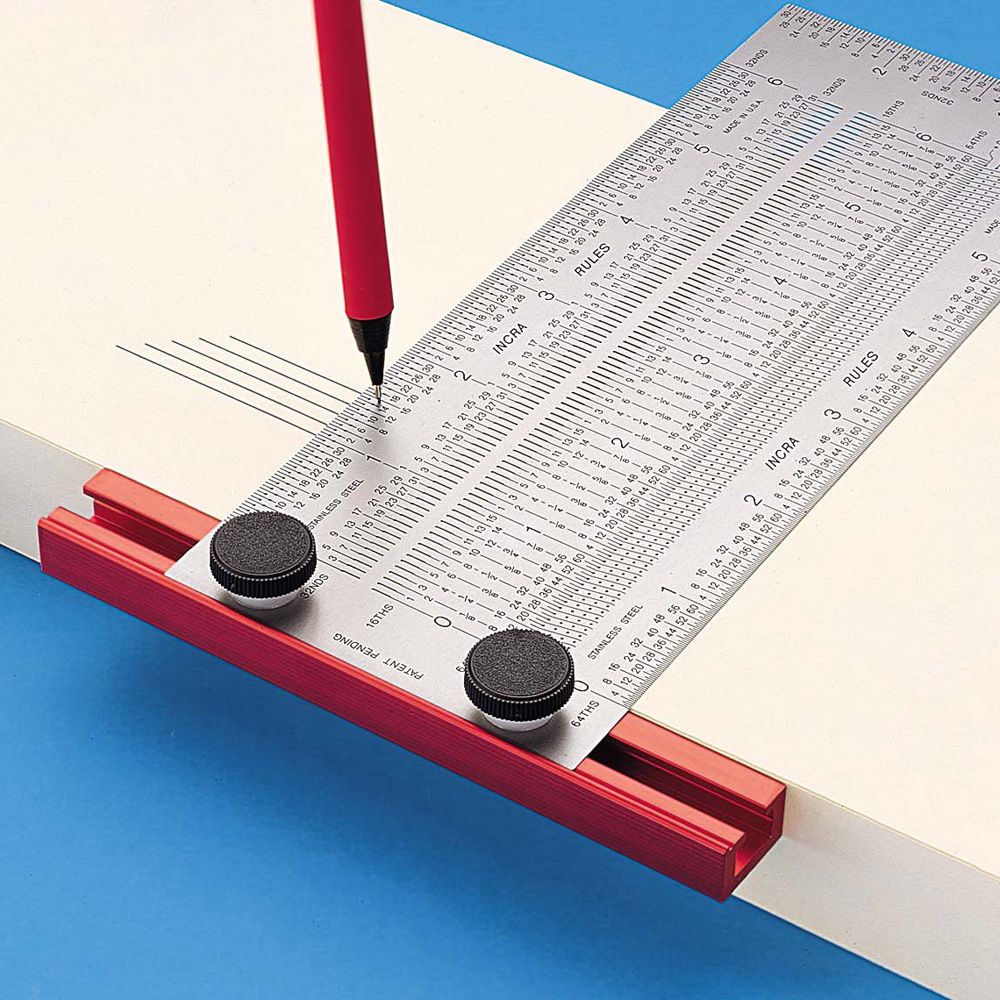
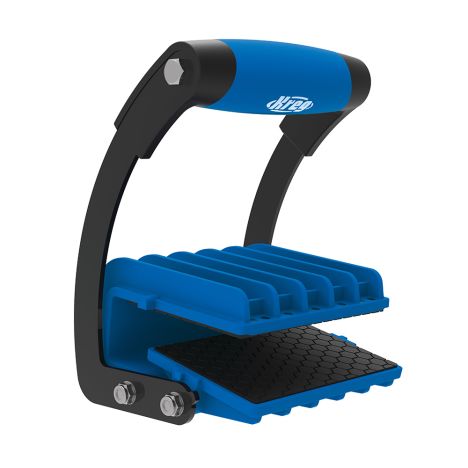
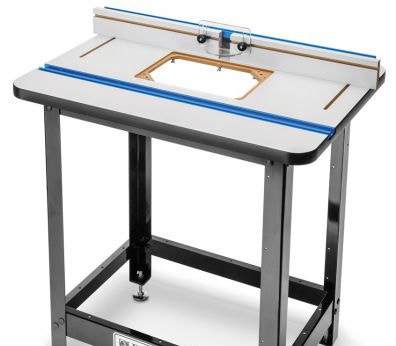
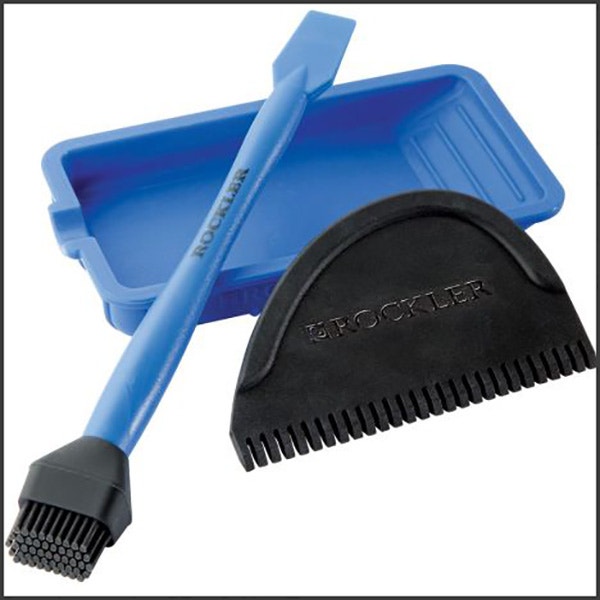
Featured Tools:


Chris Salomone: Today, we're going to build this video game stand/display thing on Four Eyes. I've had a long love affair with video games and Nintendo in particular. I still vividly remember sitting on the couch with my brother when the word came down that we're going to go get NES, or six years later, the Christmas morning, we got a Super Nintendo. Somehow it doesn't feel like it was that long ago that my parents took me to stand outside of a Best Buy on a Sunday morning to get an N64, the task I would repeat twice some 20 years later to get these little guys, the NES and the SNES classic, only this time at Target and without requiring a chauffeur.
Why am I building the stand display thing? Truth be told, the consoles do get used and my son and I have definitely logged some hours on Excitebike, various Mario vehicles, and Castlevania titles, but probably not as many as I would've thought. What we love and how fun playing with them, at the end of the day, the thing that I actually like most about the classic systems is just looking at them.
After I had roughed out the three basic pieces that are going to make up this stand, the top, the back, and the angled shelf, I headed over to the planer to get everything down to the proper dimensions. The top and the back are going to be about three-quarters of an inch thick, but that felt like it was just a little bit too much for the shelf. It just made the whole thing feel a little bit too clunky from the side, so I planed that part down to right around a half of an inch thick. Hey, it kind of looks like Rob.
Next, I tilted my table saw blade to 15 degrees and made a few cuts. First, I cut this bevel on the underside of the top shelf. There's no construction or reason for this, but I think it just aesthetically lightens the top, so you could really cut this at any angle you wanted or none at all. Next, I cut a 15-degree bevel on the lower shelf. You could technically not cut this as well, but then it would meet the ground at a funny angle. Here's a little drawing to show you what the difference would look like. Finally, the last cut that I made with my blade set here was on the foot of the back piece. This will make the back tilt forward by 15 degrees instead of being vertical.
Next, I set my blade to 37 and a half degrees and cut a bevel on the top of the back piece and the back of the top piece, basically the corner where those two pieces joined. These cuts will combine to make an obtuse angle that's 105 degrees or 15 degrees more than 90 degrees. That's going to offset the fact that the back leans forward 15 degrees, so that'll yield a top shelf that's parallel to the ground. Talking about it probably makes it sound a little bit more difficult than it really is, especially since you could reference angles from two sides, so one person could think of it something as 75 degrees and another could think of it as 105, but both are really saying the same thing, but anyway, hopefully, seeing these drawings makes it more clear.
Next, I cut a dado, or I guess, technically, a groove, into the back piece to receive the shelf. For as technical as that last part sounded, I'm going to try to make this part simple. Basically, hold the pieces together and strike a line. If you liked this video, make sure to subscribe and hit that notification bell so you know each time I post a new video. With all the pieces fitting together nicely, I moved on to routing a slot for some cord management in the back. You can see in this shot that I set a couple of stop blocks up so that I can consistently route from the same starting point to the same ending point, but this was the first time that I've actually done something like this, so I just took my time and was extra careful.
Then the last thing that I did before assembling was a little pre-sanding on some of the spots that would be harder to reach later on. Here, I'm rounding over some of my corners because I don't like them square.
All right, back to the build. With everything sanded and ready to go, I moved on to the glue-up. Since this piece is so small and has weird angles, I thought the tape method seemed most appropriate. After I had lots of pieces of tape on the back between the top and the back piece, I flipped everything over and started gluing. The tape method actually works best if you're making a box so you can fold the whole thing up and there's pressure to keep all the gaps closed while things dry, but here, there was only one joint, so I rigged up this little fence thing with some clamps and scraps so that I could apply a tiny bit of pressure to hold the gap shut. Hopefully, you're able to get a couple of quick peaks in, while my son's head isn't in the way. After that dried, I glued the shelf piece into the groove, no clamps or jigs needed here.
As I said earlier in the video, and despite the slight amount of embarrassment I feel admitting it, my favorite part about these systems is just looking at them. These things have earned their place in the pantheon of quintessential late '80s, early '90s goodness, beside the likes of Ecto Cooler, Hi-C, and Reebok pumps. Even though today, they're relegated to being mostly just decorations, it's nice to know that when I want to, I can flip them on, put a beating on Bear Hugger and remember the simpler times. While the games are still good, the memories are better.


Keep the inspiration coming!
Subscribe to our newsletter for more woodworking tips and tricks