Non-Through Cut Techniques
Called a rabbet when the cut is on an edge, a dado when it crosses the grain or a groove when it follows the grain, you can make these non-through cuts in a variety of ways. Router tables and shapers excel at this, and you can even cut them — albeit more slowly — with a regular blade in multiple passes. But most woodworkers agree that a dado set, sometimes called a "dado stack" or "dado head," is the best way to go.

The set consists of two outer blades that resemble regular blades, which cut and define the edges of a dado, groove or rabbet. A selection of narrow chipper blades with fewer teeth clean out the waste in the center of the cut, between the outer blades. Rounding out the set are shims and spacers in various thicknesses. How you "stack" these together determines the width of the cut. Manufacturers often include a simple chart listing the needed components for typical cuts.
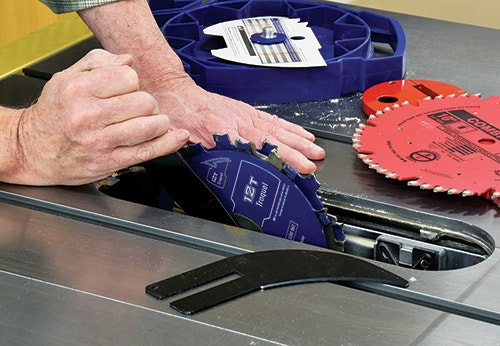
Install the dado set one piece at a time, starting with an outer blade. Chippers and spacers follow as needed for specific cut sizes, with the other outer blade going on last, and the arbor washer and nut holding everything together as a unit. By the way, dado sets are smaller in diameter than standard 10" blades. A 10" table saw, for instance, uses an 8" dado set. You'll also need to remove the riving knife, which not only impedes the cut of the smaller diameter dado blade but also serves no purpose for non-through cuts.
Some table saw throat plates have openings that accommodate narrow dado blade widths, but some don't. If yours doesn't, you can make your own throat plate out of MDF or plywood, using the same process for making any zero-clearance insert. As a bonus, a custom plate improves dust collection and helps eliminate tearout.
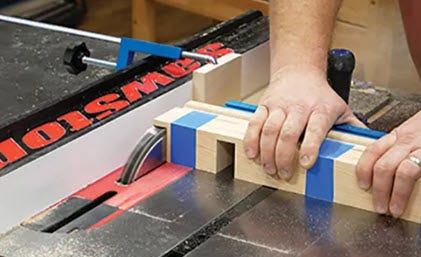
You can cut dadoes, grooves or rabbets in large workpieces using your table saw's rip fence, just as you would for any rip or crosscut in large stock. For narrow workpieces, a miter gauge is your best bet.
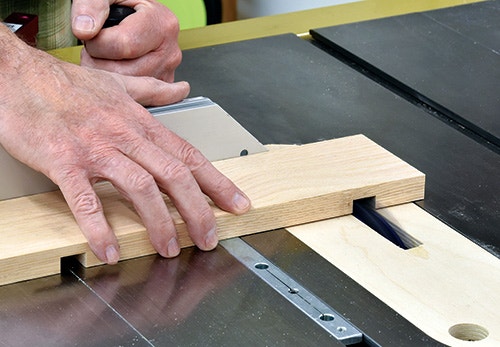
For cutting rabbets along an edge, all you need is your rip fence. However, you'll first want to add a sacrificial fence. This can be any piece of straight stock, simply clamped to the face of your regular fence. This allows you to adjust it until the fence facing just kisses the blade, making for smooth, accurate rabbets.
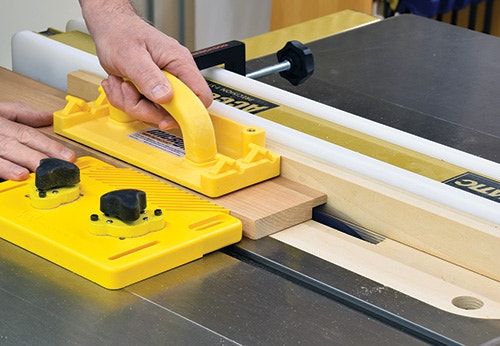
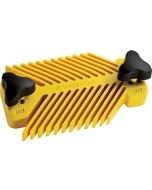
As with other non-through cuts, your hands will often pass right over the blade. So be sure to use featherboards and push blocks for safety.


Keep the inspiration coming!
Subscribe to our newsletter for more woodworking tips and tricks