Project: Sturdy Shop Stool
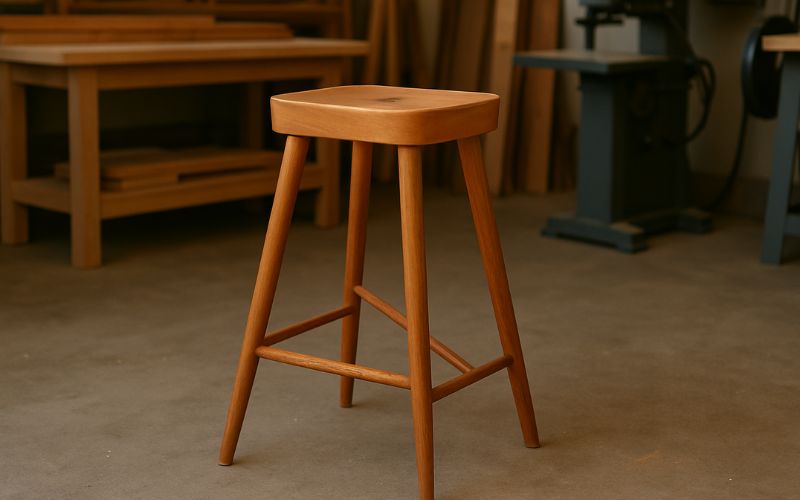
Through turning you can create unique stretchers and a nice footrest for your shop stool.
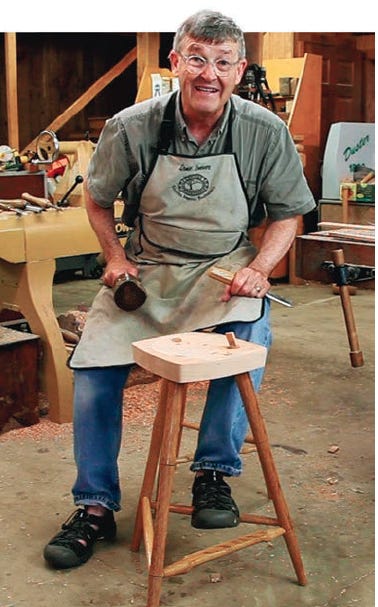
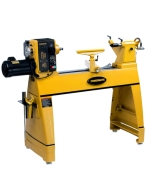
Palmer Sharpless, a fondly remembered founding member of the American Association of Woodturners, showed this nifty project to me. He originally designed it for the right height and comfort while filing saws, and I still have one of his originals in front of my saw filing vise. It is a standard project in my weeklong turning classes because it teaches so many things. Accurate layout and simple faceplate turning are required to make the seat. Turning of relatively lengthy 27"-long spindles for the legs teaches how to deal with vibration in long work, duplication of pieces and how to accurately size tenon for attachment to the seat. One, or all, of the stretchers can be turned in two axes to allow them to double as a nifty footrest. The drilling scheme to gain maximum strength from the legs and stretchers teaches wood technology. The project is also well within the capacity of most lathes.
The stool can be turned out of most any wood and can make good use of cutoffs from other woodworking projects. Contrasting woods give the stool a more modern custom look, while like-colored woods make it unobtrusive.
All sizes in the cutting list are dimensions that have worked well over the years, both in terms of lathe capacity and functionality of the finished stool. The height is excellent at a kitchen counter for reading recipes or making shopping lists. Do not be afraid to make the stool taller or shorter to suit your needs. While the seat and legs can be cut before commencing work, the stretchers are best cut and turned after you have a dry assembly and can make actual measurements. The length can vary quite a bit because, unless the hole is drilled on an exact radius of the 4" diameter layout circle, the distance will not be equal. In practice, no matter how careful the drilling, there is up to 1" difference in stretcher lengths. The 17" dimension I have given is significantly longer than normally needed.
For the Shop Stool Diagrams and Materials List, click here.
I usually turn the legs first, then turn and drill the seat. I drill the holes for the legs on about a 15° angle. "About" as you can vary a degree or two more or less from 15° and everything works out fine. I simply block up a piece of plywood on the drill press table at a 15° angle and secure it with C clamps. I then dry assemble the legs into the seat to measure, turn and dry assemble the first stretcher. I then move on to the second and third.
Making the Stool
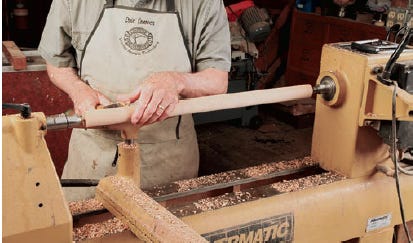
Lay out perfect centers on each of the leg billets and mount one in the lathe. The tenon end will go toward the tailstock and the part of the leg that rests on the floor toward the headstock. Use a spindle roughing-out gouge to bring it just round. The legs are made in a bamboo style set off by shallow grooves matched with gentle dips.
Form the shallow grooves with the point of a skew. Then turn a gentle concave depression between the grooves such that the edge of the groove is the biggest diameter on the turning. The tenon section should be kept at 2" long; the floor end of the leg should be about 1" diameter. This shaping can be done with a spindle roughing-out gouge, but if you are handy with a skew for a final cut you will be rewarded with needing very little sanding. I sand and finish (using shellac) the spindles in the lathe.
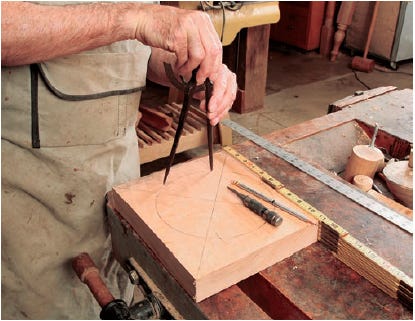
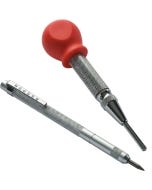
Now we turn our attention to the seat. On the bottom side, draw diagonals between the corners of the blank to find its center. Using dividers or a compass, lay out an 8" circle. Once drawn, use this radius to lay out three leg holes. Two radii (or a diameter) are approximately 1/3 of the circumference. Center punch the first hole on the circle line at the center of the backside. From this point, mark two divider swings in each direction bisecting the circle line, and mark them with a center punch. This will leave three punch marks that divide the circle into perfect thirds and the legs nicely spaced to support the stretchers, including the one shaped to be a footrest.
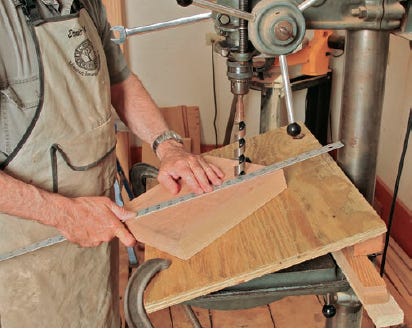
Drill each of the leg holes 15/16" in diameter with the leg layout mark positioned on a line between the center of the 8" circle and the center of the column of the drill press, at the 15° angle discussed earlier. Drill through the seat blank into a backup board.

Now mount the seat on a faceplate or screw chuck and turn the top to a gentle concave shape. The gentle depression should end just outside the holes for the legs but not extend to the edges of the blank. A large round-nose scraper is a great tool for this job. When this is done, place the seat top down on a bench and dry fit the legs.

The front stretcher goes between the bottom grooves of the legs positioned in the front. To find its length, measure the exact distance between the legs, then add 1-3/8" to the measurement. This allows for a 5/8" tenon on each end but makes the stretcher 1/8" longer than the distance between the legs. A stretcher should do just that, push the legs outward.
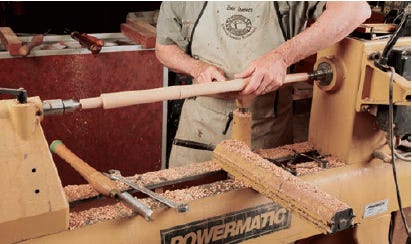
The stretcher which becomes the footrest, the front stretcher, is turned in two axes. Starting on the off-center axis,I made pencil marks about 3" from each end and turned the center to a cylinder, stopping when the rounding just touched the flat spot on both edges. Now go to the true center of the billet and turn the ends.
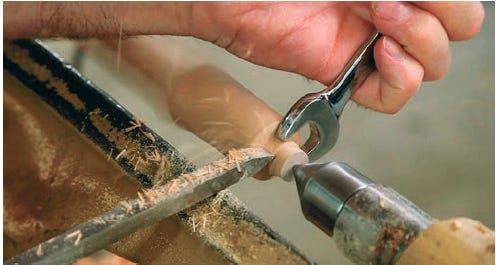
Start by sizing a 5/8"-diameter by 5/8"-long tenon on each end. I use a beading and parting tool for this job with a 5/8" open-end wrench as a caliper. It yields a press fit with a 5/8" drilled hole. Taper the area between the tenon and the 3" mark to a pleasing shape, leaving about a 1/16" shoulder.
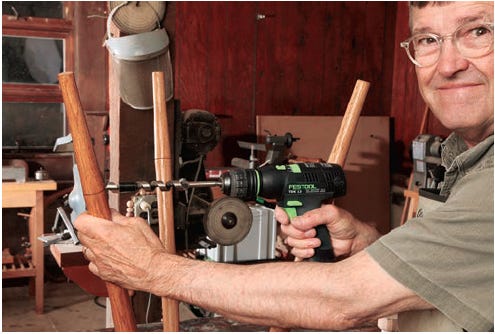
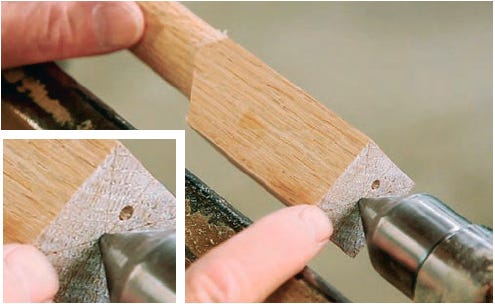
The easiest way to drill the holes in the legs to accept the stretcher is with a handheld electric drill. Start the drill square to the leg turning, then bring the drill down until it lines up with the mark in the other leg. You are now drilling at the correct angle. Dry assemble the front stretcher, and now measure one of the side stretchers. It goes from just below the front groove to above the groove on the back leg. The other side stretcher does the opposite; it goes from just above the front groove to just below the groove in the back. They form an "X" in side view. The reason for staggering the holes is to keep strength in the legs. Dry assemble the second stretcher before measuring and turning the third. Center punch all the holes that are not on a groove to make starting the drill more accurate. The last step is to lay out and cut slots into the tops of the legs for wedges. Orient the slots so they run across the seat grain so you won’t split the seat during assembly.
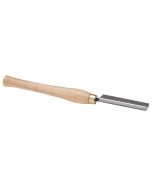
Apply glue to the tenons and brush a bit into each mortise. Now assemble the parts quickly and pound the wedges home to lock the legs. Once the glue is dry, clean up the tenons with a fishtail gouge and a mallet. Sand and finish as you wish.


Keep the inspiration coming!
Subscribe to our newsletter for more woodworking tips and tricks