Video: Custom Notepad Covers
In this video, David Picciuto shows how to make quick and easy personalized notebook covers.
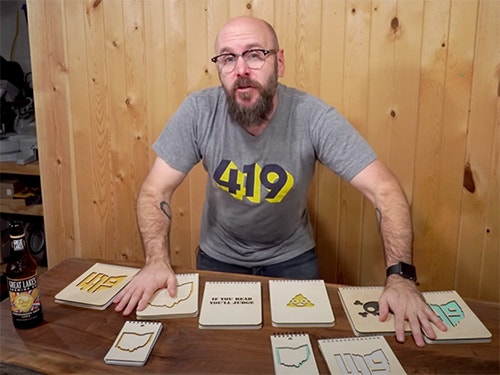
David Picciuto makes a batch of simple notebook covers, a perfect and easy to make item to give as gifts or sell at craft shows.
You can find more great projects and techniques from David Picciuto at his website.
Featured Tools:


David Picciuto: Welcome to Make Something with me, David Picciuto. Today, we're going to make this custom notebooks with a wood cover for an upcoming craft show. Stick around and see how we do it.
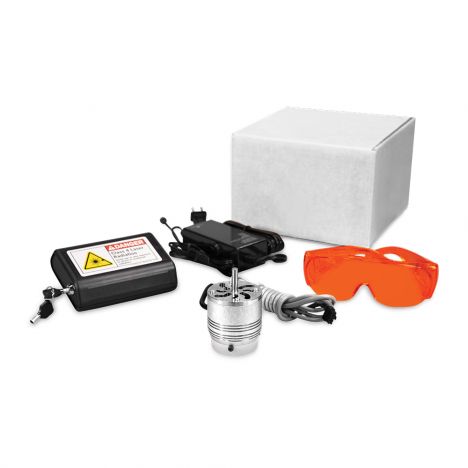
Before we get started, I just want to say that I am going to use a laser cutter to make these. I want to give you a couple alternatives if you don't have a laser cutter. Number one, check your local library or makerspace. Here in Toledo, Ohio, our library has a laser cutter that you can use. You just have to be a free member of the local library. Many communities have makerspaces, where you can rent a laser cutter.
If you don't have one, that is one option. Another option is to use a jigsaw to cut out your designs, and then just drill the holes for the top here. The third option you have, is to not use a jigsaw at all. Just cut out the outside on the bandsaw, drill these holes, and then you can use various drill bits to create different hole patterns in here to let the color shine through. I bought these notebooks from Michaels Craft Store here in Toledo, Ohio.
Each one cost a $1.50. All we're doing is, we're removing the cardboard cover and replacing it with an eight-inch plywood cover. Let's get started. I'm removing the notebook from its packaging, and then pulling off the cover and the back. I take a photo of the back with rulers and import that into Illustrator, where I can then trace and draw it.
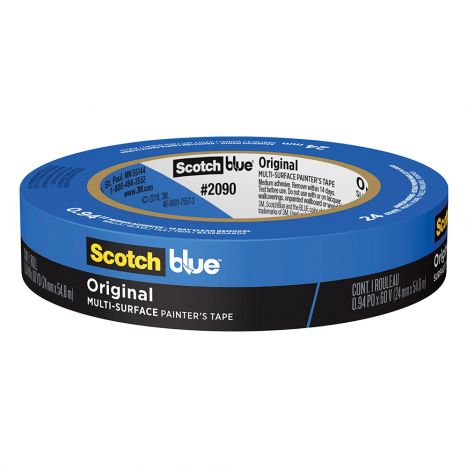
The vector drawings that I'm creating here will be used by my laser to cut everything out. I import my artwork and then punch it out, and then send that to the laser software, where I then set my speed and power settings. I'm using masking tape on my 1/8th-inch plywood to prevent burning. It turns out this wasn't necessary, because I ended up sanding everything, anyway, so I didn't use the masking tape on the other pieces that I cut.
This footage is sped up. This will take about five or six minutes to cut. Removing all the masking tape is a huge pain, so I'm glad I didn't do this with every single one.
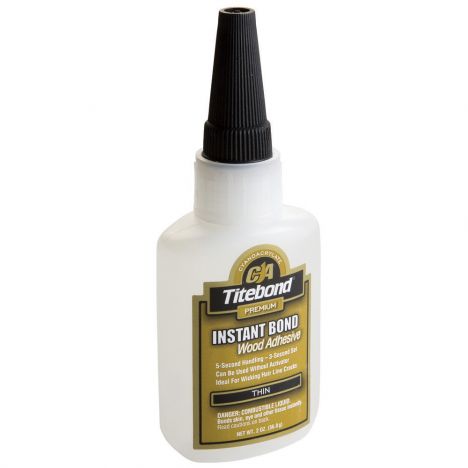
Here, I'm cutting out the shape of the cover on a piece of construction paper that would be glued to the plywood. I'll cut the plywood with spray adhesive and attach the construction paper. Then there's a tiny little piece that needs to be glued in for the number nine here. I'm just using super glue. Now, it's time to assemble the notebook. It goes together pretty easy. I do have to bend down the binding a little bit, so everything stays together. Once it's together, works great.
I made a handful of that design and decided to make a couple other designs that I thought would be cool for people that maybe aren't from Toledo, or don't really care, don't have that Toledo Pride, so I thought I'd make up a fun little skull. I also did the little poop emoji. The cool thing about these is, you can change up the colors and the feel of each piece by using different sheets of construction paper. You can see with this one, instead of using masking tape, I just sanded away the burn marks.
Sometimes the laser doesn't cut all the way through it, so I go to force the pieces out., or use an X-ACTO knife to cut them away. Once again, I apply the construction paper to the back of the plywood, and then glue in the little orphan pieces.
Like I mentioned before, I'm using notebooks that I got from Michaels Craft Store. These cost a $1.50. These right here came from my local grocery store and cost I think 99 cents for them. I'm going to be selling these at an upcoming craft show. One of the tips I have for you is to make things for your audience. I know a lot of people at this particular craft show are going to be artists and a younger crowd, and there's a strong Toledo and Ohio Pride here in Northwest Ohio.
That's why I made these Ohio-based ones and 419 here in the shape of Ohio is our local area code. I know that they are going to sell well. I also made some goofy little ones here too. If you're not very good at drawing on the computer, you could check out Adobe Stock, iStock.com and Shutterstock. There's a million places where you can download and purchase art.
One of the reasons I decided to make these notebooks is because I needed something that's really cheap that I can sell at my booth. A lot of the other things are a little bit pricier and a little bit higher end, and I know I'm going to have a hard time selling them, so I wanted a really cheap item. These notebooks, I think are going to be perfect. I can batch them out really quick.
I think they're going to go between $8 and $10. Also, double your money here, because I can take the waste pieces here, and then mount them on a board and I can sell this is art as well. I've done that here. This is the waste piece for this little guy. Then, I even have the Ohio outline with the skull, and the waste from this guy. I wouldn't call that waste at all. We're being really efficient, and we're actually going to make more money doing this.
I can get rid of these walnut scraps that I have lying around, so all works really good. I still have a few more to make. The notebook covers, I did not stain them or finish them. I'm going to leave them just as it is, because I didn't want to spend a lot of time on each one. I wanted these to be really quick. These pieces of artwork here, I will put probably some Tung oil and maybe a lacquer finish on top of there, and then mount hanging hardware on the back, along with a couple little rubber bumpers.


Keep the inspiration coming!
Subscribe to our newsletter for more woodworking tips and tricks