Video: Five Shop Organizing Projects
In this video, April Wilkerson tackles five popular shop organization projects.
April Wilkerson tackles several small tasks that focus on organizing her workshop. The goal is to not necessarily set things up the way they will be permanently but more so to get things off the floor, out of boxes, and off all the horizontal flat work surfaces.
You can find more great projects and techniques from April Wilkerson at her website.
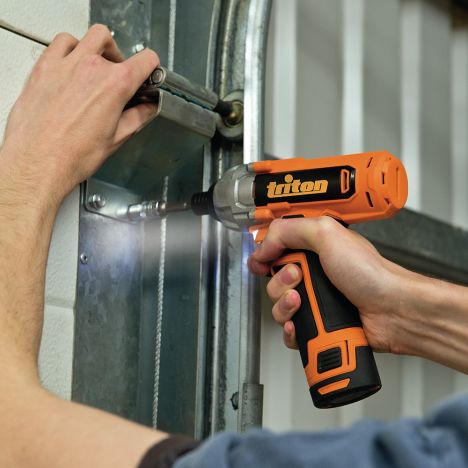
Featured Tools:


April Wilkerson: In this video, I'm going to be tackling a bunch of small tasks focused on organizing my shop. Just coming off of building it and moving everything in. Everything is out of place, and more than that, nothing has a place to be put away to. It's not only frustrating because I can't locate anything, but it's also overwhelming because everything needs to be done right off the bat. Of course, it's just one of those things that my shop will always be evolving, and it's just one thing at a time.
To kick that off, this week's to-do list is a bunch of small things that aren't necessarily challenging or even time-consuming. It's just a matter of taking the time to actually get it done. The goal right now is to not necessarily set things up the way they will be permanently, but more so to get things off the floor, out of boxes, and off all of my horizontal flat surfaces. I started off with pegboard as it's a dead easy solution to get a lot of things picked up quickly.
Of course, you can purchase four by eight sheets right off the shelf and throw them up. However, I did take a little bit of time to paint mine just to give it a little bit of color. I also took the time to make a simple frame for it. I grabbed some 2-by material and ripped it down over at the table saw. This was actually done the night before I finally got power hooked up to my shop, so I was still having to work with my job sites all on the porch.
After ripping the boards down I also cut in a rabbet at the table saw so the pegboard would have a recess to fall into on the backside of the frame. After attaching the pieces together with screws, I gave it a frame a quick coat of paint. Then while that dried, I took the time to make a stencil of my logo to transfer onto the pegboard. To make a stencil, I always print off the design that I'm after and cover the entire page in clear packing tape just to give it some rigidity.
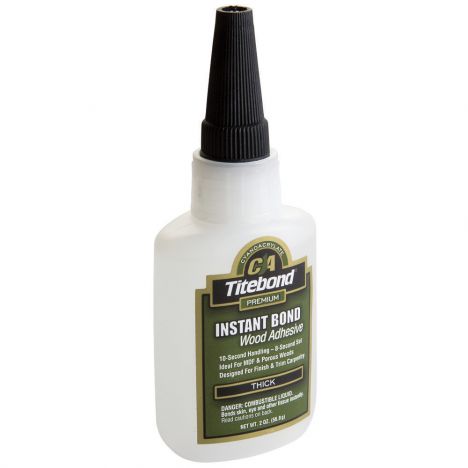
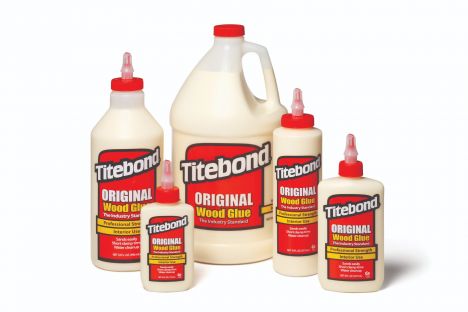
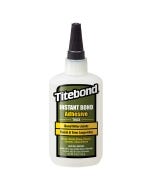
Then I used an Exacto knife to cut it out. I could now place the stencil where I wanted it on my board and trace it out to then paint. I grabbed some help to move the pegboard inside the frame then set it inside that rabbet so that rested inside the border. I attached the pegboard to the frame by using a fast-drying CA glue from Tiebond called Insta-Bond. I switched over to Tiebond original wood glue when gluing the support strips along the bat.
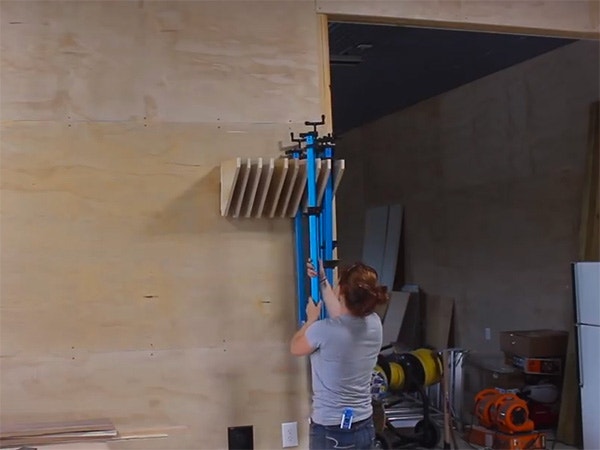
Then got the board done and ready to be hung. Now you don't got to take it from me, but I do recommend calling in a second person to help hang the pegboard. It's not that it's heavy, it's just awkward to handle. It gives it a story, right? Have you ever come to my shop and noticed how busted up my pegboard frame is, you'll know why. On the second attempt, I did admit defeat and called in help to lift and hold it in place while I secured it to my studs.
While working on pegboard, I also hung my old pegboard from my previous shop. When I was moving out, I didn't have the heart to leave it behind or throw it away. Even though I've changed my logo, I again, I just love the story behind it and I'm glad that I held on to it. Having these two boards up made a huge difference in helping me clear off my flat surfaces. It gives me a dedicated spot for things such as my safety glasses, my chisels, my glue brushes, my tape measures, my hammers all of the tools that I use on a very regular basis.
For simple things such as extension cords, I would simply throw a hook into the wall. You can see in this instance, I started them all high, but then I decided to add some fringe cleats to this little nub to store some extra hardware bins I had in a box, so I just simply moved them down. Now again, on this hardware storage, I do have a master scheme I can't wait to tackle for all of my hardware, but it will take me time to not only design but to execute it.
In the meantime, instead of just having all these excess bins and all my hardware in a box somewhere on my floor, I will use this temporary solution to get rid of the box they were in and also have all my remaining hardware on display for my use. If you're interested I do have a video on making these bins in three different sizes and also a free template. I'll leave you a link in the description. It was at this point that power was actually flipped on in my shop and I got to use my cabinet grade saw for the very first time.
Get this table saw a run for the first time. I put it to use right away making more fringe cleats for my walls. Which a fringe cleats is just a piece of wood that has the top cut at a 45-degree angle. I started off by hanging all of the holders I made previously in my old shop. This included my plug and paddle bits, my hand tools such as side cutters and wire strippers, and all of my screwdrivers and wrenches.
Then I moved on to making new holders for the new sets of tools such as my Forstner bits. Well, a lot of these bits come in their very own nice cases that keeps them organized. I don't like things tucked away and hidden. I like things visible and easily accessible. However, I did use the box to copy the layout of the bits. I used any scrap of one by material I had laying around and lined it up to the row of bits in their box. Then transferred the whole location to the scrap.
Then I can take it to the drill press and punch a hole the majority of the way through the same size as the drill bit shank. Since I wanted two rows of bits on this particular folder, I use the table saw to bevel the top of the scrap then wood glue to secure to a piece of quarter-inch plywood. This plywood piece is acting as a backer board for the holders to be secured to, and also keep it from coming off the cleat. You can use anything you have laying around. It doesn't necessarily have to be quarter-inch plywood.
I used bread nails to hold the pieces together while the glue had time to set up. Now, I could cut a cleat also with the 45 degrees on the top to meet up to the 45-degree cleat that I place on the wall earlier. That is how the holder will be stored on the wall. Simple enough right? I repeated the same exact process for all of my router bits. I use the layout in the box to layout my scrap board then turned it into a holder.
On this one, I made sure to leave plenty of extra holes in both half-inch shank size and the quarter-inch size because it seems like I'm always acquiring new router bits. However, when I eventually fill these up, I can either keep making holders to expand left and right or I can even replace these to include more layers downward. This is a very quick and easy way to organize any bit, so the next time you have a few scraps that you're tossing out, take 15 minutes to make a few holders then place them near the work area you would most likely be needing them. Moving on to clamps. These are just been piled up on my floor like everything else.
I started off by grabbing some 3/4 inch plywood cut-offs from sheathing the inside of my shop. I started off by making and measuring how deep a shelf would need to be to store four clamps. Then I measured out a triangle that size. Since I'll need a few of these, I rough cut my boards in squares, then tape them all together to cut once over at the bandsaw. Next, I used wood glue and screws to attach these to a backer board also made out of 3/4 inch plywood. I did use the help of two spacers to speed up the process.
Honestly, it goes quick either way as it's dead easy. Before hanging my clamps up I first did something I should have done years ago but never took the time to do. See when a friend gave me these pipe clamps, he made these wooden blocks for the pads. They not only extend the footprint of the clamp some but they're also easier on the project when clamping down.
You can see he used two screws to hold each wooden pad into place, which is a good idea, but often the pad slips out. Instead of messing with the screws any longer, I applied a little bit of the type on Insta-Bond. This will permanently attach the wooden blocks and removes the headache of messing with keeping them under those screws. I once again used a fringe cleat to hang up the clamp rack making sure to grab studs on this one since the clamps all together aren't very light.
Now I'm able to hang up all of my clamps instead of just having them precariously about on the floor. It's surprising to me how little room they take up when they're actually organized. Up next was cord reels. I have a ton of outlets around my walls. Which is great, but I also placed outlets at every light on the ceiling so that I could eventually also have hanging cord reels over work areas in the center of my shop.
I went with the Rockler cord reels that are 30 feet long and has a 12-gauge wire to support any of the heavier tools I want to run. I decided to place two on the woodworking side and two on my metalworking side. The first being right above my mobile workbench. One of my favorite small adjustments I've made just because I've never seen the gadget before was the solution to this light problem. See when my Bay door is open, this light is just completely wasted.
I wanted a way to isolate it from the rest of the lights on the circuit so that when my Bay door is up, I can switch it off while the others remain on. I found these remote-controlled outlets on Amazon that gives me the power to do just that. All I had to do was plug it into the outlet on the ceiling, then plug my light into this new outlet. Oh goodness, awesome. I think that is so cool. The last thing I did this week before calling it done is to organize the drawers of my toolbox.
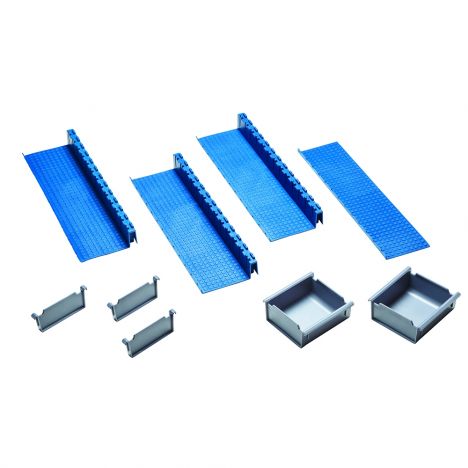
I'm constantly needing to find a home for a lot of little things from drill bits to hair ties to Carmex to extra earbuds for my hearing protection. This Rockler drawer organization system is by far the best system that I've come across for this task. As you can see, you can pull the units directly out of the box, easily click them together to form individual trays that is 100% customizable by either leaving the rows empty or positioning trays or dividers to suit your individual storage needs.
The tray sections are actually made from a synthetic rubber so that they can flex. The benefit of this is you can actually use a pair of scissors to cut them to different lengths. Once the rubber trays are down, you can leave them as is, or you can customize it even further by placing plastic bins or dividers anywhere along the notches in the trays. Oh yes, it looks a lot better. All right. With that organized, I'm going to call my to-do list done.
Like I said at the beginning of the video, nothing too time-consuming and nothing too challenging, but it is quite crazy how much more efficiently you can work around the shop once things are organized. I will of course be continuing to evolve my shop over time and I will be showing you more updates all along the way. In the meantime, I hope your own shop is evolving and is a happy place for you. That's it for this one I'll see you on my next project. Why are you rolling in dirt? Come here, come here. Hi, Boba. Make room for your brother. Come on. Is that working for you?

Keep the inspiration coming!
Subscribe to our newsletter for more woodworking tips and tricks