Video: Illuminated Cube Stools
In this video, Michael Alm builds some cube-shaped modular furniture inspired by the artist Donald Judd.
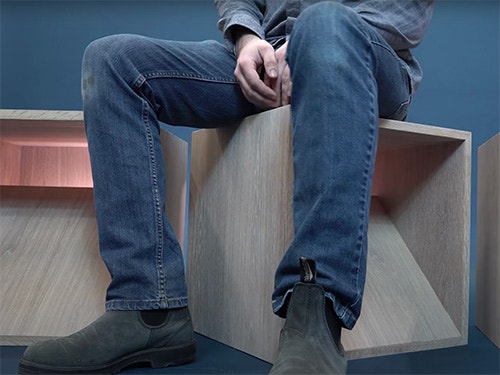
These wooden cubes are based on the work of minimalist sculptor, Donald Judd, and function as stools, end tables, and sculptures. The design is based on one by DUST. In the back of each cube there's a rechargeable LED light fixture which reflects on the interior to give them more depth and highlight the white oak.
You can find more great projects and techniques from Michael Alm at his website.
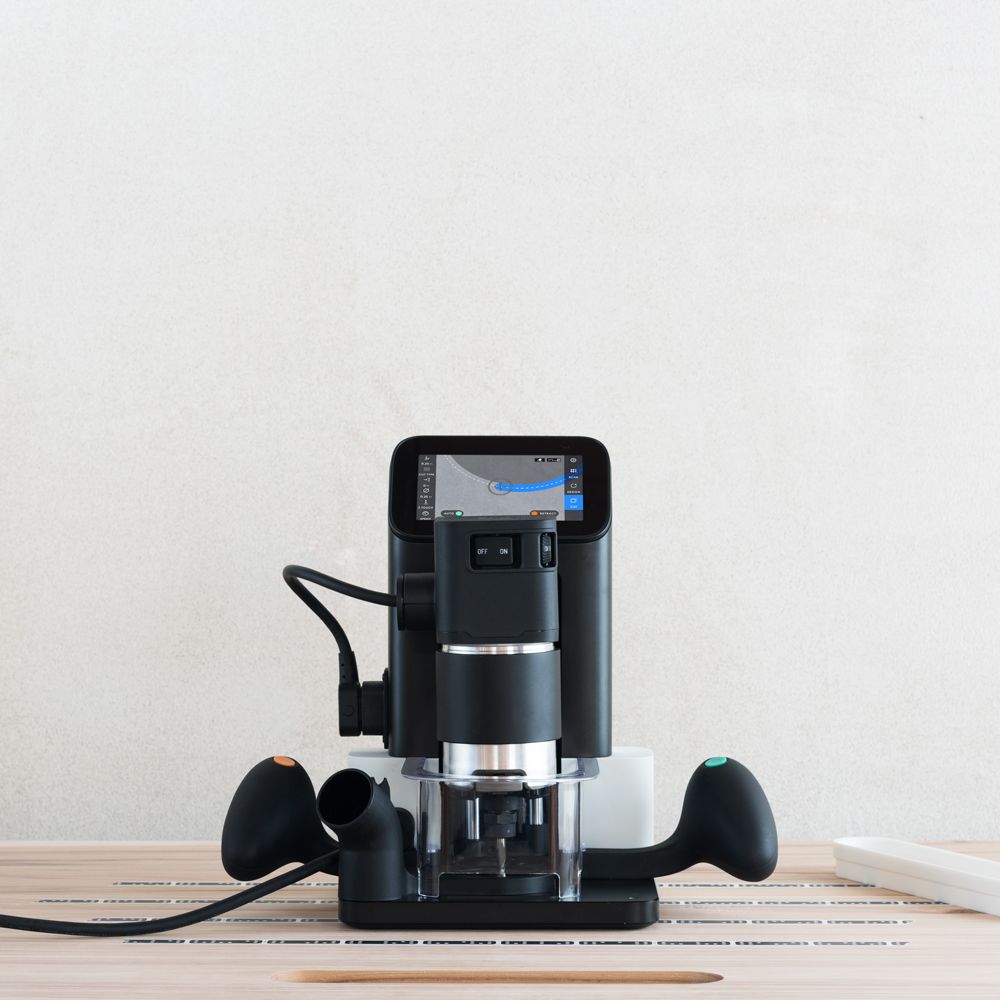
Featured Tools:


Michael Alm: Hey, everyone. Michael Alm here. This week, I'm working on a set of cube stools. I'm calling them stools but really they're going to be like modular furniture units. They're going to be these cubes that can be stacked used as end tables. They're going to have a light fixture inside of them. My friend approached me asking me if I would build them for him. He's really inspired by the work of Donald Judd and other minimalists who likes that clean line look. We worked together, came up with a really nice design and I'm super excited to build these.
One unusual thing that I decided to do in this build is pretty much start with the edge banding. I've got the plywood panels cut down. This is all white Oak. It's white Oak plywood, white Oak edge banding but I decided to do the edge banding early on because it can be cutting miters into this. It's way easier to match it at this point than it is to cut the miters later when the cubes are built.
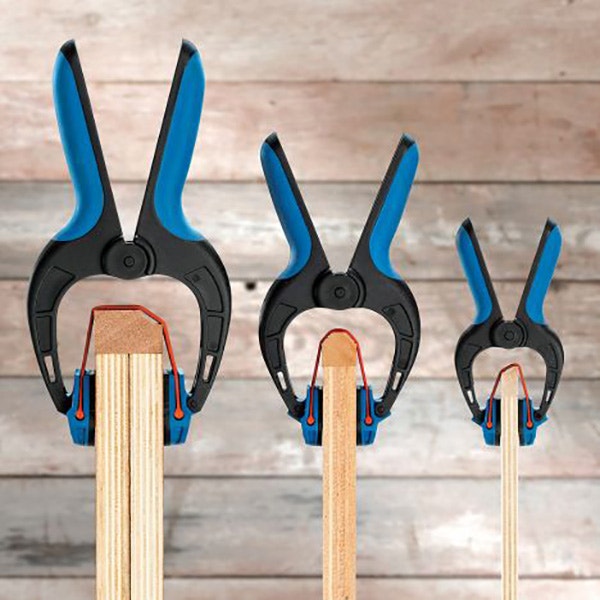
One thing that I like to do is I don't want a quarter-inch of edge banding but if I cut it down to an eighth inch, it's going to be too flexible. I'm working with quarter inch now and then I'm going to cut it down to an eighth later. Since I'm going to be cutting this down on my SawStop saw, I don't really want nails inside of it. I've been told that it's but I really don't want to risk it. Rockler makes these bandy clamps, they're really good for gluing on edge banding, holding it tight while it sets up to dry. Once the first side was dry, I could flip over to the other side and add edge banding and bandy clamps to the opposing side as well.
Like I mentioned before, I cut quarter-inch edge banding because it stays nice and flat. Now I'm trimming it down to the eighth inch that I need at the end. Then once I've got one side trimmed off, I've got to flip it over and cut the other side. Now, you can see that thin edge banding on the side. That's only an eighth inch thick. From my experience matching up white oak works super well. There's not a lot of color difference like you can have in other woods.
Now, I'm setting up the crosscuts on the panels. For this, I had a little bit of trouble because I didn't have a clamp that was long enough or quite deep enough. What I ended up doing instead was I grabbed a scrap piece of wood and just screwed it to the base of my sled. With the long lever arm of this panel, it could probably pull itself out of square or bind up in the table saw blade. I want to prevent that completely. With that block there, it's really nice and stable.
You'll notice that I'm cutting off the front edge just to make sure everything's squared up. Then, after that, I'm just cutting it and being mindful of the grain, keeping the grain matched together. You'll also notice that I've got a stop block that is clamped to the fence. The reason why I use that instead of just the fence is that I don't want the panels to bind up against the saw blade. That can be pretty dangerous. It's also a lot quicker to just be able to pull the panel away and keep moving without having to turn the saw blade off and on. With all the panels cut into the squares. I can then just make a hundred percent sure that the grain match is correct.
I thought it looked good so I went ahead and did all of the others the same. After getting those cut in, I decided to add three vertical stripes on four of the end pieces. I would cut all four at the same time, then change the dado stack out for something thinner and then repeat the process. Then I can grab some scrap walnut and cut them to size to act as an accent. I did take my time cutting these because I wanted them to be a nice snug fit.
If you watch my channel before, you'll know that I'm a big fan of labeling my parts. I've learned from some pretty serious mistakes that if I don't keep track of where every part is, it can cause problems down the line. I've marked the front and the back of each piece, as well as where it is inside of the cube. Then I also marked this diagonal line. This is eventually going to be a baffle which is going to hide the light fixture. I just marked which direction it's going to go in in the end.
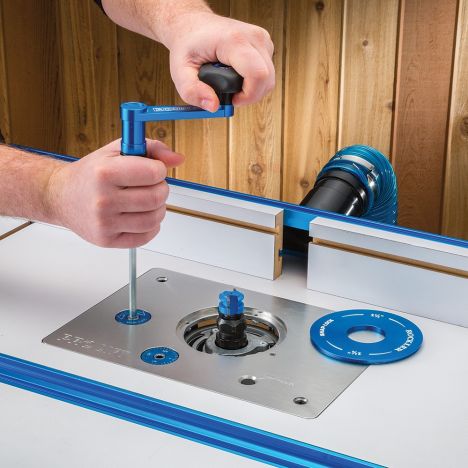
We need to make a couple of stop dadoes into the side panels of the cubes to accept the baffles. In order to do that, I'm going to be using Shaper Origin. This is a super handy tool. It's basically a CNC but it handheld. As you can see, I've got those panels surrounding the workpiece and this just allows me to register the next workpiece into place. That way, I can move right along and cut these super quick.
As I mentioned before, all the sides of the boxes are going to be mitered. I saved it until this phase just because I didn't want to have to swap the cutting sides as I kept up with the wood grain, that gets really complicated. The setup gets frustrating. This way, everything's matching up now and I'm just shaving off that 45-degree angle from each side, it's a super-easy way to do it and make sure that everything lines up properly.
Each panel yielded five squares. The last square is going to be used as the baffle panels. This panel only gets one miter on one of the sides. Now, it's time for a dry fit. I just wanted to make sure that everything fit up. I actually did this on all four of the stools before glue-up, just to make sure that things were aligned properly.
Once I've confirmed that everything fits, I could then go and reinforce the joints. Most of the joints in this are already pretty strong, especially with that baffle glued in but the top panel was a little bit on the questionable side, so I decided to add in a couple of dominoes. I have this policy that when I do glue-ups, I usually do the first one off-camera and then I do the second one on camera because the first one is usually pretty chaotic. I was feeling so confident in this glue-up because I had the dry fit, everything was looking right that I just went for it. I filmed my first go at the glue-ups so enjoy.
Nope. Okay, that one looks - That one's dripping. Come on. It's together. It's together. All right. This is the second glue-up and as you can see it is way smoother. One thing that I figured out is that the panel that has the dominoes in it needs to go and way earlier. I left the panel without the dominoes off.
With the stools out of the clamps, I could clean up the glue squeeze out. For that, I've got this little light fixture that helps me see where all that glue is, and I use a sharp chisel to clean it up. I've also found that wrapping a piece of sheet metal with some sandpaper helps you get into that corner. Some of the spots just require a little bit of elbow grease.
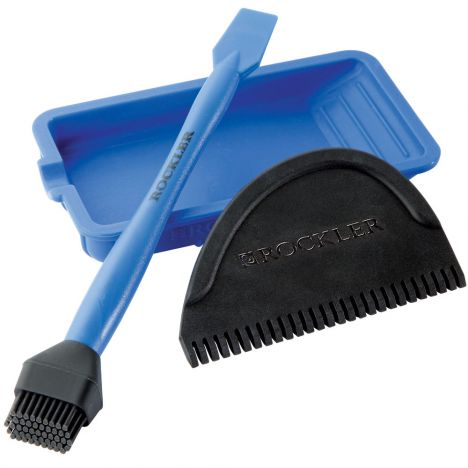
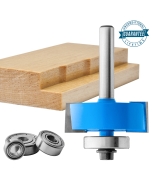
I also went around the outside corners of the miters and burnish them with a screwdriver. This pushes the joint closed and also rounds it over, so it's less susceptible to damage. The stools need a back panel. I decided to do a rabbet joint after everything was glued up. I put it in a rabbeting bit. This is a Rockler product. I'll post a link down below, and I just used the guide bearing on top of it to make this cut. Now, a quick note, I made this cut two passes. Three-quarters of an inch is a little bit much for this bit, so I moved it up halfway, and then halfway again to get that final rabbet. I also made it a little bit deeper so that the back will actually sit proud and then I can send it flush.
I used the remainder of my white oak plywood to cut a couple of back panels. The rabbeting bit leaves a rounded corner, and as a result, I can either chisel out the corner and make it square, or I can just round over these back panels. I firstly liked the look of the rounded corners so that's what I went with.
As I mentioned before, there's going to be a light fixture inside of these stools. For that, I'm going to have to have an access panel. The light fixture is going to need to be reattached. If it ever needs to be repaired, it'll be easy to pull out. I need it to be fairly large, but not so large that it's intrusive. What I came up with, was this covered panel, so it's going to have this opening, but I'm also going to inlay a piece of quarter-inch plywood over the top. That way, you can cover it up when you don't want to see it. I started by cutting the square opening, and then I could go through and do basically like a rabbeting pass around it. This will allow for the quarter-inch panel to sit flush, and then I need a way to secure it, so I made a couple of holes for some magnets.
Using some two-part epoxy, I glued the magnets into place. I, fortunately, had some leftover quarter-inch white Oak plywood from the bookcase that I built last week. I designed these rounded squares with holes in the center. I thought they looked really clean, if they do want to put a plug out the backside, they can also, it makes it easy to install and remove. Now, of course, those panels are not magnetic and they're really not deep enough to install magnets into. What I did was, I grabbed a piece of sheet metal that I know is magnetic, and I cut it into strips. I marked those strips to the size of the panels, and then I took those down to length.
I scratched up the surface of the sheet metal with some sandpaper and then applied some five-minute epoxy. You'll also notice that each panel has a piece of blue tape on it. That's the B side of the plywood, the worst looking side of the plywood. I marked that, and I also marked it in the top grain direction, so all the sheet metal pieces were matching on all the panels. I left the panels overnight and then came back the next morning to sand off the excess. This little disc sander is really handy for this job, because you can vary this feed on it. The further out on the disc, the faster the disc is moving. I can really control the sanding and make sure that I don't mess up those rounded corners.
Now, I'm prepping for finish. I'm actually going to leave the back panels off for now and I'll show you why in a minute. I just sand up to 120 grit. I'm using Rubio Monocoat on this, and it's the Rubio Monocoat cotton white. It's a little bit of a stain, it's going to keep that wood really nice and light. Rubio doesn't require any higher than 120 grit for its finish.
Rubio is a one-coat finish. Basically, you just rub it into the surface. I'm using a soft Scotch-Brite pad on this. Once it's had a little bit of time on there, like 10 or 15 minutes, you wipe it all off. Again, I left the back panels off so that I can reach all the inside nooks and crannies and make sure that the back panel was finished completely and wiped well, and then I could glue the panel into place. I'm being really careful with this. I don't want a lot of excess glue because I don't want any squeeze out on the inside.
As I mentioned before, I left that edge a little bit proud, so that I could come back and sand it. I have that hardwood edge banding, I don't have to worry about sanding through anything, I can just sand away, make sure that it's nice and flush. Then one of the things that I found was that I left a couple of gaps. It was not perfect, but that can be easily fixed with wood filler. For open-grade woods like oak, I like to tape it out so that I'm only applying the filler to the line. Otherwise, it starts to fill in the actual grain of the wood, and that's not a good look.
With the back panel taken care of, all that was left to do was to apply a coat of Rubio to the rest of the cabinet, and then they're done.


Keep the inspiration coming!
Subscribe to our newsletter for more woodworking tips and tricks