Video: Workshop Storage Cabinet
In this video, Michael Alm builds a storage cabinet for his workshop.
When Michael Alm builds shop funiture, he likes to try out techniques that he hasn't done before. In this project, he tries kerf bending, panel door making, and a little bit of veneering.
You can find more great projects and techniques from Michael Alm at his website.
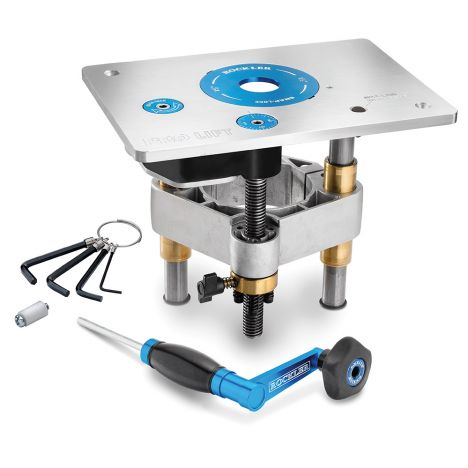
Featured Tools:
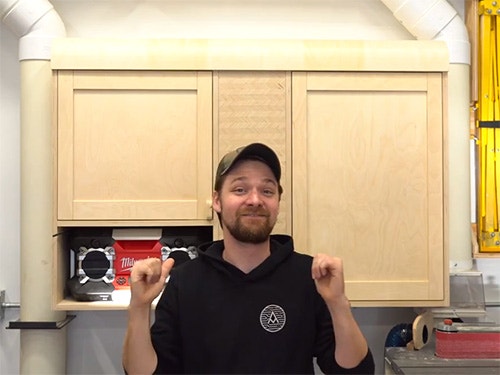
Michael Alm: This video is sponsored by Rockler. Hey, everyone, welcome back to the workshop Michael Alm here. This week we are continuing the project of building this storage cabinet for my shop. In the last video, I built the tambour section, and in this video I'm going to make some matching sides. I just took the tambour section and traced it out onto a sheet of plywood and cut it out with my track saw.
With two side panels cut to width, I could then cut them the height on the cross-cut sled on my table saw. I took those panels back over to the tambour section, just to double-check that curve and make sure I got it just right. Then you go over to the bandsaw, cut it out to rough shape, and then head over to the sander and refine that shape.
With the sides of the cabinets all ready to go I could then make the bottoms and the tops. The bottoms are a little bit wider than the tops, just because the top has that front rounded edge. I decided to go with pocket-hole joinery on most of the cabinet, just because I want to be able to disassemble this if I need to move it or change anything, and it's just a really quick way to build shop furniture.
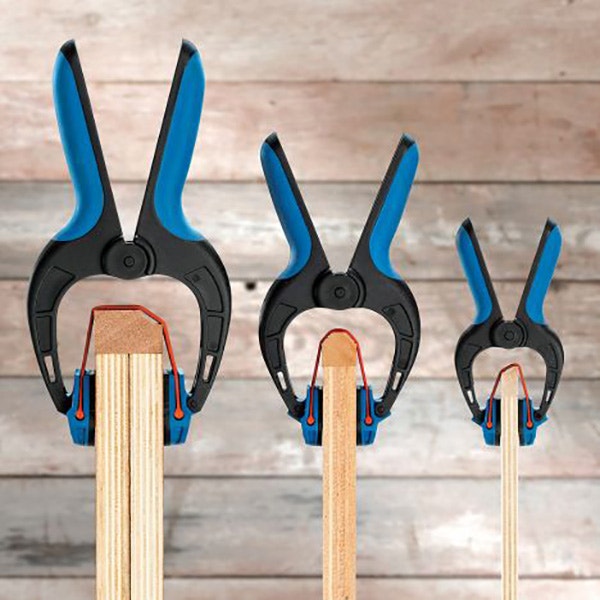
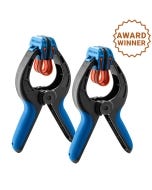
Now, I can start assembling the parts. I'm using this quick clip from Rockler to clip it together, and then I've got another clamp that I just got from Rockler which is made for pocket-hole joinery. It actually holds inside of one of the pockets and locks the whole thing together. Super handy.
With the left-side made I can lay down the tambour to connect it. When I laid it down the whole thing opened up on me suddenly, which gave me a bit of a spook but it was fine, just a little bit surprising. Anyway, I was able to attach the left-hand side using a couple of pipe planks, and of course pocket-hole screws.
You might be wondering why I have a sheet of plywood underneath the different side sections when I'm attaching them. It's because I attached the hanging cleat on the back of the tambour section prematurely. It was just a spacer that is the same thickness as the cleat.
My plan for this whole piece is to make sure that it's modular. I can take it apart, hang it in individual parts, and then reassemble it. In order to do that, I need some sections that square up the cabinet, and also support the hanging cleat.
Each one's going to get their own individual cleat because they need to be separated, that's what these sections are, they're just support sections that will keep the cabinet square and also provide a space for me to attach that cleat.
I will admit that I'm designing this a little bit on the fly and when that happens, I always have little tiny oversights. This was one. I know that the cleats going to be half an inch out, I needed a little bit of a spacer. Used it as a chance to add just a little bit more of that ply outward. I think it ended up looking pretty good. One of those details most people probably won't notice.
With my blade set at a 45-degree angle, I could then start cutting out the cleats. You'll notice they're tall. That's mostly because the tambour gets in the way in the middle section, and then I match the two sides up to the height that I made for the tambour.
I start by nailing in those cleats with a brad nailer and using the wall-mounted cleat as a straight edge. Then I reinforced those cleats with a couple of deck screws. When it came to hanging the wall-mounted cleat, I just found the studs, I found three of them in there, and then made sure it was really nice and level. Then, I could disassemble the whole cabinet. This time I was ready for the tambour to open up on me.
That's when I ran into a little problem. All right, we hit a little bit of a snag there, not too big of a deal. This flare right here in the dust collector makes it too tight for the cabinet to fit in. Not a big deal, all I have to do is cut a little relief notch in the back. Really happy that I didn't build this thing all in one piece.
It took some detailed measurements, and just figured out exactly where that notch needed to be. Then I could disassemble the parts of the cabinet, and cut it out with my track saw. I know the pocket-holes get a lot of flack, but when it comes to things like this, it makes me really happy that I chose to do pocket-holes, because then I can disassemble it, fix it, and then put it right back together again.
The second go it fit without any problem. Now, I could put that bottom back in. I actually just ended up leaving out that back panel, didn't seem super necessary, and then I could tie the whole cabinet into the tambour. Since I had drilled those holes before, everything lined up really easily, and I can make sure that the cabinet was nice and square.
Now we're going to move on to the kerf bending section of the project. This is my first time doing kerf bending. I made a sample just to make sure that it would work out of some scrap wood, and then used that sample to set up my saw.
I set up the saw height just it barely cuts into that face of veneer, and then using my test piece I drew a couple of lines on the surface of the saw to get my spacing. I know I'm going to get a lot of questions about how I decided on that spacing, and that's just through trial and error.
There are a couple of websites where they have calculators and stuff. I suggest watching David Pertudo's video on curve bending, that was really helpful for me. I'll put links to David's video and the website on where you can get the calculator as well.
You can see how I'm using those marks to shift over the fence every single time so that I'm getting pretty much the same spacing. It doesn't have to be super accurate, but it is very helpful to be able to set up the fence that quick.
Didn't take me very long to notice that this panel wasn't behaving nearly as well as the test panel that I did. I put water on it to make sure that was nice and flexible, but it just was not bending the same way as the as a test panel did.
All right, this is wanting to snap, which I think has to do with the fact that I oriented the grain this way. My test piece the grain's oriented the other way, and it's holding up a lot better. I think I'm going to have to cut a new panel.
That's exactly what I did, I just re-cut a new panel going the opposite direction. Fortunately, I have five by five panels, which meant that I could orient it in either way, and then I could wet it again. I even cut this one a little bit deeper just to make sure that it would bend real nicely. You can even see like picking it up that it bends a lot more easily.
I secured it in the back of the cabinet, and then I could bend it around the form and look at that that's much better. I didn't want to glue this in because if I ever had to change anything or pull the cabinet apart, I didn't want to have to deal with that. All I did was Brad nailed it down in the corners that way, if I needed to remove it, I can just pry it back up.
For a split second there, I was worried that I nailed in the tambour. I quickly checked to make sure that it moved up and down, which it did, and then I could move on to the last step on the lid, which is to add these just thin strips to the top to beef up that top edge, make sure that when the doors are closed, it doesn't leave a gap.
When I was coming up with a list of things that I wanted to put in this cabinet, number one on my list was my stereo. In order to put that in, I needed a gap, I needed something without any covering, no doors or anything.
What I'm doing is I'm putting in a divider just using pocket-hole joinery once again. I took a couple of pieces of scrap wood and cut them down to 10 inches that I know that they're exactly the right height, then I can slide that divider into place. Now my stereo finally has a home.
I mentioned doors, and yes, the other two cubbies are getting doors, they're going to be getting paneled doors. In order to do that, I cut out a bunch of strips for the rails and styles. For me, the hardest thing about making paneled doors is measuring out the spacing for the styles.
What I figured out, a quick way to do it, is to take some scrap pieces of wood, cut your profile, and measure the rabbit, in this case, it's three-quarters of an inch, and then add your spacing in that you're going to use for your doors. I like 330 secondth's on each side, and then I can measure in between the two pieces of scrap.
That plus the depth of the rabbit gives me the length of my style. Once I have that length, it's super easy. Then I just set up a stop block on my cross-cut sled and cut a whole bunch of them.
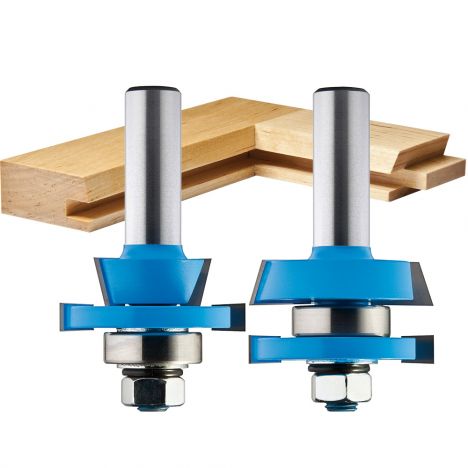
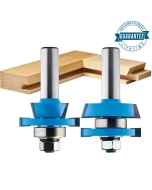
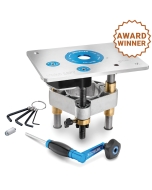
In order to make the profiles on the rails and styles, I used this two piece shaker door bit set from Rockler. The first bit that gets used is the one with the bearing in the center of it. You want to set this up so it's nice and flush with the bed of the router table, and then you want the fence to be exactly flush with that bearing in the middle.
This bit is just used for cutting the ends of the styles. In order to do that, you want some backing material as a way to prevent both chip out, and also make it safe to push through the cut. You want to flip it around, cut the other side, do that on all four styles.
I found that mine were getting a little bit fuzzy at the top, and that's easy to take care of with a knife. Then you can swap out the bit for the other bit in the set. This is going to cut the long links of all of the pieces including the styles. This one's even easier to set up, you just want it to be at the exact same height as the tongue that's sticking out, and then you can cut all the long links.
With all those cut, you can see how they slot together. That's pretty awesome, it's a really nice tight fit. You can see how once you have everything dialed in, you could really batch these out. If you're making a whole kitchen, you can batch a ton of these out all at once. The last little detail to do, is to back bevel the top edge. This isn't necessary at all, but I think it looks a lot better, and it's super simple to do.
The other cool thing about that bit set, is that it automatically leaves a space for a quarter-inch panel. All I'm doing is insetting a piece of quarter-inch plywood, don't even have to glue it into place, and then gluing the outside edges of the frames.
With the door panels all glued up and dry, I can drill out the holes from the hinges. I'm using European style hinges on this, and they require you to drill a inch and three-eighths hole. All the instructions are on the package, and there's a really nice guide on Rockler's website on picking out the correct hinges.
I think the most confusing thing about European hinges is that there's loads of different styles. Just make sure you pick out the correct ones for your project. I'm using inset frameless hinges on this project.
The door's clicked into place really nice and easily, but as you can see, the door is swinging in and for that I needed a little stopper. I just improvised here, eventually, I'll probably put a little magnetic catch. I haven't been going out to the stores very much lately, so I just improvised with what I had in the shop.
Next up, I started working on the handles for the doors, and for this, I just took a scrap piece of wood, cut at inch and a half, and I cut it down to the height of the style. I use the tambour door as a reference for the round-over, and then sanded those round-overs on each end. With those made, I could remove the doors and bring them over to the table saw, so I can cut notches into the corners for the handles to sit in.
While I waited for the handles to dry, I drilled out the shelf pins using a Rockler shelf pin jig. Then I could insert a couple of shelves that I made with half-inch plywood. To maximize the usable space inside of the drawers, I wanted to use these magnetic tool holders. I bought these super cheap and they showed, when I went to remove this paper face that I thought was just a label, it didn't want to remove it just was stuck on there.
I improvised a little bit. I decided to actually veneer these. I'm just using some double-sided carpet tape on this. I figured this was an easy solution. I've got a piece of ash veneer that looked close enough to the birch that I have inside. I cut that to size and stuck it on with the double-stick tape.
I know this isn't necessarily the strongest thing, so what I decided to do was was cover it with a little bit of lacquer. There's a good chance I'll have to replace this a few years down the road, but I figure it looks a lot better than a bunch of nasty paper on the surface of it. With the door handles all dry, and the magnetic tool hangers ready to go, I can attach those and then pop the doors back into place. After that, the only thing left to do is to organize.

Keep the inspiration coming!
Subscribe to our newsletter for more woodworking tips and tricks