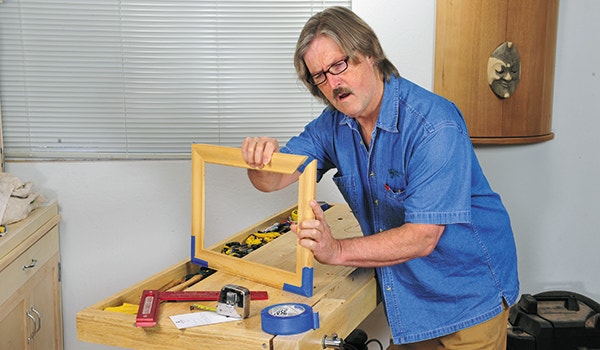
Measurement Advice: When to Measure and When to Cut
When you've got a big project ahead of you, it's tempting to cut all parts to final size following the dimensions shown on your cut list. But it's better to plan your cutting strategy out so that your workflow is efficient, and you don't end up with mis-cut parts.
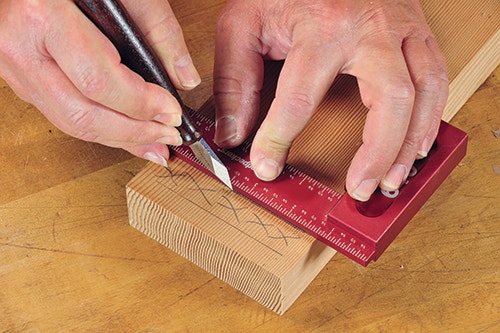
In terms of efficiency, any time you have a series of parts that are all the same in some dimension — slats for a louvered window shutter or stiles and rails for a cabinet frame, etc. — it's often possible to measure, mark and cut them in gang fashion. For example, say you need four chair legs. Start by cutting a wide blank to the final leg length, then mark out any identical joinery (in this case, mortises for rails and stretchers) across the blank using a good square before ripping the individual legs to width.
Any time you have construction where one piece must fit accurately between two or more others — say, the bottom of a box or the bulkhead of a cabinet — it's good practice to first build or dry-assemble the box or cabinet, measure the exact size of the necessary parts, then cut and fit them. This way, you can compensate if the parts need to be slightly smaller or larger than the original cut list called for.
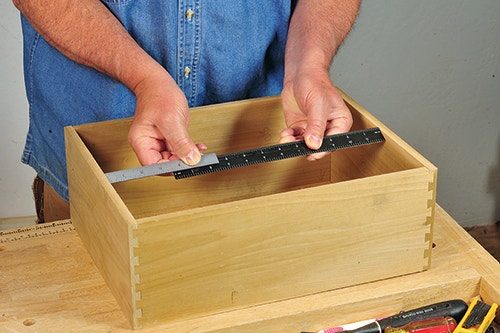
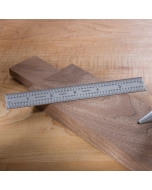
Here's a useful technique for taking accurate inside measurements using two rules: Butt the zero end of each rule against an opposite side of the assembly, holding the pair together so that they overlap each other. The measurement equals the full length of one rule added to the amount that the second one extends past it. You can also use rules and yardsticks this way to measure the inside diagonals of any rectangular carcass; if the diagonals are equal, the assembly is square.
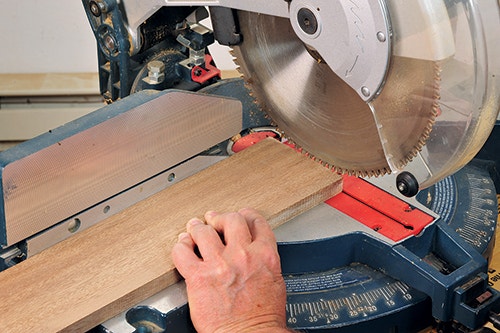
Even when you measure and set your machines carefully, it seems that all too often parts can end up being just a few hairs too short or narrow. Here's a technique you can use to virtually guarantee a tight fit every time: The idea is to "sneak up" on the perfect fit by cutting the part just a little big at first, say just a scant 1/32" over the measured dimension. If, after trying the fit, the part is still a tad too large, here’s how to trim it by just a hair at a time. (Please note that during the following procedure, it's imperative that you keep your hands well away from the saw blade, and NEVER start the saw with the workpiece in contact with the blade). To trim the length of a part, set it against the fence of your crosscut saw (compound miter, radial arm, etc.) and then swing the blade partway into its cutting position. Gently press the end of the workpiece against the blade to deflect it slightly, taking care to keep your finger off the trigger switch. With the work tightly held in place, return the saw blade to its original position, then switch on the saw and take the cut. To reduce the width of a piece on the table saw, set the work against the rip fence and slide the fence in until the workpiece deflects the blade slightly (once again, do NOT switch the saw on at this point). Lock the fence, withdraw the workpiece, then make your cut. Now check the fit of the part and repeat the trimming process as necessary.
Keep the inspiration coming!
Subscribe to our newsletter for more woodworking tips and tricks