Video: Patterned Plywood Tambour Bench
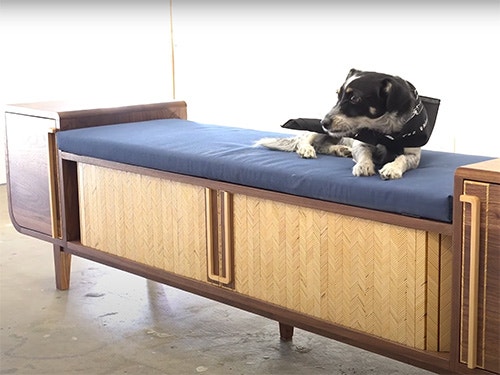
In this video, Michael Alm tackles one of his most difficult projects, a bench with a patterned plywood tambour door.
Michael Alm builds a stunning showpiece, while expanding his knowledge of tambour-making, patterned plywood-making, kerf bending, and veneering.
You can find more great projects and techniques from Michael Alm at his website.
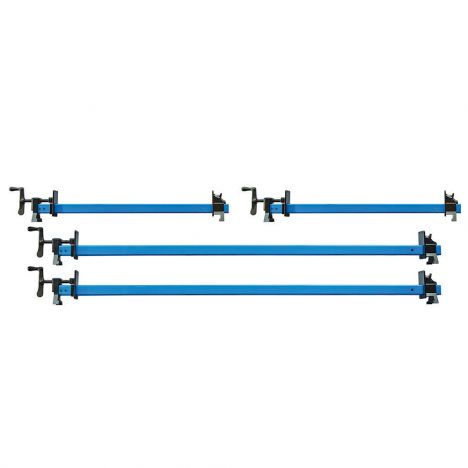
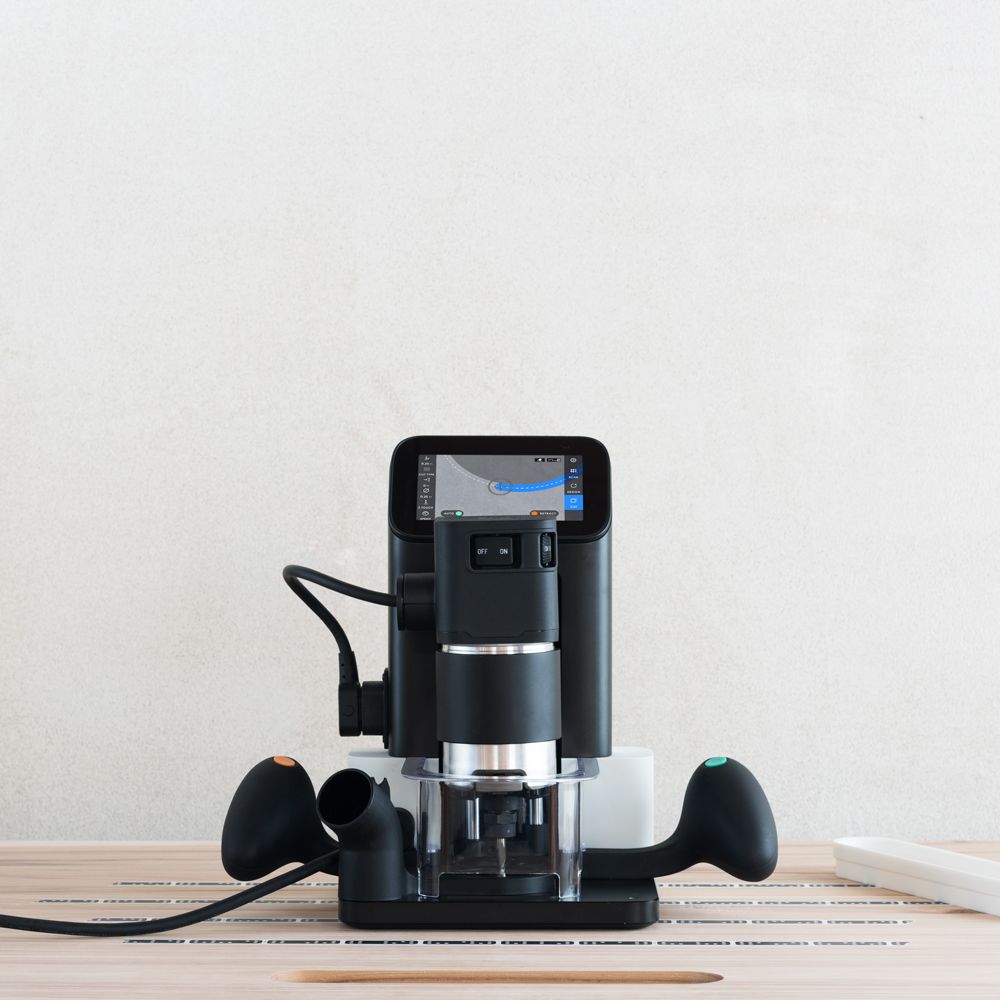
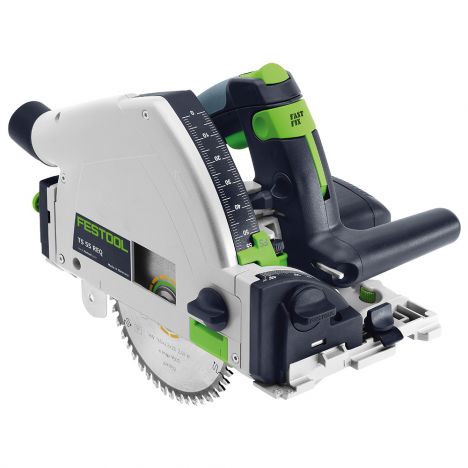
Featured Tools:


Michael Alm: Hey, everyone. Welcome back to the workshop. Michael Alm here. This week, I'm working on possibly my most challenging piece of furniture to date. This was a project that I planned without really knowing a whole bunch of the skill sets. I've learned them either doing this or I did some practices before in other videos things like tambour-making, patterned plywood-making, kerf bending, and veneering. All these things are going to come into play in this one project. I'm super excited to share it with you.
As you may notice, I am borrowing some footage from a previous video that I put out. I put out a video on the Shaper Origin, which is the tool that I have in my hands right here. It's a handheld CNC machine. I go through in detail how I made these tracks in that video. For this video, we're going to start with the tracks already made and we're going to go from there.
With the tracks all routed out from the Shaper Origin, I could cut the boards into individual pieces, and then I just used that middle section for the vertical support. I used the crosscut sled on my table saw with a stop block to make sure all of the vertical supports were exactly the same size. Then after that, they could just slot right into place.
Once I had the cabinets all dry fitted and I knew everything was the right size, I sanded down the inside of the cabinet with my Mirka sander and applied a coat of finish. Sometimes I like to finish the insides of the cabinets early just because it protects it while I'm doing the build. Also, it can be awkward to get into all the little nooks and crannies after you have it all glued up.
Now, we're moving onto the tambour section. Tambour is what you see in rolltop desks. It's basically a bunch of wood slats that are glued together and they have a fabric backer on the back of them. They're super cool. I'm still experimenting with tambour. This is only my second project with tambour, but I'm really enjoying working with it. I'm also making the tambour into patterned plywood, which if you've been on this channel before, you've seen lots of patterned plywood videos.
This is the chevron pattern that I've used multiple times. Basically, you just glue up a whole bunch of plywood strips on a 45-degree angle, and then you cut them into smaller strips. With the plywood out of the clamps, I can scrape off all the excess glue and prepare to sand. I get a lot of questions whether you can put it through a thickness planer or not. It's really tough on planar knives, so I prefer to sand it.
For this tambour, I have to make a lot of strips. I think I made four panels and I just stacked them up against each other to make the first 45-degree cut, and then I can go to my table saw with a special push stick. This has a 45-degree angle on it and I can just batch out a whole bunch of strips from there.
I got a lot of questions the last time I made patterned plywood tambour on this channel about why I made the slats so thick. Most tambour, you don't need very thick slats. Maybe only a quarter-inch or so. The thing is plywood glued up like this just isn't very strong. When you glue it up into a panel, it gets a lot stronger. With these individual strips, they just don't have a lot of structural integrity. The thicker they are, the stronger they are.
Then what I do is I cut a rabbet underneath them, so the track doesn't have to be as wide. Also, that reduces the radius of the turn. I should also point out that these are only 9 inches tall. If they were something like 15 or 20 inches tall for the tambour, I would probably back them with a piece of 1/4-inch plywood on each strip. In the comments from the last video, I asked people about finishing this stuff because I hadn't had any experience making tambour. Most people said that you apply finish before you apply the fabric backer.
That's what I decided to do. I applied finish on all the sides beforehand. In order to do that, I wanted to keep the side that gets the fabric backer nice and clear of the finish. I have a nice glue surface. In order to do that, I just taped blue tape on the back of each one. Then I was ready to apply the finish to the fronts. I'm using General Finishes Arm-R-Seal on this bench and I'm using it on every element in the entire build. It's a super consistent finish for me. I use it a ton and I like it a lot.
While waiting for the tambour to dry, I went over to the shaper origin and milled out some handles. The handle design for this mimics the tambour as it wraps around. I wanted to do a little bit of inlay in them so I can actually inlay the handles. They'll be nice and strong. I just use this solid chunk of walnut and I made both handles in one piece. All I have to do is separate them. Then I have the two handles and I know that they match up perfectly.
In order to tie the handles into the rest of the design, I decided to add a little bit of patterned plywood as a trim around the outside edges. I set up a makeshift fence on my bandsaw and was able to rip a whole bunch of these out.
Since these strips were super fragile, I decided to make a little jig for my hand saw. I didn't have to put them through my table saw. I think the table saw would have just destroyed these things in a second. Didn't take any time at all, put this little jig together, and it worked great.
With small parts like this, I find that just gluing some sandpaper to a sheet of plywood is the best way to sand these things and make sure they're nice and flat. Once they were flat, I could then trim away the little excess bits that are there on that rabbet. Handles were almost done at this point, but I realized that I needed to add a little stop in there. When I routed out the track, I left a little section in there to act as a stop. All I needed to do now was trim out the rabbet deep enough so that the handles met perfectly in the center.
I will save you all of the finish application on these tambour slats because it took a while. It was four coats on each slat and that's a lot of surface area. Anyway, all that was done. Now, it's time to prep to put the fabric backer on. I used the same jig that I used in the previous video. It's just made out of some regular framing lumber that I cut down to the same thickness as the slats, and then I have this little cap on the end that holds it nice and tight.
I gave the back of the slats a fresh sanding just to make sure everything was nice and level, and then I taped out the track area. I didn't want any of the fabric to be inside the tracks because I thought that would cause abrasion on the fabric and wear it down over time. The fabric that I'm using is a drop cloth, just bought at a big-box store. This is painter's drop cloth, nothing expensive, but it's a perfect material for this.
With plenty of glue applied to the back of it-- and I have to stress that you need a lot of glue because the fabric absorbs a lot of glue and the patterned plywood absorbs a lot of glue. With that glue applied, I was able to iron it out nice and flat and then trim off the excess.
The next step was to remove the jig from around the tambour. I don't want to let the tambour sit in there for too long because there's a potential that one of the slots can glue to another slat. Even though I put finish on it, I just want to make sure that that doesn't happen. I removed the tambour and flexed all the pieces individually to make sure that I could get it to a point where I could run my finger underneath it and none of them stuck together.
After letting both tambour panels dry overnight, I came back and peeled up that blue tape section that I added before, removed the excess, and then rolled them up.
I will admit to being pretty nervous to put these in the tracks for the first time. There was a whole bunch of planning that went into this, but there wasn't a whole lot of proof of concept until they were actually made. This is my first trial. I would say it went pretty well. It looked pretty promising. This is without wax and without any tuning and they did move in the track for sure, but they were not super smooth. In order to smooth them out, I figured out that some of the rabbets were just a little bit thicker than others. In order to fix that, I just marked those sections with blue tape where it was sticking and took a chisel, and shaved them down until they would move nice and smoothly in the tracks.
With the tambour running smoothly, I could now glue in all the elements that make up the center section of this bench.
I'm gluing in all the elements of this cabinet, except for the top. I'm going to leave that just dry fitted for now. It holds everything nice and square. I want to be able to remove that down the line in case I ever need to service the tambour.
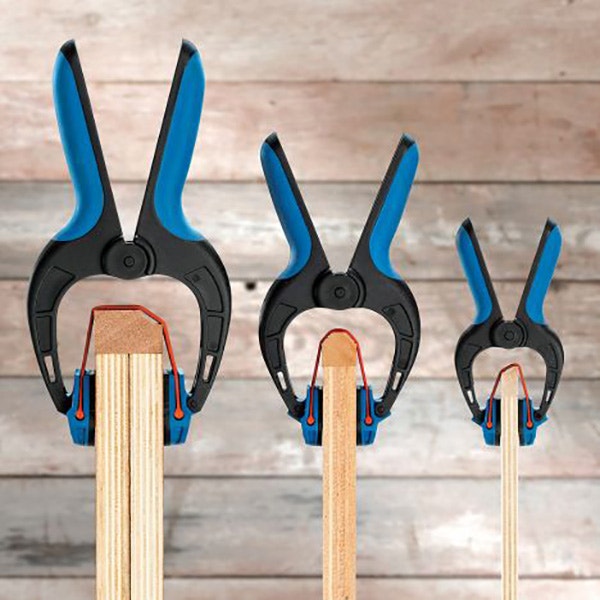
With the cabinet all dry, I can remove the top and add hardwood edge banding. This is just 1/8-inch edge banding that I cut on my table saw. I like to hold that down with my Rockler bandy clamps.
With the center cabinet done, I could start working on two side cabinets. In order to do that, I need to make four molds. I found four pieces of plywood in my shop and cut them all down the same size, taped them together, and then rounded that corner. The purpose of this is as a mold for kerf bending, which this is my second project doing kerf bending. You may have seen the project where I built the tambour cabinet for my shop.
This is going to be my second attempt. That was actually a bit of a test for this whole build. I'm still a little new to kerf bending, but I'm pretty excited to have it in my arsenal of things that I can do in the shop. I've drilled out these holes with the hole saw just to make room for clamps to go in once I have the actual kerfs made. Once the molds are done, I can prep the walnut plywood that will make up the sides of the cabinets.
With the panels cut to rough size, I aligned the area where the kerfs were going to be cut with blue tape. The logic of this was to prevent tear-out, but it didn't end up being necessary in the end. In terms of the spacing of the kerfs themselves, I just spaced it out with my blade width. It's 1/8-inch blade width with 1/8-inch space in between. There's no math involved in this. I just picked that because it'll give me the most gradual kerf.
I debated for a long time about what glue to use inside of these kerfs. I read a whole bunch of stuff and I just ended up going with regular wood glue. If this panel didn't have a back on it and didn't have a top on it, I probably would be more concerned about the strength of the wood glue, but because it's going to be reinforced, I figured this was the easiest option. One downside to it was because the wood glue was so thick, it took probably four or five days for it to dry, which was not great.
While I waited for the kerfs to dry, I prepped the tops and the doors for the two cabinets. I wanted to make those out of solid wood because I was going to have exposed sides. I just picked out of my collection of offcuts of walnut. I picked ones that matched up really well. That was the main consideration for this because I didn't want to see the divisions between the different boards.
Four to five days later, I came back to the kerfs and I really don't recommend lining these cuts with blue tape. It prevented the tear-out probably, but it also left tons of blue tape in the little nooks and crannies of it. I was hoping that the inside kerfs would be good enough to be acceptable for inside the cabinet, but they just really weren't. I decided to veneer the inside of the cabinet. This is only my second time doing any sort of veneering. From what I read, it's pretty common to use Bondo as a filler. This is a flexible auto body filler and a lot of other veneering people that I talked to use it a ton. I sanded that up, made sure it was nice and flat, and then I could prepare the veneer itself.
With the veneer cut to size, I could use contact cement to get it to adhere. You apply this to both surfaces and you want to make sure that it has time to dry before you introduce the surfaces to each other. I basically just followed the instructions on the can. You can see here, I've put a box over the backside of it because I was really scared that I would get the backside to contact before I rolled it up inside that inside kerf. This stuff, once it touches, you just can't remove it. I took my time with it. The box worked great. I also had a little scrap piece of plywood that ran on the inside to burnish that edge into place, make sure it was nice and tight and had a lot of contact.
I intentionally made these sides a little bit longer than they needed to be. That way, if anything went weird with the veneering, if it got off at all, I could just trim it down to the correct width.
Now, I've made basically the top, the bottom, and one of the sides. In order to complete this rectangle, I took the tops, set it up, and measured out what size plywood I needed, and then I just cut it on my table saw.
With all those elements made, I could then work on the joinery. For this, I'm just using a domino joiner. You'll notice that I'm only putting two dominoes in per side. This is because there's going to be more dominoes in to connect the cabinet. I didn't want to conflict with those. This should be plenty strong for this application.
In order to make sure that the two side cabinets squared up perfectly to the center cabinet, I put on a piece of tape on the bottom corner where there might be glue squeezed out, and then I set them against the main cabinet and clamped them to it. As it dried, I knew that it would stay nice and square. While I waited for those two side cabinets to dry, I could start making the edge banding.
With those thin strips cut, I could at least glue up one of the sides. The problem is I had that curve in there. I thought about this for a while. I thought about doing a segment or a whole bunch of different ideas. What I came up with was just cut a piece of wood that was wide enough to cover that whole radius, and then I can trace it out on the cabinet itself and then rough-cup that on the bandsaw.
I cut this piece with plenty of excess on the sides, and then just made sure that it was nice and square on the bottom. After that, all I had to do was fill in the remaining gap with a straight piece and it was ready to go over to the router to be flush-trimmed.
You're going to start to notice a theme with all these parts that I've made, and that is that I've made them a little bit too big, and then I'm going to trim them to fit. Something that I've learned from years and years of doing woodworking where you don't want to make everything exactly the right size because you'll end up-- in the end, as you've sanded things or shaped things, you'll end up short by like 1/16 of an inch and it's really frustrating. It's good to save a little extra length so that you can cut it right to fit when you're ready to glue it into place.
I used my domino joiner once again to join the top to the body of the cabinet. I've just dry-fitted it for now because I want to be able to remove it while I work on the hinges for the door panels. Speaking of which, these are the door panels. Right now, I'm just going to trace it out and make sure it's exactly the same size as the opening. Again, I'll trim that up later once I have the hinges in place. To get the radius, I just rough-cut it on the bandsaw and then took it over to my sander and refined that to the line.
With both doors fitted up, I could start working on the hinges and you may have noticed that I put out a whole video on how to install these hinges. I felt like there was too much detail to go into for this video, but the hinges that I'm installing are called SOSS invisible hinges. They're really beautiful. They're great for this application. I built my own jig to install them. Again, that video goes into full detail, so I'll leave a link right here.
Now, you see those beautiful SOSS hinges. They look so good and this is a dry fit. As I mentioned before, I made the door panels snug. Once the hinges were in, it didn't close, but that was intentional. I want to trim it to fit. Since these cabinets aren't perfectly square and just the style of making them makes them a little bit wonky, I decided to set up the reveals and cut them with my track saw instead. That worked like a charm.
The doors were feeling a little disconnected from the rest of the cabinet. In order to visually connect them, I decided to add a little bit more of that patterned plywood inlay, basically matching the handles that I've made for the tambour, just enlarging them and applying them to the doors.
Once I got the first section of inlay in, I could sand it back with my Mirka sander, get them nice and flush, and then trim out those side edges. I intentionally made all of the inlay 1/8 of an inch so that all I have to do is run my table saw, kerf through it. It's the perfect size for all these inlaid bits.
At this point, I'd had so much time invested into these doors that I was really freaked out to cut into them, but I had to put the inlay into them. I was very thankful to have origin in my shop. I also decided to cut out the inlay handles at the same time. I had a piece of birch laying around in the shop that I've had for years and hadn't had a use for it. It was perfect, matches the Baltic birch patterned plywood. I think it looks really good to have that contrasting wood against the walnut.
Of course, so that everything matched, I glued in those birch pieces into the tambour sections as well.
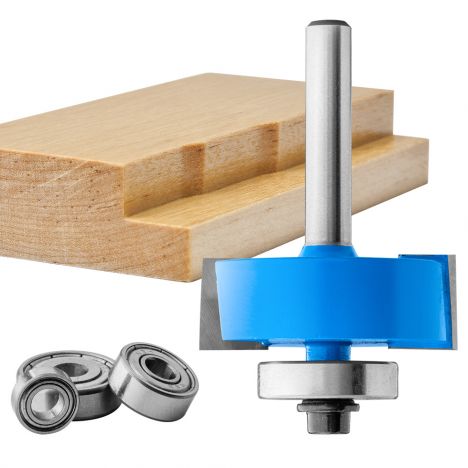
One of the last things to do on these side cabinets is to make room for a back panel. In order to do that, I just like using a rabbeting bit on my router table. It's got a guide bearing and all I have to do is run around the perimeter and then I cut a piece of half-inch plywood to fit into place. The friends that I'm designing this bench for have a toddler in their house.
They made a request that I don't have super sharp edges on the furniture. Honestly, that inspired the whole design of this furniture piece. All the curves, all the soft edges are because I thought it would be an interesting design challenge. I'm so happy that they gave me that little element to design off of because I don't think I would have ever built anything quite like this otherwise.
As I bring these two cabinet sections together, you'll notice that I only put dominoes on the bottom. That's again because I'm going to need to be able to remove this top. The top needs to be secured somehow and I decided to use screws on this. I know that people get mad at me whenever I use exposed screws. With the track in there and the tambour, this really was the only decent solution that I could come up with.
We are now on the homestretch. The last thing to do is to cut out the apron and legs and I'm doing all of that out of solid walnut. I really love this portion of the build. I think it's fun because it's like building a little toy set or something. They just come together really nicely. I've built this style of leg many times and I really like it a lot. To set up for the domino, I just use a 3/4-inch piece of plywood and I mark out all the legs. Then I also label all the legs with A, B, C, and D and then I can use my joiner to cut into the leg sections.
Since this leg assembly has such a wide stance, I'm planning for a fifth leg in the center. In order to do that, I have to dry-fit the entire assembly together first, and then I can measure out for that fifth leg. In order to do this, I like to set one of the legs against the side, measure the full distance, and then I divide that distance in half. I sneak up on this cut. I think I cut it three or four times just to get it just right. Then once it fits perfectly, I can then go to the domino joiner and join it up.
Now that all five legs are fitted into the apron, I can start refining those legs. I like to put a taper on each leg on two of the sides. The center leg will get all four sides tapered. This is my temporary tapering jig. It works pretty well. Definitely, a bit more of an advanced table saw technique, but I've used it a number of times and definitely trust it. You just screw it down in the center. That puts enough tension on the leg to hold it into place while it runs through the table saw.
The table saw leaves a rough finish on these legs. I like to sand it back again using a piece of plywood with some sandpaper glued to it. This leg assembly is a bit of a puzzle to put together. What I figured out the most efficient way to do it is to glue up all the smaller leg sections first, and then go and attach the apron rail to that. It's a little bit easier when you have those other sections already glued up, so you're not dealing with a whole bunch of individual parts.
After that, everything is made. Now, it's just sanding up all of the individual parts and just go through the grits. I think I went all the way up to 320-grit on all the surfaces before I got ready for finish. I disassembled all the parts that were still together, and then I could set all that stuff out on the tables in my shop and apply the Arm-R-Seal as the top coat. After five coats on every surface, sanding in between at 320-grit, it's ready for reassembly.
This was quite the engineering feat to get this thing put together. I'm so happy with how well it works. Yes, I'll just let you guys enjoy. It's a reassembly and emerged as a finished piece of furniture. Hey, everyone. Thanks so much for watching. I hope you enjoyed that build. I hope you learned something. If you got any questions, ask in the comments down below. Also, I know I mentioned a bunch of my other videos. Just the build-up to making this one piece of furniture was a lot, and so I've put together a playlist of all those videos that I've mentioned.


Keep the inspiration coming!
Subscribe to our newsletter for more woodworking tips and tricks