How to Make Tenons on a Table Saw – Standard Basic Method
There are many methods of cutting tenons, they have their pluses and minuses, all have their place in furniture making. The standard method of tenoning on a table saw is a good, solid, first method to have.
This video was produced for its free video library by The Center for Furniture Craftsmanship in Rockport, Maine. The Center is a nonprofit, international woodworking school dedicated to providing the best possible education in wood craftsmanship and design.
How to Make Tenons on a Table Saw – Standard Basic Method with Tim Rousseau
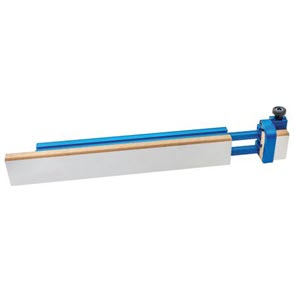
In this video, Tim Rousseau, an instructor at the Center for Furniture Craftsmanship, demonstrates how to cut a tenon on the table saw in the standard tenoning operation. This is often the first machine tenoning method that is learned; requiring only the table saw with miter gauge, single blade, and tenoning fence.
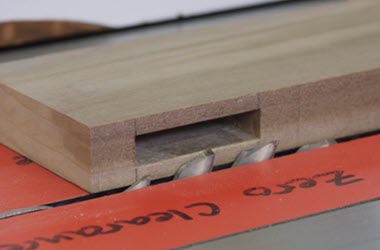
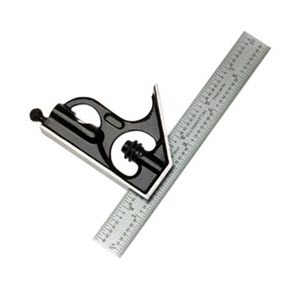
Always before making any cuts make sure everything (fences, blade, miter gauge) is square to every other surface and tight. First, the shoulders will be cut using the miter gauge, then the cheeks will cut with the tenoning fence, and finally the ear cuts.
Use the mortise measurements to set the height of the blade and the fence. Use a few pieces of test stock that is of the same proportions to make sure the tenon shoulder is cut square, then raise the blade to the height for the ear cuts. Again, use the mortise to set the tenon thickness that will be cut using the tenoning fence. In this video are tips on how to micro-adjust the fence to get to a snugly fitting tenon.
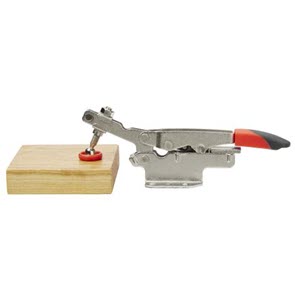
When the tenon thickness is snug, check the stock against the mortise to measure for ear cuts. To cut the ears with the tenoning jig, it is safer to add an extra block to toggle clamp the tenon stock to. When everything is square, tenoning on the table saw is simple!
Check out the video above for a step by step walk through of how we make tenons on a table saw in the standard method at the Center for Furniture Craftsmanship.
Related Product Categories


Keep the inspiration coming!
Subscribe to our newsletter for more woodworking tips and tricks