All categories
Assembling Your Project
-
 September 16, 2024Learn how to make a custom handle for the pro-quality knife kits.Read more
 -
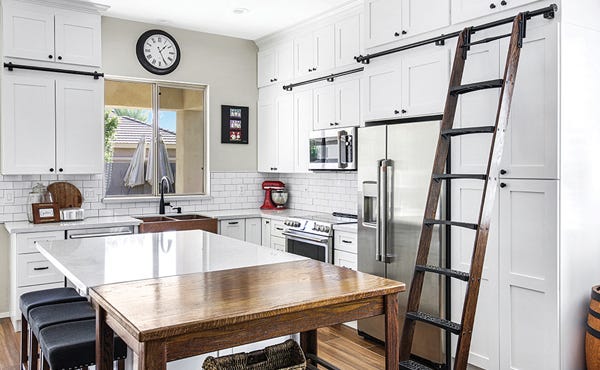 Categories: Installing Hardware , Assembling Your Project , Jigs, Tips and Tricks , Skill Builder VideosJune 11, 2024Learn how to make kitchen cabinet doors and drawers, including construction tips and hardware installation.Read more
 -
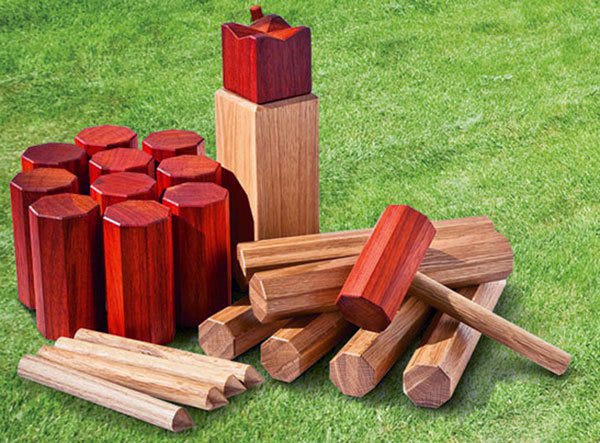 June 07, 2024Make a Kubb yard game set. Complete free plan, including how to play Kubb game instructions.Read more
 -
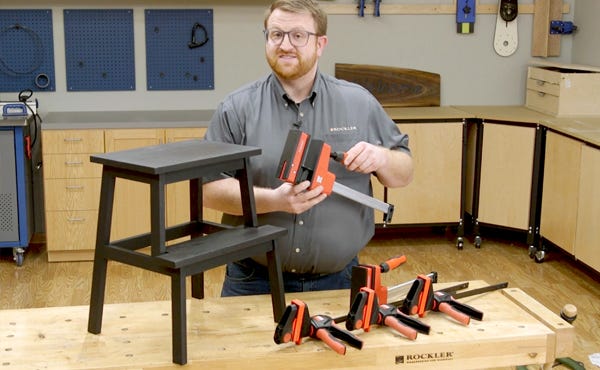 April 08, 2024Make this useful step stool using only a table saw, a drill/driver and two versatile clamps.Read more
 -
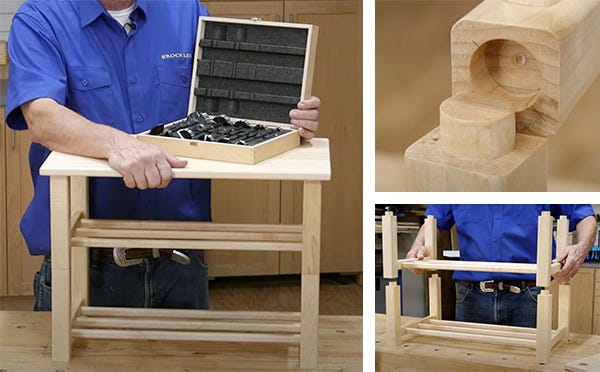 February 06, 2024Make a clever and expandable shoe rack employing Fisch’s new Black Shark Forstner bits.Read more
 -
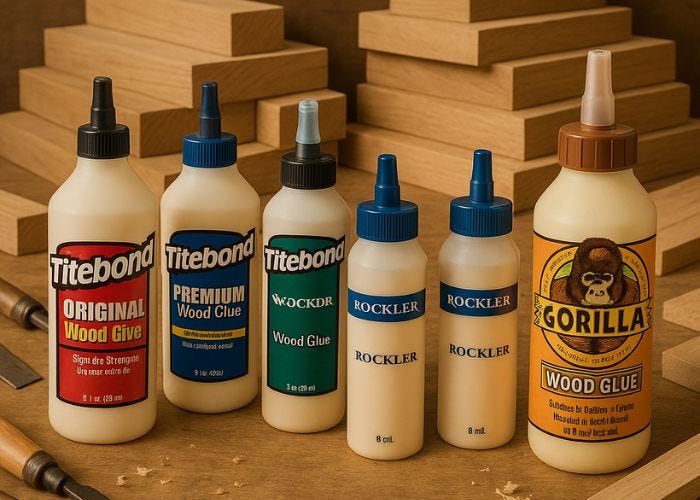 November 02, 2023Wood glue might seem like a simple supply on your workbench, but using the right kind can make or break your project—literally. Whether you’re repairing a chair, crafting a cutting board, or building outdoor furniture, knowing your glue types and howRead more
 -
 Categories: Assembling Your ProjectJanuary 05, 2023Should you make your own cabinet doors and drawer fronts or buy them? It's a good question to ask yourself, whether you are a professional cabinetmaker, a weekend woodworker, or just someone who has a kitchen that needs a little updating.Read more
 -
Categories: Assembling Your ProjectOctober 20, 2022What are the best practices for gluing up a panel? Try these tips to improve your panel-making tasks.A well-made panel should be flat, sturdy and have an overall grain pattern that looks like it grew that way. Achieving these goals takes thoughtful assembly and good technique. Here are a few suggestions that can help.Updated 10/20/22Read more
-
Categories: Assembling Your ProjectSeptember 30, 2022As you may have discovered, there are many ways to build a drawer box. What's your favorite? Whatever it is, your method of choice almost certainly reflects the importance you place on durability, aesthetics and last but not least, getting done fast.Read more
-
July 26, 2022If you build woodworking projects that require repetitive clamping, then the Rockler Pneumatic Clamping System will save you time and might also improve your results. This clamping system applies instant pressure with the flip of a switch. Their speed makes them ideal for repetitive clamping tasks, such as for face frame assembly, and as hold-downs or push clamps for drill presses and CNC tables. The clamps slide into standard T-track for easy adjustability, and they can also be screwed down for more permanent clamping fixtures.Read more
-
Categories: Assembling Your ProjectJanuary 18, 2022Veneering is a time-honored technique that has enhanced woodworking for centuries. Is it time for you to give it a try?Read more