Using Exotic Wood Veneer Sheets to Make Decorative Cabinet Drawer Fronts

Veneering is one of the most challenging and interesting aspects of woodworking. In fact, many in the field consider it an art form. While there's a lot of techniques to learn on the road to mastering veneering, there's always a starting point. In the seminars I teach, I like to start out by concentrating on a simple and practical application. Let's say you want to make a maple chest of drawers. The front of this chest will be all drawer faces, made to look like one large flat plane. To give your chest a decorative look you decide to make the drawer faces out of birdseye maple.
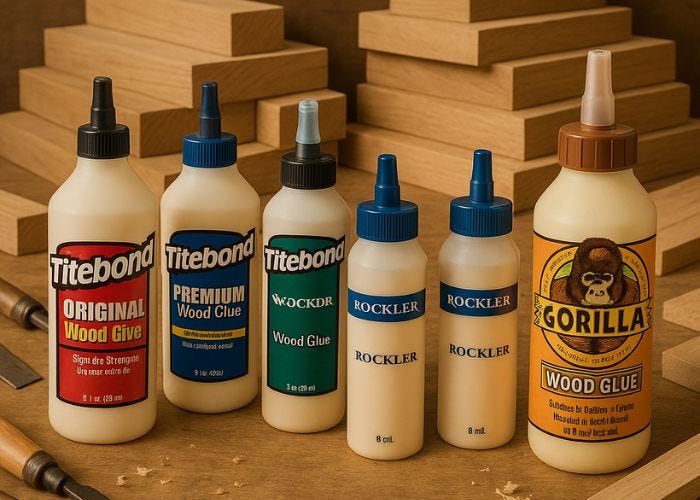
Here's a situation where veneering is the perfect solution. You'll be doing the simplest form of flat panel veneering, requiring no joining or seaming and you probably have most of the tools you need on hand. Basically, a veneered drawer face has a 3/4" industrial grade particle board core edged with 1/4" thick solid wood, and then covered on both sides with glued on veneer. Whenever you're working with veneer you must remember that you have to end up with a balanced panel. This means that whatever is applied to one side of the core is also applied to the other side. In addition, the grain of the veneer should run the same way on both sides of the core. To save on costs, the hidden inside of the drawer face can be veneered with a different grade or species of veneer. Having enough clamps on hand is also critical. Your clamps should be spaced at three to four inch intervals on the entire surface of the core and you should have some clamps on hand with jaws that are deep enough to reach and apply pressure to the center of the core. Almost any glue that's made for bonding solid wood can be used for veneering. I generally favor yellow carpenters glue but will switch to white glue (which dries slower) when veneering larger surfaces. While some woodworkers contend that contact cement works fine and cuts down on clamping requirements, my own experience has been that it doesn't offer enough bonding strength to hold the veneer down for an extended period of time.
Make Your Drawer Face
Glue and clamp the solid edging to the core, two sides at a time to begin making your drawer face. The corners of the edging can be mitered or overlapped Glue and clamp the solid edging to the core, two sides at a time to begin making your drawer face. The corners of the edging can be mitered or overlapped. I generally make my drawers and drawer faces as separate components. When they're ready to be assembled, I drill 3/8" holes through the fronts of the drawers and attach the drawer faces with screws and washers. The 3/8" holes allow for minor adjustments and make it easy to align the drawer faces in their openings. Calculate the finished widths and lengths of each drawer face and then cut your particle board cores 1/2" narrower and shorter to allow for the Clamps at 3" to 4" intervals 1/ 4" thick solid edging. Cut the solid edging 1/4" thick, 3/4" plus 1/32" wide, and 1" longer than the lengths you need. You can miter the ends of the edging or you can overlap them. In either case, once this is done, glue and clamp the edging to the core, as shown. When the edging is complete and the glue has dried sand the edges flush with the core.

Use a paint roller to spread the glue evenly on the core and the back of the exotic wood veneer sheets. The next step in this process is to rough cut the veneer. An inexpensive tool known as a veneer saw works best for this task. Layout the areas on your veneer sheets where you will cut out the pieces for the drawer faces. Make sure to add at least 1" in length and width for overhang, which will be trimmed off after the veneer is glued in place. Carefully guide the veneer saw against a straightedge and cut the length, and then the width of the veneer. Make several light cutting passes with the saw until you cut through the veneer. Gluing and clamping the veneer to its core is simple. I like to think of it as creating a triple decker sandwich with plenty of mayo. Each side of the core is covered with glue, then one side of each veneer piece is covered with glue. These are positioned against each other, followed by a separator piece of newspaper, and finally a caul to flatten the veneer and distribute the pressure from the clamps. In this case, the cauls are 3/4" particle board pieces cut to the same length and width as the veneer. Do one drawer at a time, using a roller to spread the glue.
Start clamping in the center of the core and slowly work the pressure out toward the edges. This method of clamping reduces the possibility of trapped glue pockets. Start applying pressure by clamping III the center of the drawer face and working out. This eliminates the possibility of trapping any glue pockets in the middle of the drawer face. Allow the glue to cure for 24 hours and then unclamp and separate your sandwich.
Trim the veneered drawer front with a flush trimming router bit with ball bearing pilot. Rout backwards to reduce tear out. Finish up your drawer by chucking a flush trimming bit in the router and trim off the overhanging veneer edges. Routing backwards, essentially pulling the router toward you, will reduce the chance of tear out. Finish sand the drawer faces, check their fit, and make any necessary adjustments. Make sure to apply your finish equally to all surfaces of the drawer faces to properly seal them and reduce the chance of warping. In the next installment on veneering, I'll cover splicing and joining veneer for more advanced projects. Until then, if you're interested in more detailed information about veneering, read the books "A Manual of Veneering" by Paul Villard and "Practical Veneering" by Charles H. Hayward. Both should be available at your local public library.