All categories
Learn Woodworking Tips with Rockler
-
 May 06, 2025Our free dust collection guide provides a quick visual tally of some of the many tool and hardware decisions you'll need to make when setting up dust collection solutions. Get Your Copy!Read more
 -
-
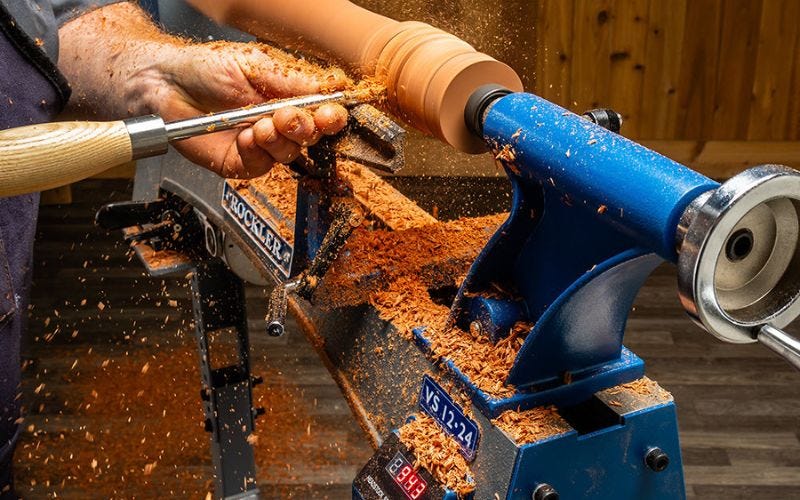 Categories: WoodturningMarch 02, 2025Have you ever watched someone turn a block of wood into a beautifully shaped piece and thought, That looks like fun. The good news is getting started is easier than you think and we'll show you howRead more
 -
 March 01, 2025Each month we highlight a tool you should have in your workshop.Read more
 -
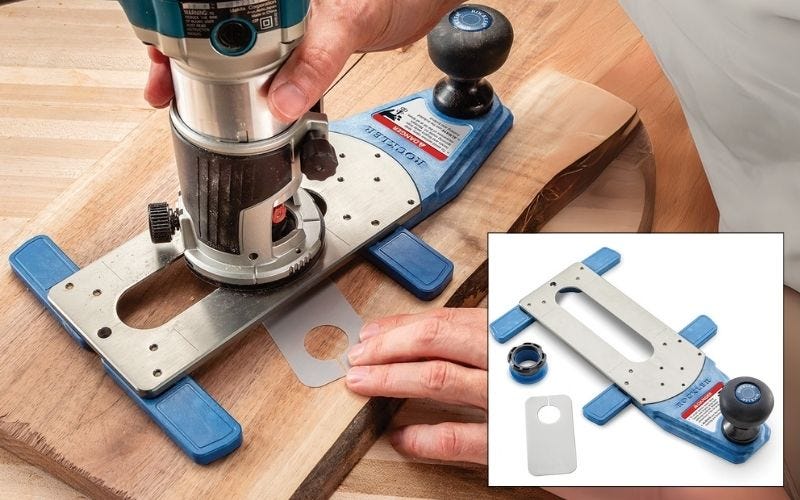 February 28, 2025Flawless Surfaces with Effortless Precision – The Rockler Flush-Cutting Router Jig!When you need to trim a protrusion flush with the surrounding surface, such as a wood plug, bow tie inlay, dovetail pins or even an epoxy overfill, yRead more
 -
 February 26, 2025If you’re fairly new to handheld routing, or have used this jig before but haven't gotten the results you were hoping for we’ve created this tips & tricks video to help!Read more
 -
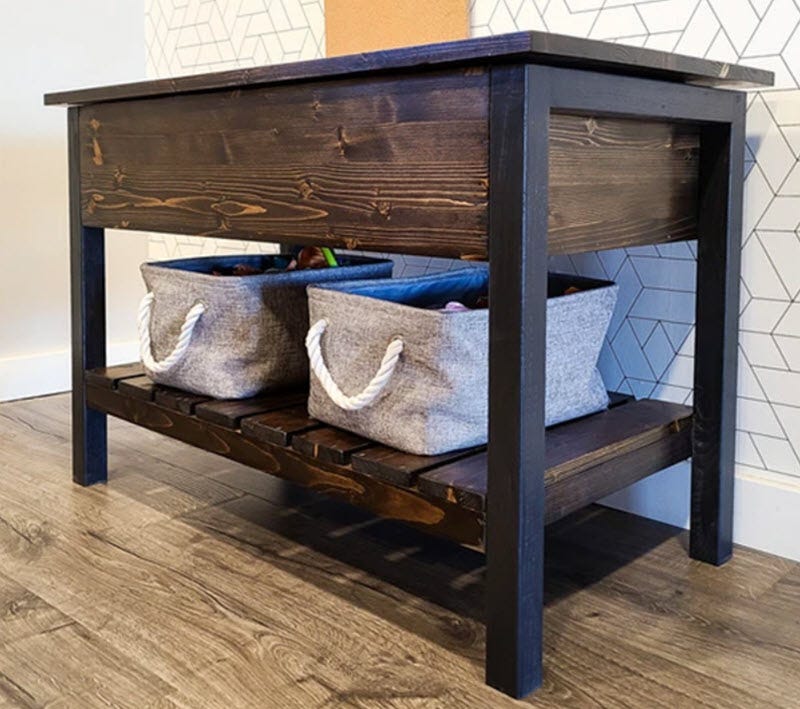
 February 26, 2025Looking for a practical and stylish way to add storage to your home? This DIY storage bench is the perfect solution! With a hinged lid and a sturdy design, it doubles as both a storage space and a handy low countertop. Whether you need a spot to keepRead more
 -
Categories: Sanding and Finishing ProjectsFebruary 15, 2025As environmental sciences get more sophisticated, woodworkers are starting to pay more attention to what finishes they use and what effect they have on the environment.Green is a popular term these days, used to mean any thing or process thatRead more
-
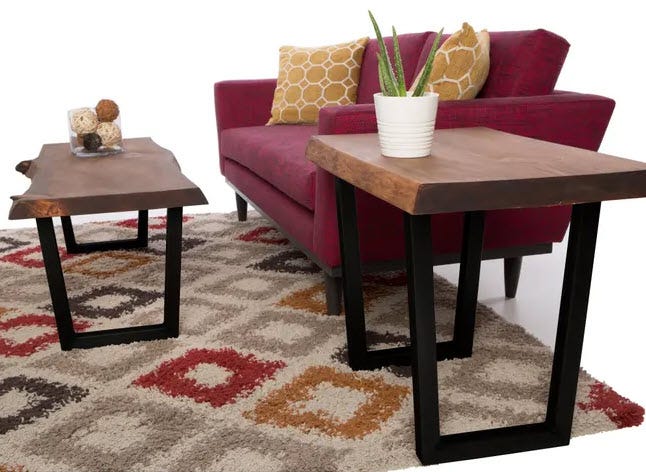
January 22, 2025Modern-style live edge tables with metal legs like these one have exploded in popularity in the past few years. If you’ve ever shopped for one you might have been hit with sticker shock. We'll walk you through how to build your own.Read more
-
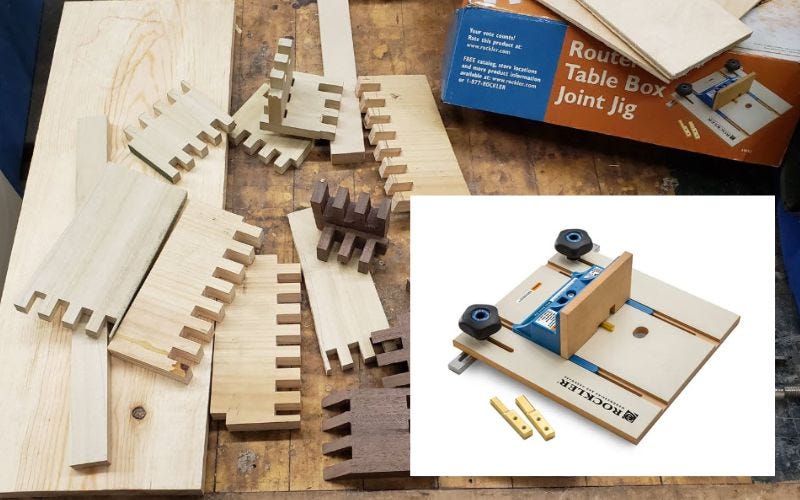
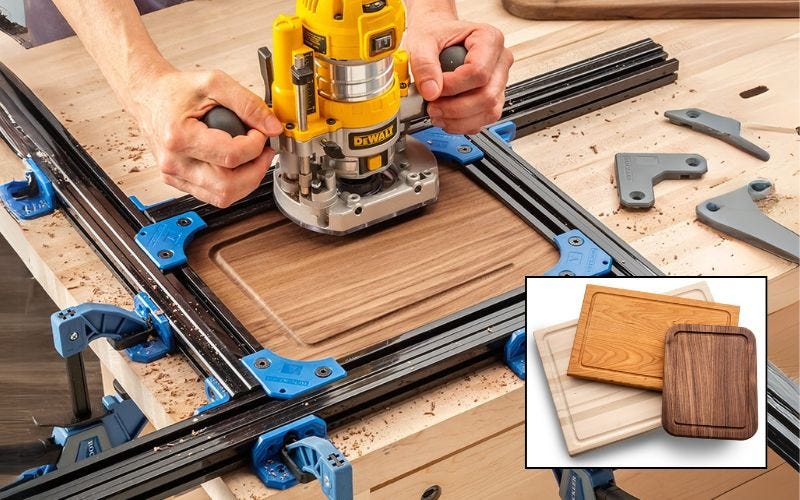
Categories: Woodworking Joinery , Routers and CNCs , Tool Reviews , Cutting and Shaping Wood , Jigs, Tips and TricksJanuary 17, 2025Check out the latest Jig of the Month.Read more
-
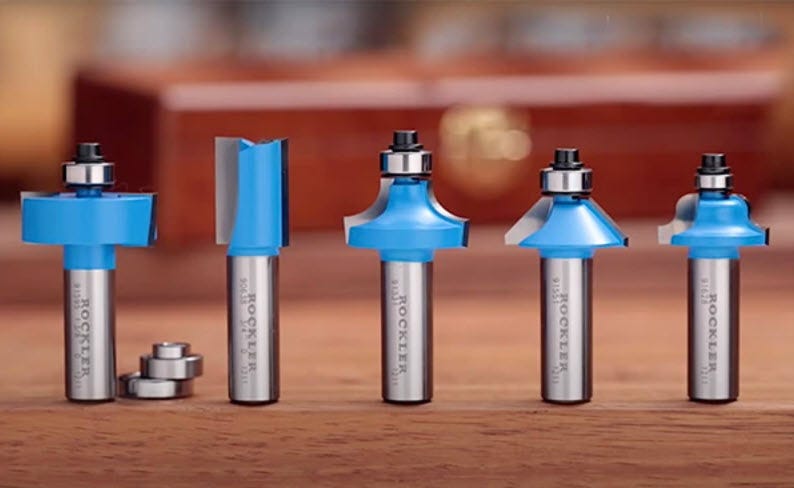
Categories: Workshop Setup & Tool Maintenance , Routers and CNCs , Skill Builder Videos , How To GuidesJanuary 16, 2025What are the first router bits you should purchase to use with your router? The router is one of the most useful and versatile woodworking tools in any shop. Of course it's not much good withoutRead more